Free Shipping on Domestic Orders $75+

Crayola Crayon Maker White Plastic Arm Replacement

What you need

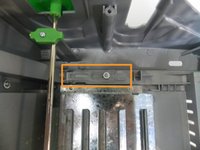
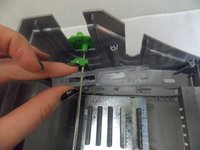
    1. Crayola Crayon Maker White Plastic Arm Replacement, Take out the melting tray that is out of place.: step 1, image 1 of 3 Crayola Crayon Maker White Plastic Arm Replacement, Take out the melting tray that is out of place.: step 1, image 2 of 3 Crayola Crayon Maker White Plastic Arm Replacement, Take out the melting tray that is out of place.: step 1, image 3 of 3
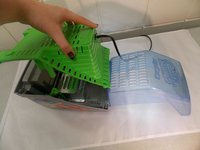
      • Press the green arm away from the melting tray. Remove the melting tray.

      • Pop the metal arms out of the green pivot support.

      Ask FixBot

      Add Comment

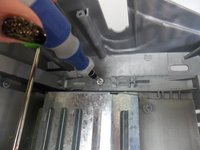
    2. Crayola Crayon Maker White Plastic Arm Replacement, Remove the metal melting tray.: step 2, image 1 of 3 Crayola Crayon Maker White Plastic Arm Replacement, Remove the metal melting tray.: step 2, image 2 of 3 Crayola Crayon Maker White Plastic Arm Replacement, Remove the metal melting tray.: step 2, image 3 of 3
      • Remove the 2 screws (.75cm in length) currently securing the metal melting tray with a Phillips #2 screwdriver.

      Ask FixBot

      Add Comment

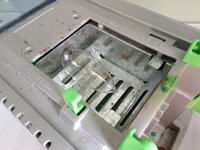
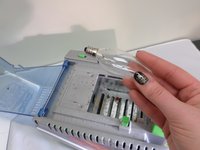
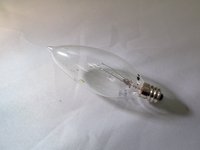
    3. Crayola Crayon Maker White Plastic Arm Replacement, Remove the light bulb: step 3, image 1 of 3 Crayola Crayon Maker White Plastic Arm Replacement, Remove the light bulb: step 3, image 2 of 3 Crayola Crayon Maker White Plastic Arm Replacement, Remove the light bulb: step 3, image 3 of 3
      • The light bulb should now be revealed. Unscrew the burned out bulb and replace with a new bulb.

      Ask FixBot

      Add Comment

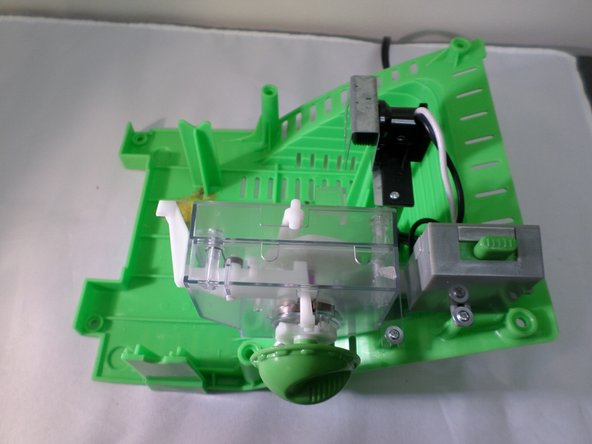
    1. Crayola Crayon Maker White Plastic Arm Replacement, Remove the green base from the crayon maker: step 4, image 1 of 3 Crayola Crayon Maker White Plastic Arm Replacement, Remove the green base from the crayon maker: step 4, image 2 of 3 Crayola Crayon Maker White Plastic Arm Replacement, Remove the green base from the crayon maker: step 4, image 3 of 3
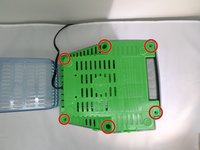
      • Flip the crayon maker.

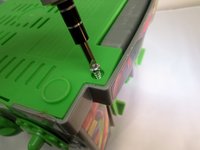
      • Remove six screws (2 cm in length) with a spanner.

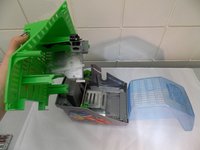
      • Remove the green base plate and set it aside.

      Ask FixBot

      Add Comment

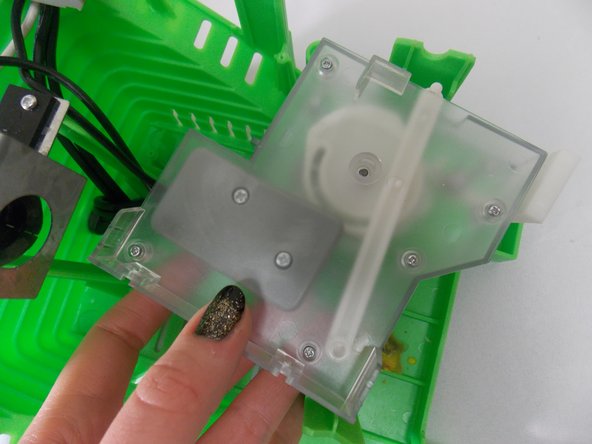
    2. Crayola Crayon Maker White Plastic Arm Replacement, Locate the Plastic arm: step 5, image 1 of 3 Crayola Crayon Maker White Plastic Arm Replacement, Locate the Plastic arm: step 5, image 2 of 3 Crayola Crayon Maker White Plastic Arm Replacement, Locate the Plastic arm: step 5, image 3 of 3
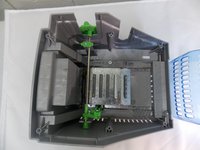
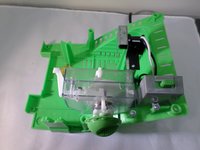
      • Locate the clear plastic arm inside the control box.

      Ask FixBot

      Add Comment

    3. Crayola Crayon Maker White Plastic Arm Replacement, Adjust/Replace the Plastic Arm: step 6, image 1 of 2 Crayola Crayon Maker White Plastic Arm Replacement, Adjust/Replace the Plastic Arm: step 6, image 2 of 2
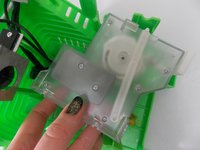
      • If necessary, unscrew the plastic arm with a Phillips #00 Precision screwdriver and readjust the arm until the desired position is reached.

      • If the plastic arm is broken, contact Crayola for replacement parts.

      Ask FixBot

      Add Comment

    1. Crayola Crayon Maker White Plastic Arm Replacement, Locate the clear plastic box: step 7, image 1 of 3 Crayola Crayon Maker White Plastic Arm Replacement, Locate the clear plastic box: step 7, image 2 of 3 Crayola Crayon Maker White Plastic Arm Replacement, Locate the clear plastic box: step 7, image 3 of 3
      • Remove the green base from the crayon maker and set aside.

      • Locate the clear box.

      Ask FixBot

      Add Comment

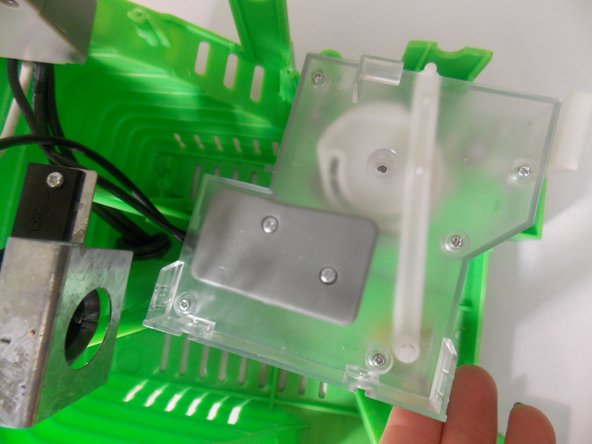
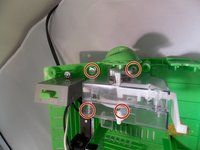
    2. Crayola Crayon Maker White Plastic Arm Replacement, Remove clear box.: step 8, image 1 of 2 Crayola Crayon Maker White Plastic Arm Replacement, Remove clear box.: step 8, image 2 of 2
      • There are four screws (circled in red) that need to be removed with a Phillips #00 Precision screwdriver.

      Ask FixBot

      Add Comment

    3. Crayola Crayon Maker White Plastic Arm Replacement, Open Clear Plastic Box: step 9, image 1 of 1
      • Remove five screws (1.5 cm in length) using a Phillips #00 Precision screwdriver and open the clear plastic box.

      Ask FixBot

      Add Comment

    4. Crayola Crayon Maker White Plastic Arm Replacement, Check placement of white plastic arm.: step 10, image 1 of 1
      • The plastic arm should be positioned as shown in the figure. Adjust the arm's position if necessary.

      • If the plastic arm is broken, contact Crayola for a replacement arm.

      Ask FixBot

      Add Comment

Conclusion

To reassemble your device, follow these instructions in reverse order.

Cancel: I did not complete this guide.

One other person completed this guide.

Melissa

Member since: 10/10/14

210 Reputation

2 Guides authored

0 Guide Comments

Add Comment

View Statistics:

Past 24 Hours: 1

Past 7 Days: 2

Past 30 Days: 25

All Time: 1,151