Free Shipping on Domestic Orders $75+

Craig Electronics CMP773 Screen Replacement

Views: 574

View statistics:

Past 24 Hours:
3
Past 7 Days:
13
Past 30 Days:
64
All Time:
574
Comments: 1

1 guide comment.

Go to guide comments
Completed: 0

No one has marked this guide "completed." Will you be the first?

Favorites: 0

No one has favorited (and subscribed to) this guide. Will you be the first?

Time Required: 30 - 40 minutes
Difficulty: Moderate
Needs Better Images

Better photos will improve this guide. Help out by taking, editing, or uploading new ones!

Missing Details

Some of this guide's details are missing. Help users by adding tools, difficulty, or time.

Craig Electronics CMP773 Screen Replacement

Introduction

Go to step 1 ↓

It is common for screens on tablets to scratch, crack, and break from use. Also, screens may malfunction or stop working for a number of reasons. This step by step guide will lead you through disassembling your Craig Electronics CMP773 in order to replace the screen.

What you need

Tools

    1. Craig Electronics CMP773 Screen Replacement, Screen: step 1, image 1 of 2 Craig Electronics CMP773 Screen Replacement, Screen: step 1, image 2 of 2
      • Remove two screws on the charging port side of the tablet using the Phillips #00 screwdriver.

      Ask FixBot

      Add Comment

    2. Craig Electronics CMP773 Screen Replacement: step 2, image 1 of 3 Craig Electronics CMP773 Screen Replacement: step 2, image 2 of 3 Craig Electronics CMP773 Screen Replacement: step 2, image 3 of 3
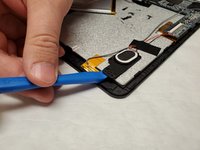
      • Insert a plastic opening tool between the screen and the back of the tablet.

      • Insert another opening tool along the same side of the tablet and pry them in opposite directions until the casing pops.

      • Once roughly half of the case has been unlatched, it can be removed by hand.

      Ask FixBot

      Add Comment

    3. Craig Electronics CMP773 Screen Replacement: step 3, image 1 of 2 Craig Electronics CMP773 Screen Replacement: step 3, image 2 of 2
      • Use the spudger to gently pry the camera from the casing.

      Ask FixBot

      Add Comment

    4. Craig Electronics CMP773 Screen Replacement: step 4, image 1 of 2 Craig Electronics CMP773 Screen Replacement: step 4, image 2 of 2
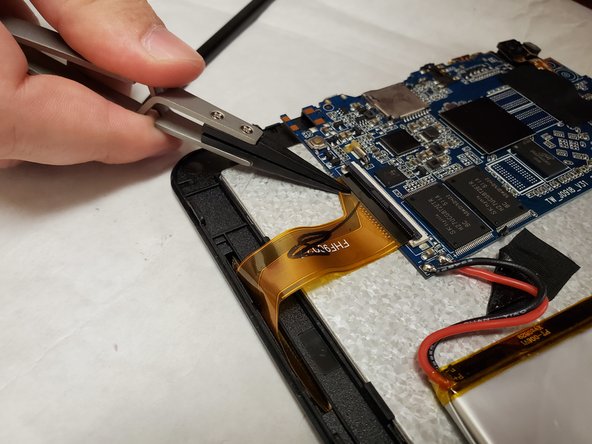
      • Using your finger, remove the clamp that connects the screen power rib to the motherboard.

      • Using needle nose pliers, remove the ribbon.

      Ask FixBot

      Add Comment

    5. Craig Electronics CMP773 Screen Replacement: step 5, image 1 of 3 Craig Electronics CMP773 Screen Replacement: step 5, image 2 of 3 Craig Electronics CMP773 Screen Replacement: step 5, image 3 of 3
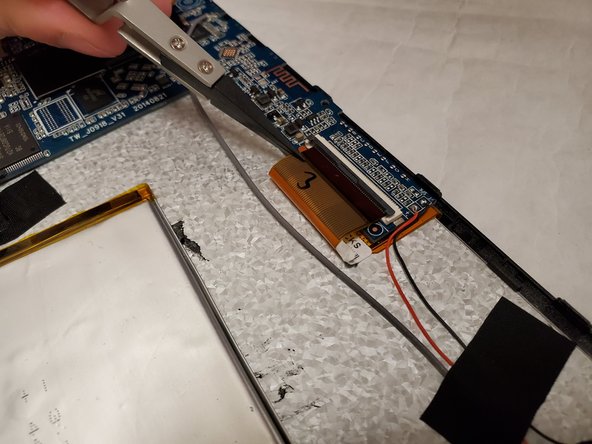
      • Remove the second screen power connection from the motherboard using the same procedure as step 4.

      Ask FixBot

      Add Comment

    6. Craig Electronics CMP773 Screen Replacement: step 6, image 1 of 3 Craig Electronics CMP773 Screen Replacement: step 6, image 2 of 3 Craig Electronics CMP773 Screen Replacement: step 6, image 3 of 3
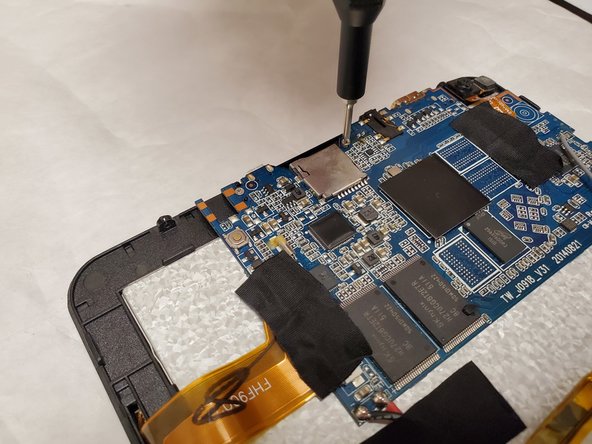
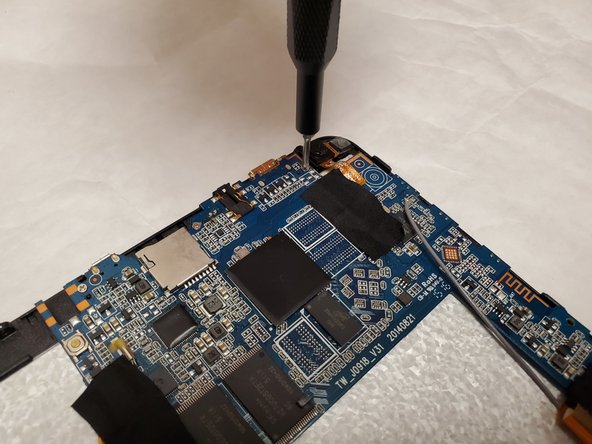
      • Remove four screws from the motherboard using the Phillips #00 screwdriver.

      Ask FixBot

      Add Comment

    7. Craig Electronics CMP773 Screen Replacement: step 7, image 1 of 2 Craig Electronics CMP773 Screen Replacement: step 7, image 2 of 2
      • Remove a single screw from the speaker using the Phillips #00 screwdriver.

      • Pry up on the locking tabs with the flat spudger.

      Ask FixBot

      Add Comment

    8. Craig Electronics CMP773 Screen Replacement: step 8, image 1 of 1
      • Using needle nose pliers, remove the ground wire from the casing.

      Ask FixBot

      Add Comment

    9. Craig Electronics CMP773 Screen Replacement: step 9, image 1 of 1
      • Using the plastic opening tool, remove the battery.

      Ask FixBot

      Add Comment

    10. Craig Electronics CMP773 Screen Replacement: step 10, image 1 of 2 Craig Electronics CMP773 Screen Replacement: step 10, image 2 of 2
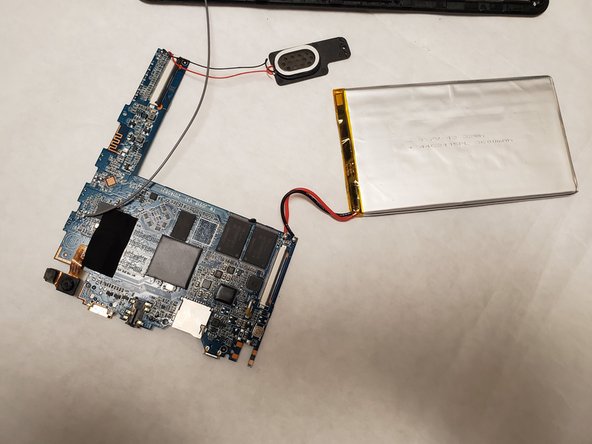
      • With all screws and components removed, gently remove the motherboard from the casing.

      Ask FixBot

      Add Comment

    11. Craig Electronics CMP773 Screen Replacement: step 11, image 1 of 3 Craig Electronics CMP773 Screen Replacement: step 11, image 2 of 3 Craig Electronics CMP773 Screen Replacement: step 11, image 3 of 3
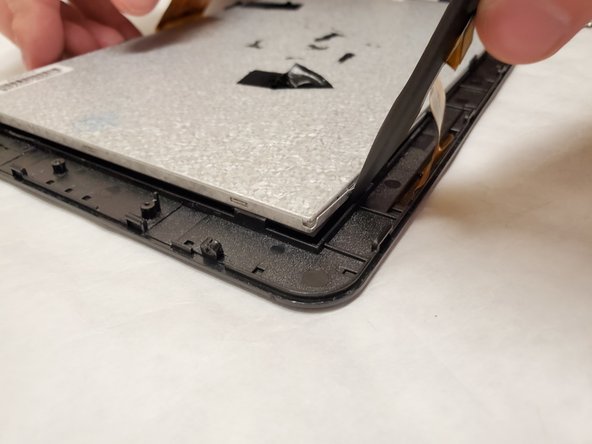
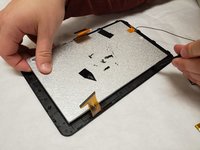
      • Insert the spudger in between the screen and case. Work your way around the outside of the screen.

      Ask FixBot

      Add Comment

    12. Craig Electronics CMP773 Screen Replacement: step 12, image 1 of 3 Craig Electronics CMP773 Screen Replacement: step 12, image 2 of 3 Craig Electronics CMP773 Screen Replacement: step 12, image 3 of 3
      • Grasp the exposed screen corner and gently separate the screen from the housing.

      Ask FixBot

      Add Comment

Conclusion

To reassemble your device, follow these instructions in reverse order.

Cancel: I did not complete this guide.

Justin mersch

Member since: 11/07/19

205 Reputation

1 Guide authored

Team

IUPUI, Team S3-G4, Harley Fall 2019 Member of IUPUI, Team S3-G4, Harley Fall 2019

IUPUI-HARLEY-F19S3G4

4 Members

24 Guides authored

1 Guide Comment

What kind of battery does this device specifically use

Kris Miller - Reply Share
Add Comment

View Statistics:

Past 24 Hours: 3

Past 7 Days: 13

Past 30 Days: 64

All Time: 574