
Craig CMP801 LCD Screen Replacement

Last updated on Jan 3, 2018
Views: 1.7K
View statistics:
- Past 24 Hours:
- 2
- Past 7 Days:
- 21
- Past 30 Days:
- 93
- All Time:
- 1,711
Comments: 0
No one has left comments on this guide. Will you be first?
Go to guide commentsCompleted: 1 2
1 person has marked this guide "completed." Will you be next?
2 people have marked this guide "completed." Including you — great job!
Favorites: 1 2
1 person has favorited (and subscribed to) this guide. Will you be next?
2 people have favorited (and subscribed to) this guide — including you!
Introduction
Go to step 1 ↓In order to replace the LCD screen you must remove all the other parts, starting from the back panel.
What you need
Parts
Tools


-
-
-
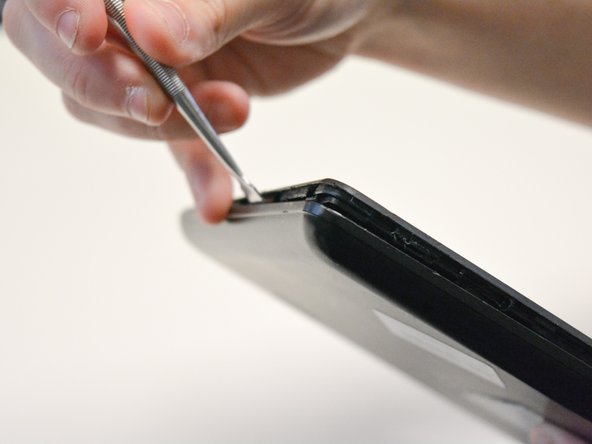
Locate the opening line between the cover and the device. Then locate the groove near the charging port.
 Ask FixBot
-
-
-
Use a metal spudger to separate the back cover from the front touch screen.
-
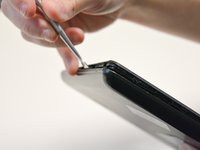
To do this, place the metal spudger in between the groove near the charging port of the device to unlatch the first clip.
-
-
-
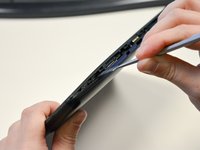
Continue to separate all of the clips around the device until the back cover comes off completely.
-
-
-
-
-
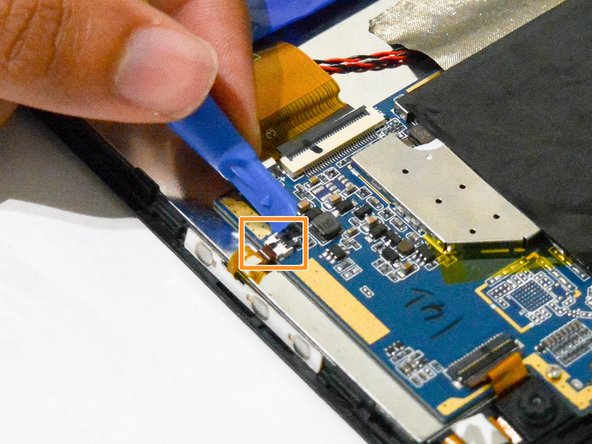
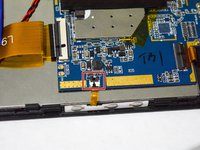
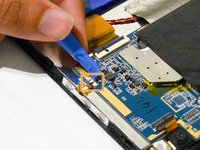
After taking out the back cover, locate the black flap.
-
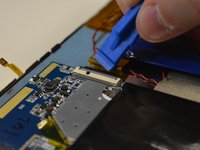
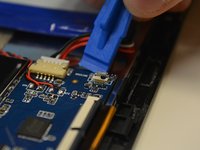
Open the black flap with the plastic opening tools.
-
-
Tool used on this step:Tweezers$3.99
-
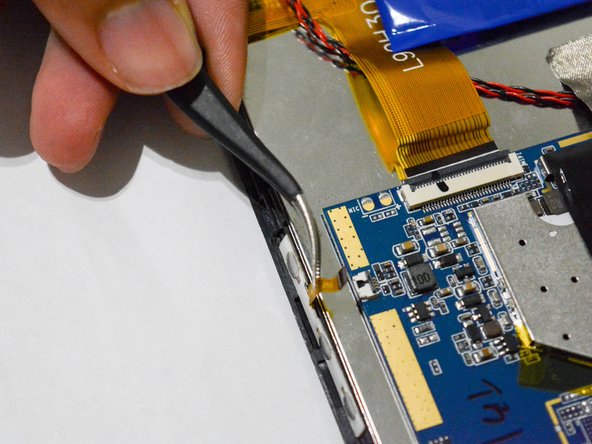
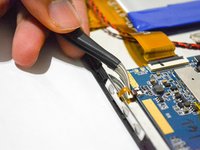
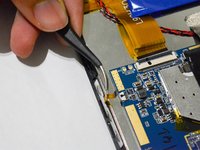
Once the tab is released, use the angled tweezers to take out the tab.
-
-
-
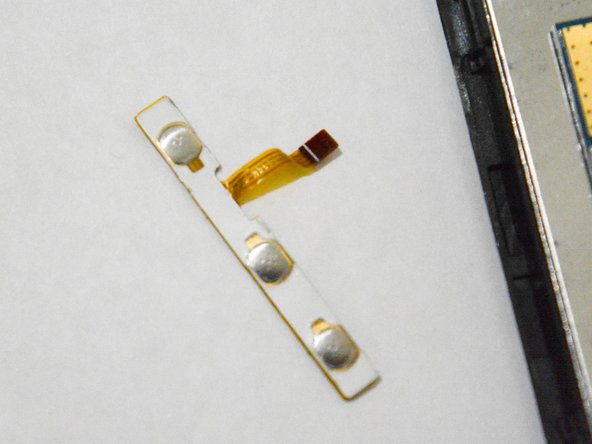
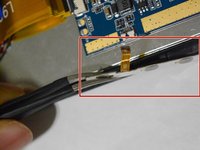
Use the angled tweezers to pull the volume controls out and replace it with a new one.
-
-
-
-
-
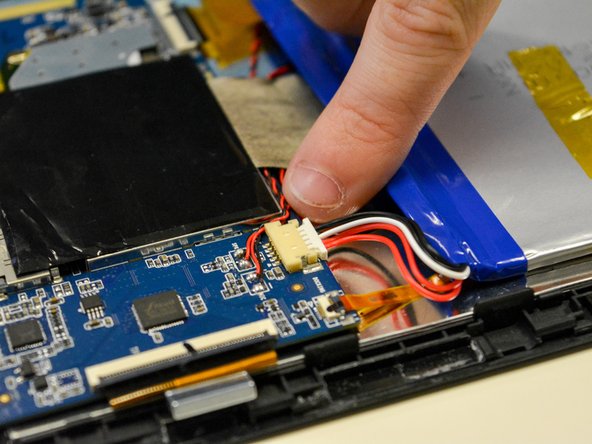
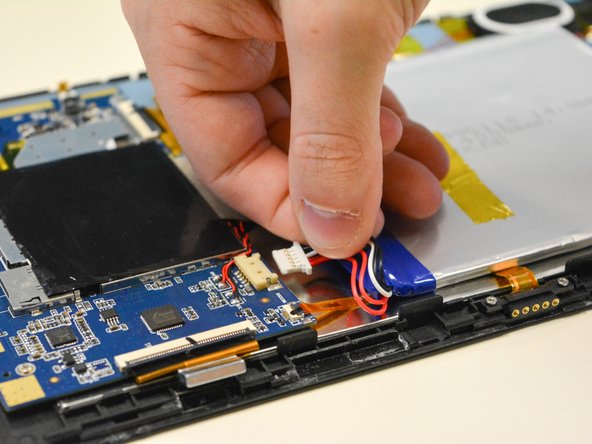
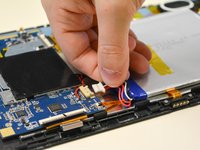
Locate the white plug next to the battery.
-
Use your fingers to pull off white plug that connected to the battery.
-
-
-
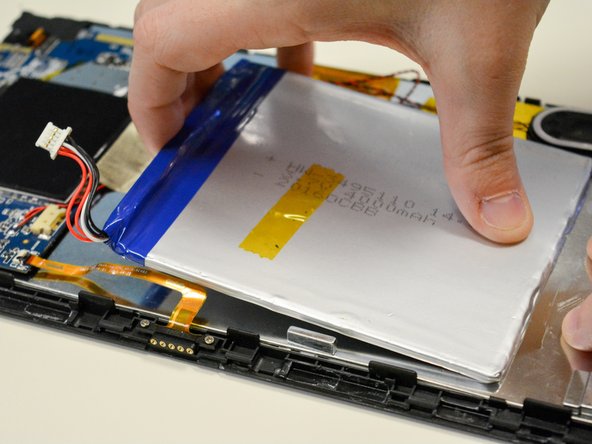
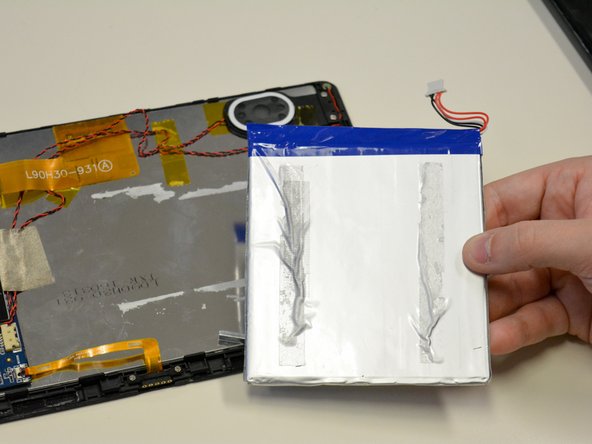
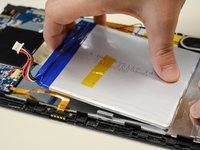
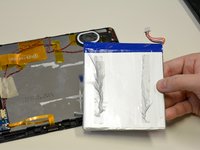
The battery should only be connected to the LCD by adhesive tape.
-
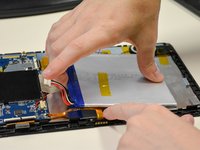
Using force, carefully remove the battery while holding the LCD in place.
-
-
-
-
-
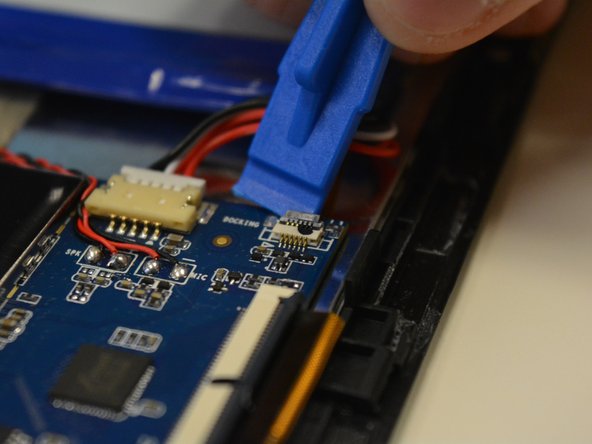
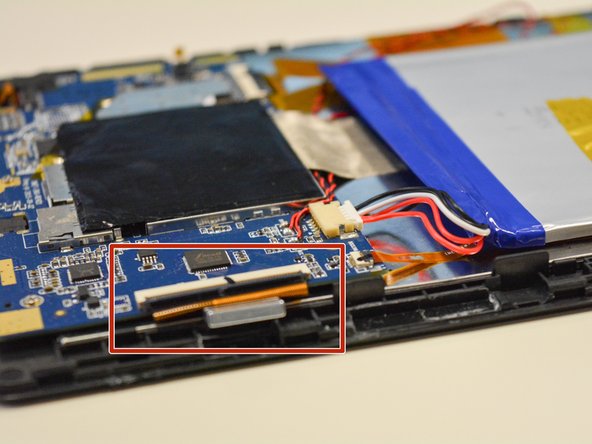
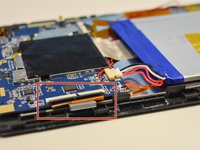
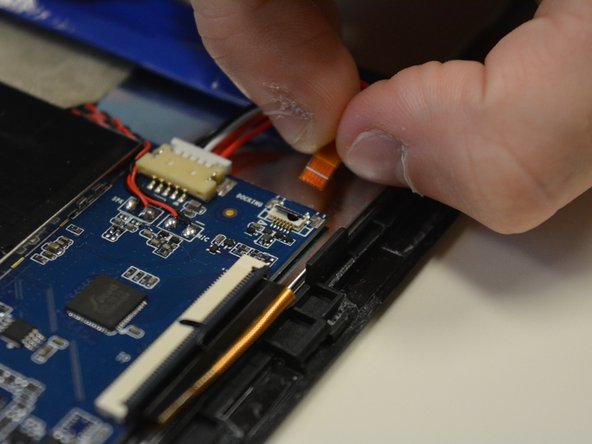
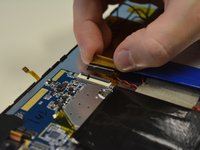
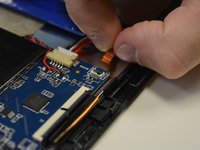
Open the three black flaps located on each side of the motherboard.
-
-
-
-
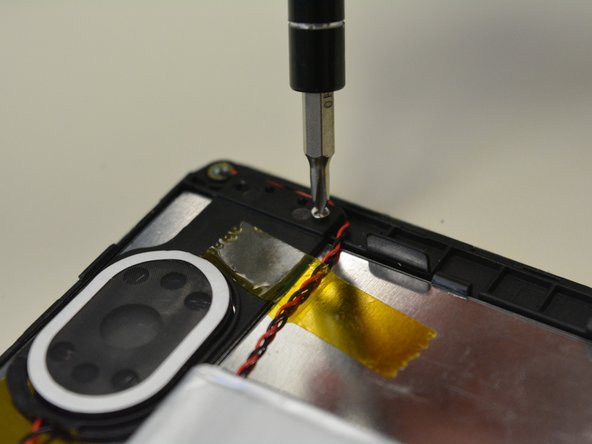
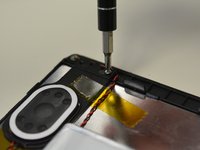
Using a Philips 0 Screwdriver, remove the screws connecting the speaker to the motherboard.
-
Remove black plastic speaker holder.
-
-
-
Remove the gray tape connecting the motherboard to the metal slate.
-
Use a spudger to separate the metal slate from the front touch screen.
-
-
-
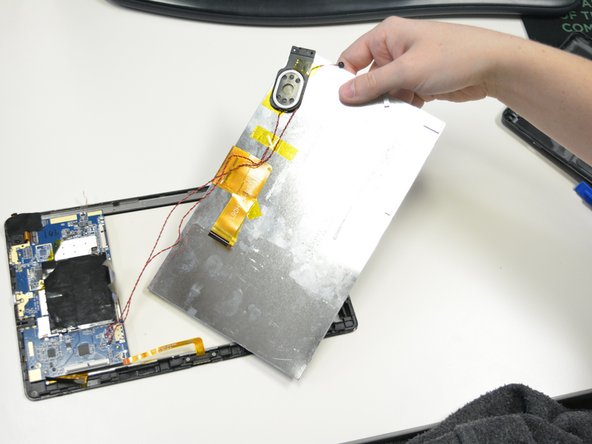
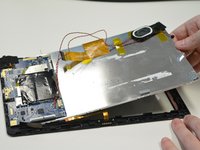
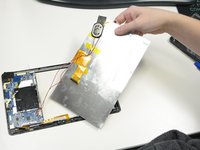
Carefully slide out the metal slate and LCD screen from underneath the motherboard.
-
-














To reassemble your device, follow these instructions in reverse order.
Cancel: I did not complete this guide.
One other person completed this guide.

Team

University of North Texas, Team S2-G2, Thompson Fall 2017 Member of University of North Texas, Team S2-G2, Thompson Fall 2017
UNT-THOMPSON-F17S2G2
4 Members
60 Guides authored
