
Cracked Grout Replacement

Deanna Demydyak and 2 other contributors
Last updated on Jan 12, 2023
Views: 11K
View statistics:
- Past 24 Hours:
- 10
- Past 7 Days:
- 69
- Past 30 Days:
- 334
- All Time:
- 11,269
Comments: 2
1 comment on steps, 1 guide comment.
Go to guide commentsCompleted: 11 12
11 people have marked this guide "completed." Will you be next?
12 people have marked this guide "completed." Including you — great job!
Favorites: 3 4
3 people have favorited (and subscribed to) this guide. Will you be next?
4 people have favorited (and subscribed to) this guide — including you!
Featured Student Guide
This guide has been the hard work of our awesome students and is found to be exceptionally cool by the iFixit staff.
Introduction
Go to step 1 ↓Over time as a result of aging and other factors such as the original installment of the grout, climate, temperature, etc. your grout may begin to crack. With the right tools and direction, it is possible to repair these minor damages in the grout on your own. This guide will provide you with the instructions and tools to repairing these cracks in the grout. The tools listed in this guide are not common household items and can either be bought or rented. They are recommended to be used with protective eye wear and a mask to protect from dust and debris.
What you need
Tools
-
-
-
-
-
-
Safety Glasses4.9


-
-
-
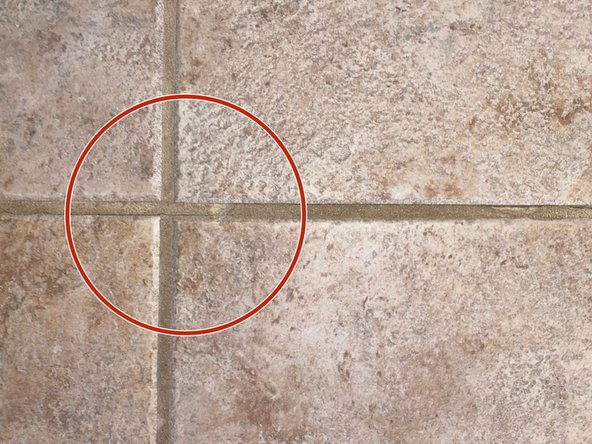
Identify the crack you will be repairing.
-
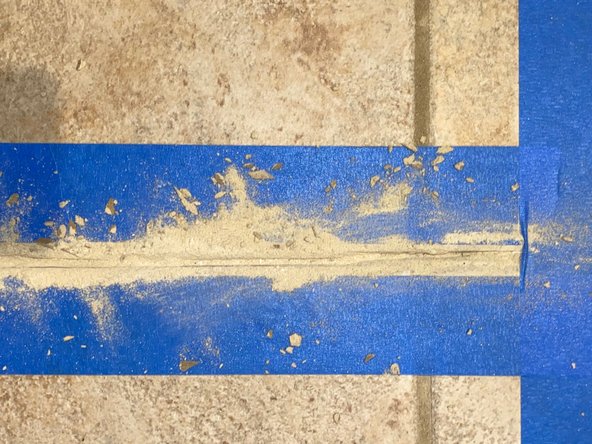
Surround it with Painters Tape.
 Ask FixBot
-
-
-
Use the concrete grinder to remove the grout surrounded with tape where the crack is located.
-
-
-
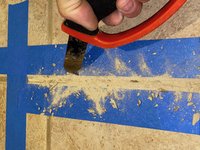
Go in with your handheld grout remover and scrape out the remaining grout between the tile until it is completely hollow.
-
-
-
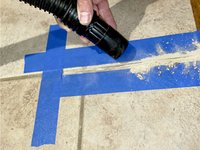
Vacuum the dust and grout that was removed to reveal a clean and hollow space.
-
-
-
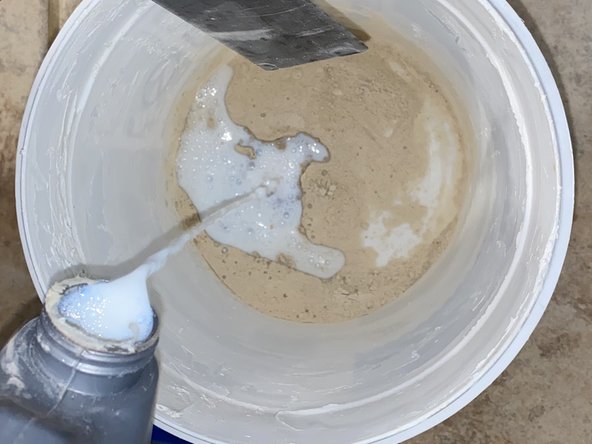
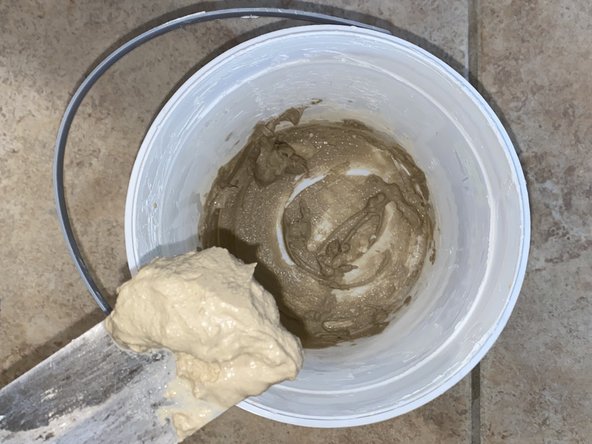
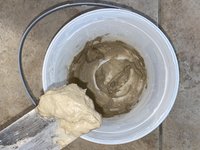
Color match your grout by using grout samples to get your desired color of grout.
-
-
-
-
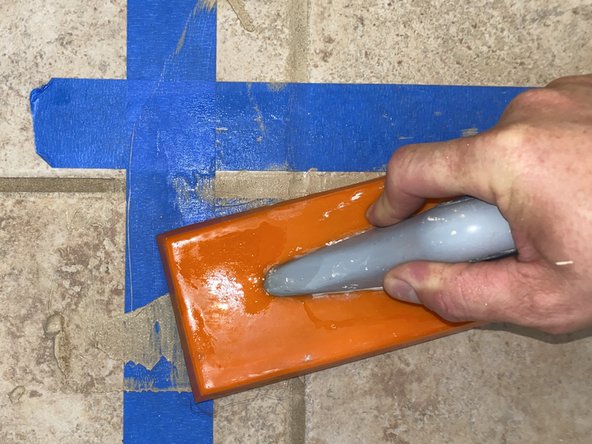
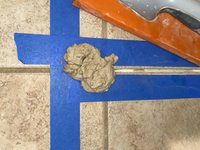
Take the rubber grout float and press the grout paste securely into the crack.
-
-
-
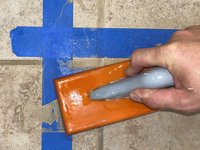
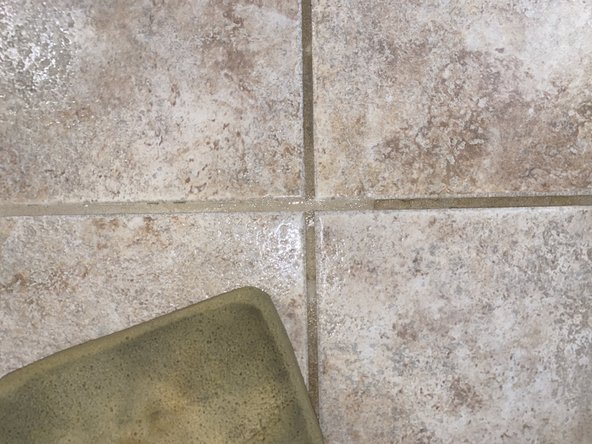
Take the grouting sponge and smooth out the grout evenly.
-
Let the grout sit and harden for twenty-four hours.
-
-













To repair any other cracks in grout, repeat these steps.
Cancel: I did not complete this guide.
11 other people completed this guide.

Team

USF Sarasota-Manatee, Team S1-G1, Stewart Spring 2020 Member of USF Sarasota-Manatee, Team S1-G1, Stewart Spring 2020
USFSM-STEWART-S20S1G1
23 Members
228 Guides authored
