Introduction
Before starting, please:
- make sure nothing is attached (such as AC adapter, USB, VGA, audio jack).
- remove any inserted SD card.
What you need
-
-
To take out the battery, slide the switch on the bottom of the laptop.
-
The battery should then pop out and you can remove it.
 Ask FixBot
-
-
Tool used on this step:Tweezers$4.99
-
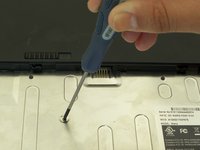
Using a pair of tweezers, remove the two rear rubber feet. You should then see the two screws underneath.
-
-
-
-
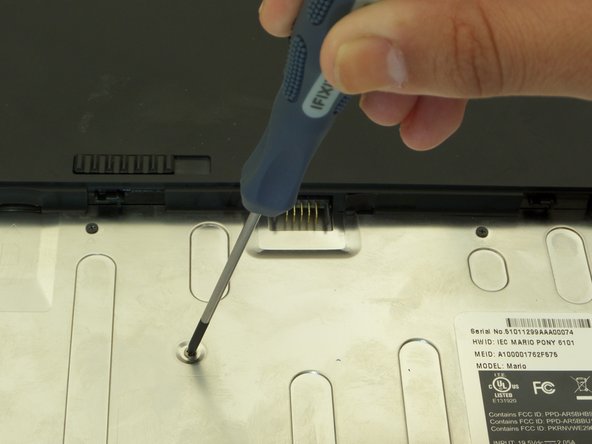
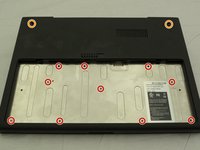
First, position the computer to have the silver battery compartment closest to you. Then, using a Phillips #00 screwdriver, remove the ten 3 mm screws in the battery compartment.
-
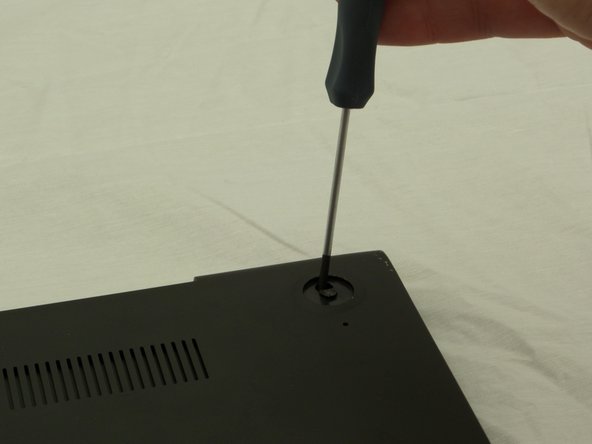
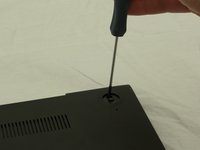
Now, using the same screwdriver, remove the two 4.5 mm screws that were underneath the previously removed rubber feet.
-
-
-
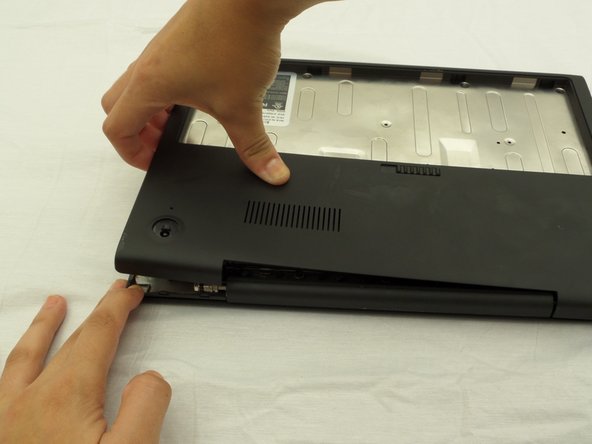
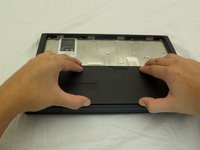
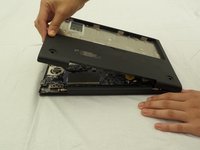
Starting where the body of the laptop and the laptop screen meet, pry apart the lower case from the rest of the laptop.
-
-
-
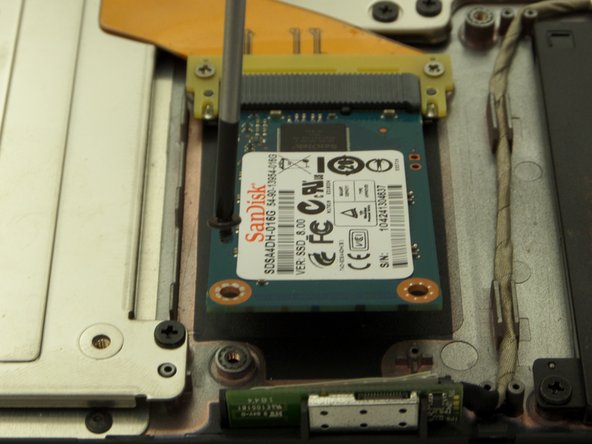
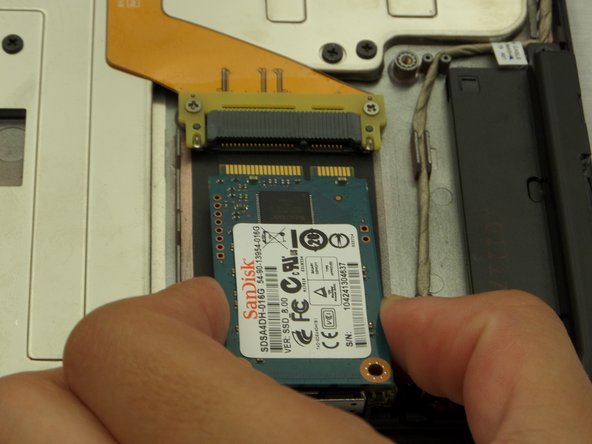
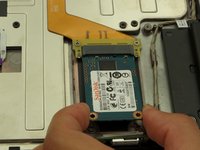
Find the SSD located on a corner of the side directly opposite where the laptop screen and device body are connected.
-
Remove one 3 mm black screw from the SSD using a Phillips #00 screwdriver.
-


To reassemble your device, follow these instructions in reverse order.
Cancel: I did not complete this guide.
5 other people completed this guide.
Team

CSU Fullerton, Team 2-2, Bruce Fall 2014 Member of CSU Fullerton, Team 2-2, Bruce Fall 2014
CSUF-BRUCE-F14S2G2
3 Members
10 Guides authored