Free Shipping on Domestic Orders $75+

Corsair Katar Disassembly

What you need

  1. Corsair Katar Disassembly, Corsair Katar Disassembly: step 1, image 1 of 2 Corsair Katar Disassembly, Corsair Katar Disassembly: step 1, image 2 of 2
    • Unplug your mouse before starting.

    • Flip the mouse over so the bottom is facing up.

    Ask FixBot

    Add Comment

  2. Corsair Katar Disassembly: step 2, image 1 of 1
    • Remove the three skates on the bottom of the mouse using the plastic opening tools.

    • Skates will be very sticky.

    Ask FixBot

    Add Comment

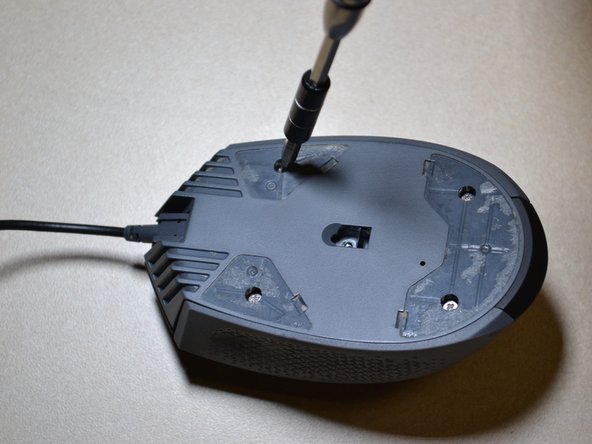
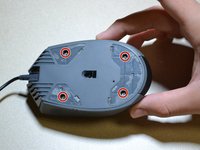
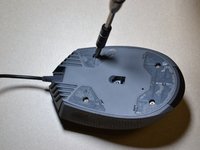
  3. Corsair Katar Disassembly: step 3, image 1 of 2 Corsair Katar Disassembly: step 3, image 2 of 2
    • Use the JIS 0 screwdriver to remove the four 5 mm screws on the bottom of the mouse.

    Ask FixBot

    Add Comment

  4. Corsair Katar Disassembly: step 4, image 1 of 1
    • Detach the bottom of the mouse from the upper shell.

    • Remove the shell slowly so as not to damage the white DPI cable inside the mouse.

    • Use the plastic opening tool to detach the white DPI sensor cable from its port.

    • Alternatively, you can use your hand to remove the DPI sensor cable by wiggling it out of the port.

    Ask FixBot

    Add Comment

Conclusion

To reassemble your device, follow these instructions in reverse order.

Cancel: I did not complete this guide.

3 other people completed this guide.

Ryan Matesa

Member since: 07/12/18

248 Reputation

1 Guide authored

Team

UW Tacoma, Team S1-G3, Cardinal Summer 2018 Member of UW Tacoma, Team S1-G3, Cardinal Summer 2018

UWT-CARDINAL-SU18S1G3

3 Members

13 Guides authored

0 Guide Comments

Add Comment

View Statistics:

Past 24 Hours: 1

Past 7 Days: 21

Past 30 Days: 119

All Time: 5,228