Free Shipping on Domestic Orders $75+

Condenser Microphone Shock Mount Cord Replacement

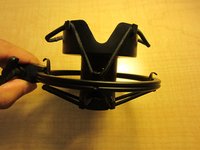
  1. Condenser Microphone Shock Mount Cord Replacement, Cords: step 1, image 1 of 2 Condenser Microphone Shock Mount Cord Replacement, Cords: step 1, image 2 of 2
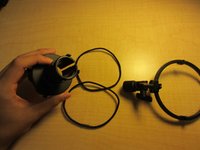
    • Begin by removing the top broken cord from the mic holder.

    • Be gentle with the removal of the cords. Forceful removal could result in damaging the mic holder itself.

    Ask FixBot

    Add Comment

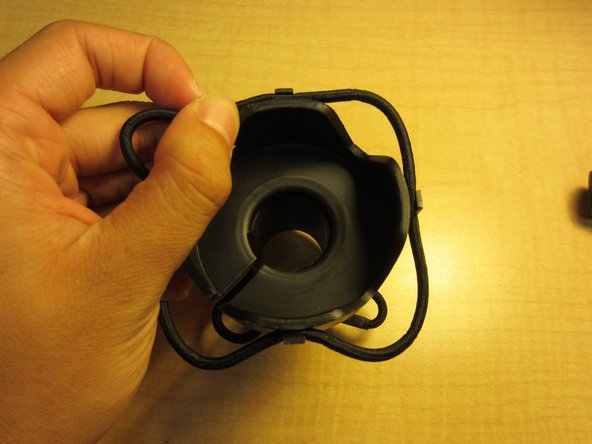
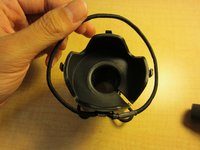
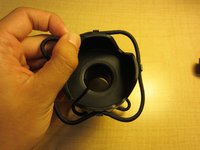
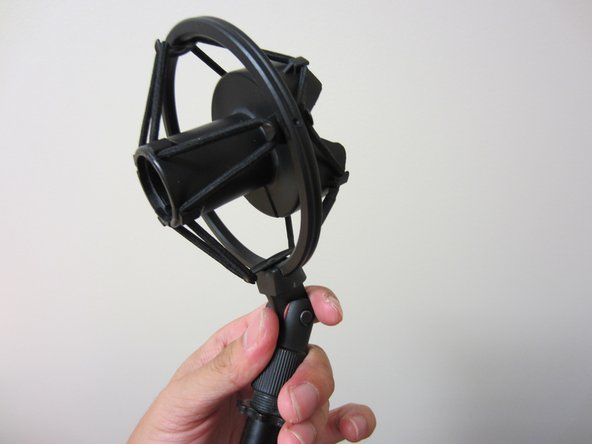
  2. Condenser Microphone Shock Mount Cord Replacement: step 2, image 1 of 3 Condenser Microphone Shock Mount Cord Replacement: step 2, image 2 of 3 Condenser Microphone Shock Mount Cord Replacement: step 2, image 3 of 3
    • Once the top cord is properly removed, remove the bottom cord.

    • Removing the final cord will disconnect the mic holder from the outer ring. Make sure the mic holder is secure and won't fall once the final cord is removed.

    Ask FixBot
    Add Comment

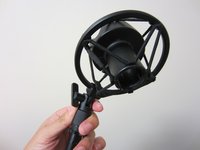
  3. Condenser Microphone Shock Mount Cord Replacement: step 3, image 1 of 3 Condenser Microphone Shock Mount Cord Replacement: step 3, image 2 of 3 Condenser Microphone Shock Mount Cord Replacement: step 3, image 3 of 3
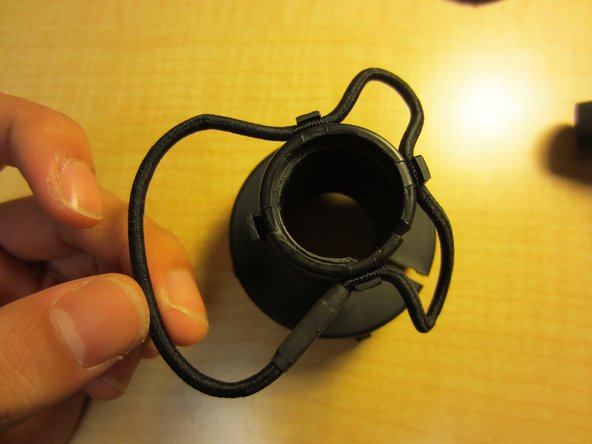
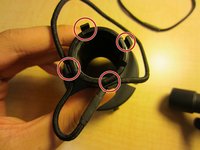
    • Begin by attaching the bottom cord to the four slots attached to the mic holder.

    • Cord lengths can be adjusted after it has been attached to the four slots.

    Ask FixBot
    Add Comment

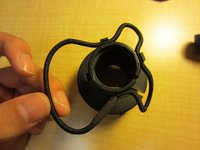
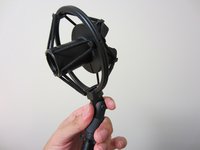
  4. Condenser Microphone Shock Mount Cord Replacement: step 4, image 1 of 2 Condenser Microphone Shock Mount Cord Replacement: step 4, image 2 of 2
    • Once the bottom cord is securely attached, attach the top cord the same way.

    Ask FixBot
    Add Comment

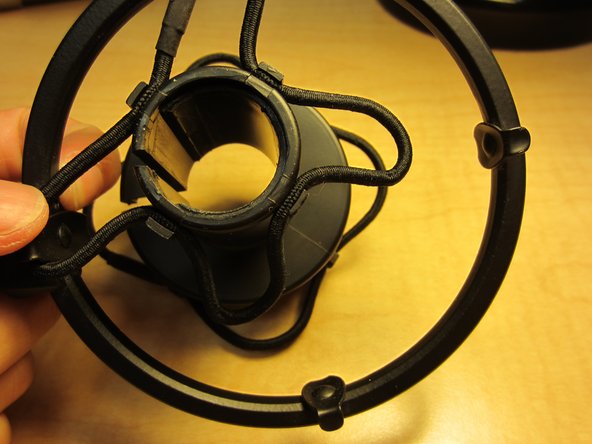
  5. Condenser Microphone Shock Mount Cord Replacement: step 5, image 1 of 3 Condenser Microphone Shock Mount Cord Replacement: step 5, image 2 of 3 Condenser Microphone Shock Mount Cord Replacement: step 5, image 3 of 3
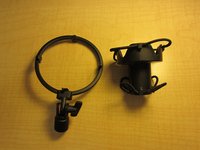
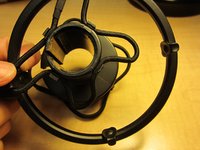
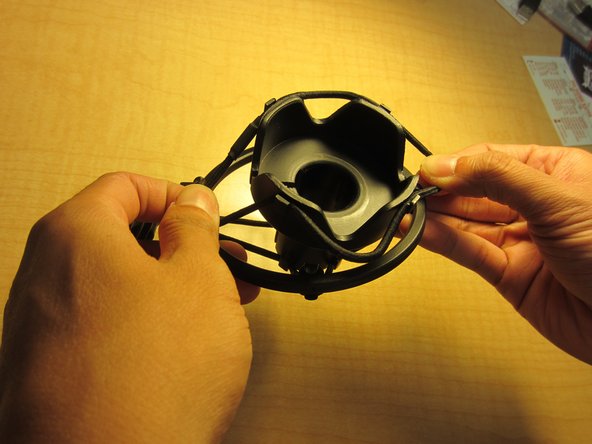
    • Next, take the mic holder and center it in the middle of the outer ring.

    • Take the bottom cord loops and string them on the outer rings' hooks.

    • Each cord hoop should be about the same length so that the mic holder is centered in the outer ring.

    • It is easier to string opposite cord hoops first rather than stringing them consecutively.

    Ask FixBot

    Add Comment

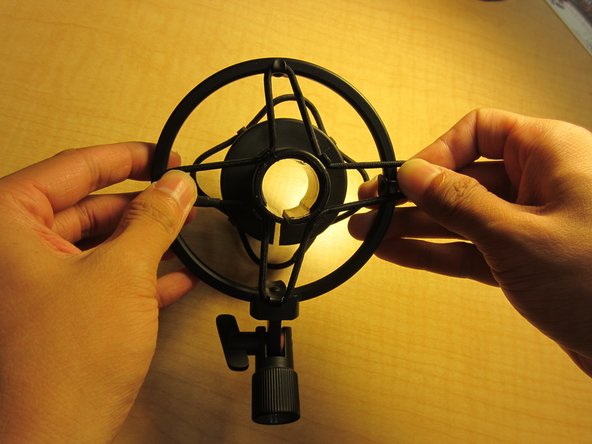
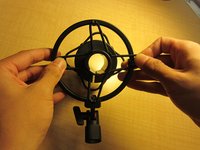
  6. Condenser Microphone Shock Mount Cord Replacement: step 6, image 1 of 3 Condenser Microphone Shock Mount Cord Replacement: step 6, image 2 of 3 Condenser Microphone Shock Mount Cord Replacement: step 6, image 3 of 3
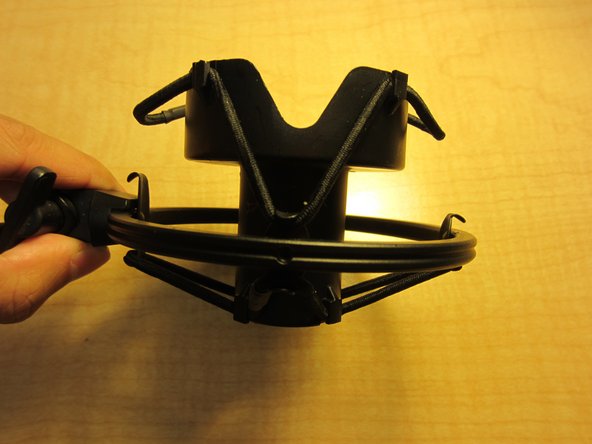
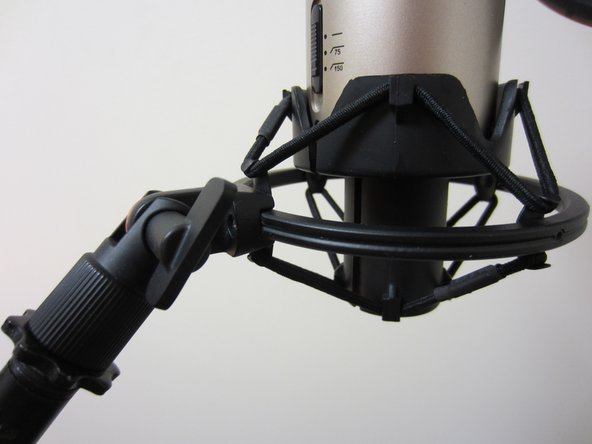
    • Flip the parts over so the top is facing up and hook the top cord onto the outer ring.

    Ask FixBot
    Add Comment

  7. Condenser Microphone Shock Mount Cord Replacement: step 7, image 1 of 2 Condenser Microphone Shock Mount Cord Replacement: step 7, image 2 of 2
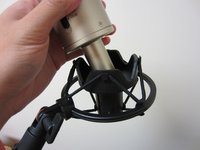
    • Once both of the cords are secure, you may reattach the shock mount to the mic stand.

    • Be sure the cords are secure and won't snap off before reattaching your microphone.

    Ask FixBot
    Add Comment

  8. Condenser Microphone Shock Mount Cord Replacement: step 8, image 1 of 2 Condenser Microphone Shock Mount Cord Replacement: step 8, image 2 of 2
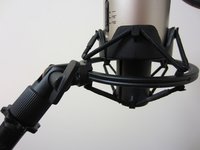
    • Carefully reattach your condenser microphone to the shock mount to make sure the cords are connected properly.

    • Once it is confirmed that the cords are attached securely, use your shock mount at your leisure.

    Ask FixBot
    Add Comment

Finish Line

Cancel: I did not complete this guide.

3 other people completed this guide.

Avery Kwong

Member since: 09/29/15

195 Reputation

1 Guide authored

Team

Cal Poly, Team 17-3, Green Fall 2015 Member of Cal Poly, Team 17-3, Green Fall 2015

CPSU-GREEN-F15S17G3

4 Members

4 Guides authored

1 Guide Comment

Where do you get the replacement cord?

Steve Hynes - Reply Share

Add Comment

View Statistics:

Past 24 Hours: 1

Past 7 Days: 18

Past 30 Days: 75

All Time: 9,959