
Conair Infiniti Pro Model 259NP Cold Shot Button Replacement

Timothy Lo and 4 other contributors
Last updated on Jan 10, 2025
Views: 2.6K
View statistics:
- Past 24 Hours:
- 4
- Past 7 Days:
- 20
- Past 30 Days:
- 93
- All Time:
- 2,604
Comments: 0
No one has left comments on this guide. Will you be first?
Go to guide commentsCompleted: 2 3
2 people have marked this guide "completed." Will you be next?
3 people have marked this guide "completed." Including you — great job!
Favorites: 0 1
No one has favorited (and subscribed to) this guide. Will you be the first?
1 person has favorited (and subscribed to) this guide — and that's you!
Missing Steps
Oops! This guide is currently missing one or more important steps.
Introduction
Go to step 1 ↓For a sticky Cold Shot button, you may only need to clean the button. This guide will show you how to fully remove and replace the button.
Note: This guide requires soldering skills. If you don't know how to solder or want to brush up on your skills check out this handy tutorial.
What you need
Tools


-
-
-
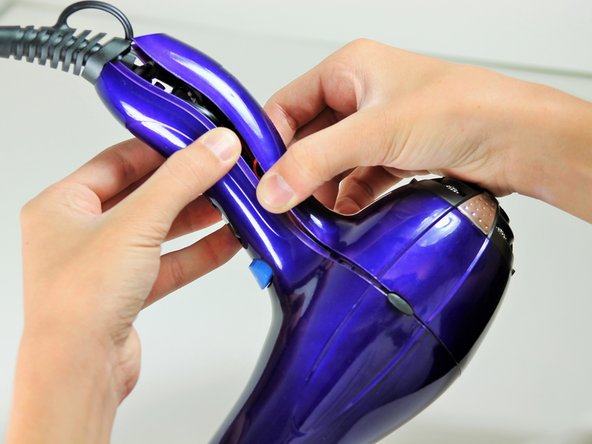
Hold the hair dryer by the handle so that the back panel faces up.
 Ask FixBot
-
-
-
Starting from where the cord attaches to the handle, pull apart the two plastic panels.
-
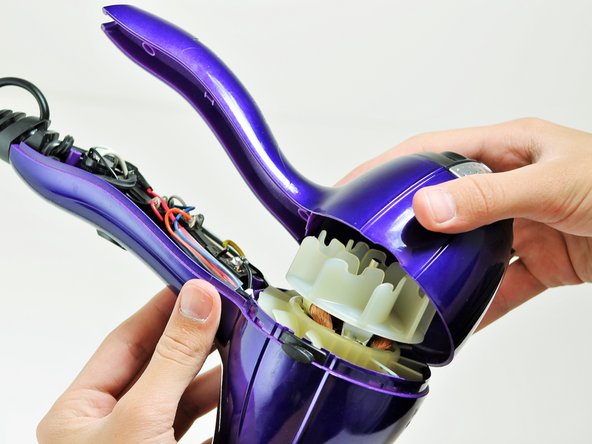
Continue separating the back panel, working along the seam.
-
With moderate force, completely remove the back panel from the hair dryer.
-
-
-
-
-
Hold the hair dryer by the nozzle so that the handle points to the left.
-
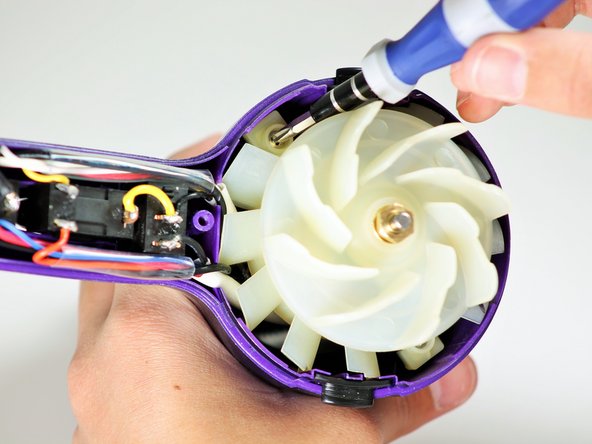
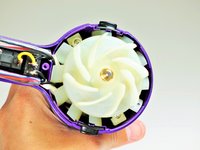
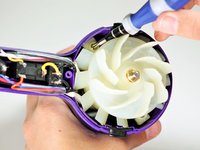
Remove the two 1-inch Phillips #2 screws from the back of the fan motor.
-
-
-
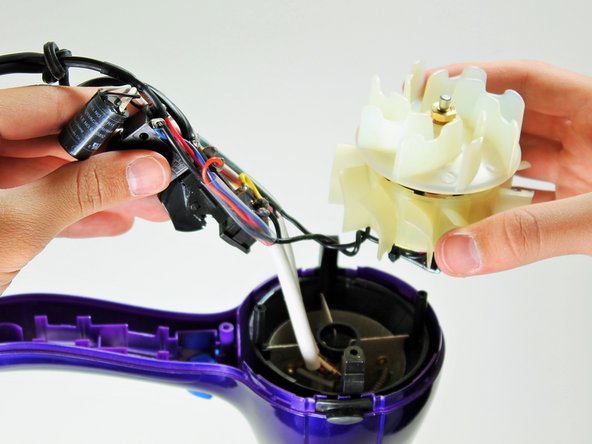
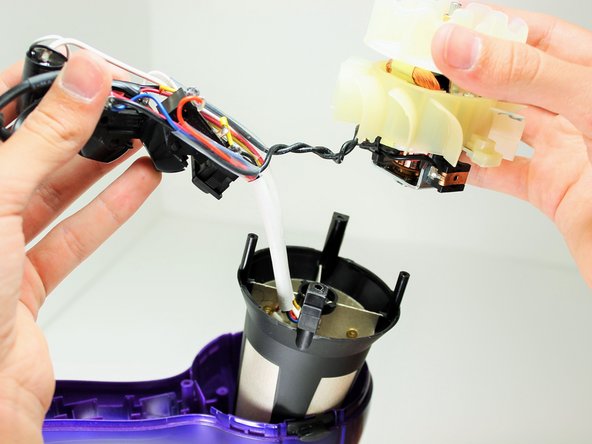
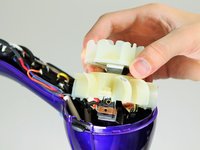
Pull on the back of the fan motor to gently lift the motor out of the hair dryer.
-
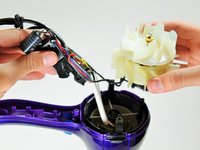
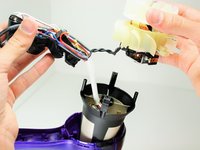
Lift the attached electrical wiring and heat shield completely out of the hair dryer.
-
-
-
-
-
-
Hold the electrical switches so that the wires are facing upwards.
-
-
-
Focus on the button closest along the wires to the fan motor.
-
Desolder the button at the circled locations.
-
-







To reassemble your device, follow these instructions in reverse order.
Cancel: I did not complete this guide.
2 other people completed this guide.

Team

Cal Poly, Team 10-58, Amido Spring 2014 Member of Cal Poly, Team 10-58, Amido Spring 2014
CPSU-AMIDO-S14S10G58
4 Members
84 Guides authored
