-
-
-
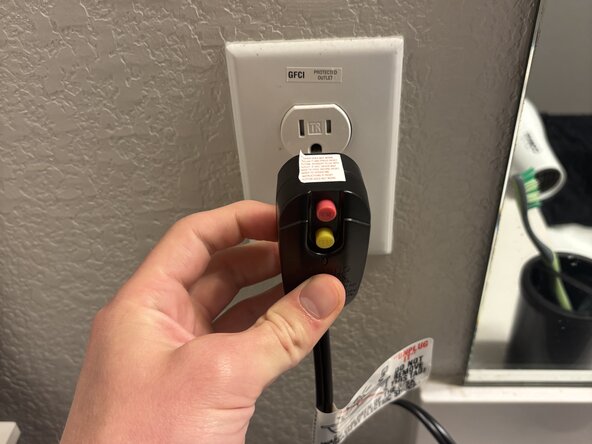
Step 1: Make sure your hairdryer is unplugged and completely done with heating. Make sure to not start the disassembly process until the heat from the hair dryer is fully away.
 Ask FixBot
-
-
-
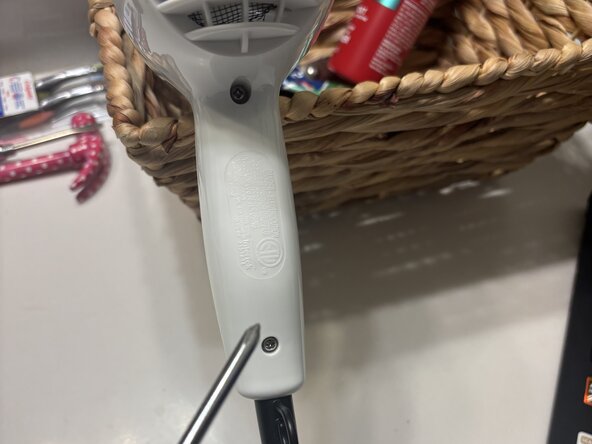
Step 2: Unscrewing the nails from the back of the hair dryer. grab a Phillips screwdriver and check the back of the hair dryer. Unscrew both of the screws in the back. The top screw might not completely come out but make sure it is lose enough to where you can pull off the back
-
-
-
step 3: Removing the back part from the hair dryer. After you have unscrewed the screws on the hair dryer, take off the back piece of it. This might take a little force. If the back piece is not coming off, it means you haven't unscrewed the screws lose enough.
-
-
-
-
step 4: removing the mesh filter on the back of the hair dryer.
-
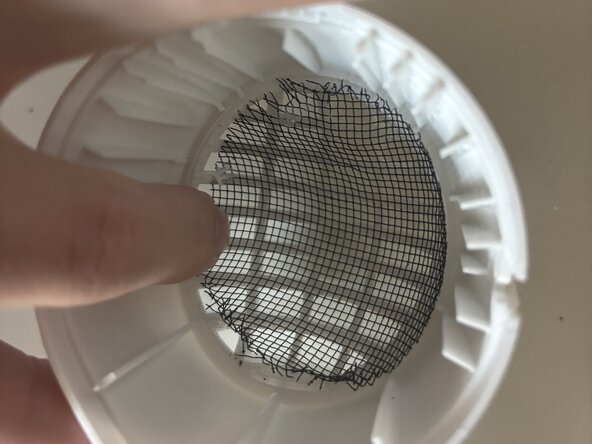
You can use tweezers or you can just use your fingers as well. Carefully remove the back of the mesh. Sometimes it can be stuck on there so just take your time. Make sure not to rush this step or else you can damage the filter.
-
-
-
step 5: cleaning the mesh filter
-
Grab a wet rag and get rid of all the lint buildup from the intake housing. Once all of the lint is gone you can move onto the next step.
-
-
-
step 6: applying glue and putting the new mesh filter in
-
Grab some glue and put the mesh filter back onto the hair dryer. Carefully apply glue to all of the edges making sure each edge is carefully secure and won't fall off. You don't need too much glue, just enough to make it not fall off when you turn the hair dryer back on.
-
-
-
step 7: putting the back of the hair dryer back on
-
Put the back of the hair dryer back into place. Once it is in place, grab the screws and screw them back on. Make sure they are both fully screwed in and you should hear a click when the back re-attaches.
-
-
-
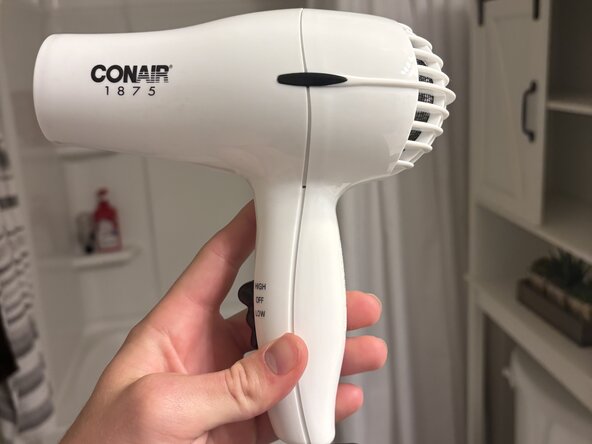
And just like that, your hair dryer is brand-new again! Make sure to turn it on and see if you did everything right - if you did then the hair dryer should sound normal and not be making a loud noise. If everything is good, enjoy your hair dryer!
-
-






To reassemble your device, follow these instructions in reverse order.

Team

Austin Community College, Team B-3, Serna Spring 2026 Member of Austin Community College, Team B-3, Serna Spring 2026
AUSTINCC-SERNA-S26SBG3
1 Member
12 Guides authored
