
Computer King Muffin Kinder 7 Battery Replacement

Katherine and 4 other contributors
Last updated on Jun 18, 2015
Views: 777
View statistics:
- Past 24 Hours:
- 1
- Past 7 Days:
- 13
- Past 30 Days:
- 81
- All Time:
- 777
Comments: 0
No one has left comments on this guide. Will you be first?
Go to guide commentsCompleted: 1 2
1 person has marked this guide "completed." Will you be next?
2 people have marked this guide "completed." Including you — great job!
Favorites: 0 1
No one has favorited (and subscribed to) this guide. Will you be the first?
1 person has favorited (and subscribed to) this guide — and that's you!
Slice and Dice
The steps in this guide should be split up and made into a series of prerequisite guides.
Introduction
Go to step 1 ↓To complete this guide, you will need to disassemble your device and use a soldering iron to replace the battery.
Make sure to power off the device before you begin to take apart your device. Not doing so could potentially cause harm.
What you need
Tools


-
-
-
Use the plastic opening tool help push out the microSD card from the microSD slot.
 Ask FixBot
-
-
-
Use the plastic opening tool to unclip the plastic front from the plastic back. Use the MicroSD slot to initially start the unclipping.
-
-
-
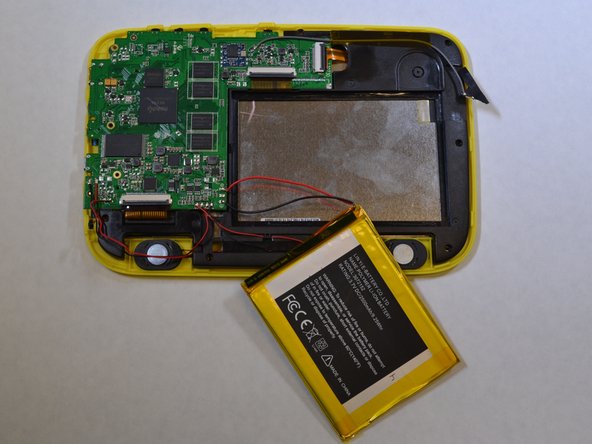
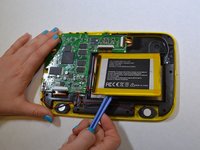
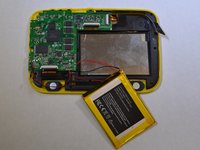
The battery is glued onto the black plastic. Use the plastic opening tool to pry the battery from the black plastic.
-
-
-
-
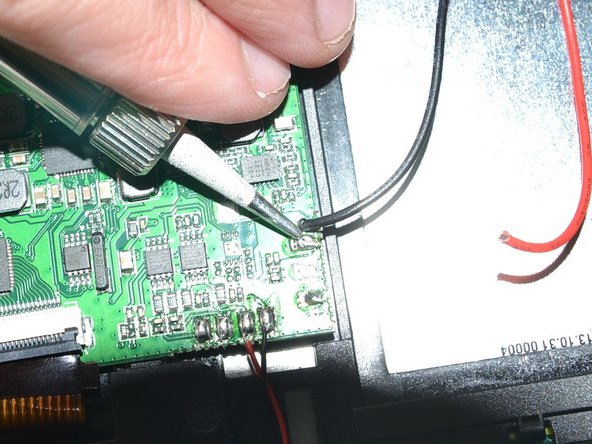
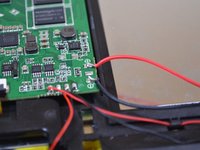
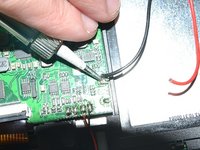
Unsolder the red and black wires that are connected to the battery from the logic board using a soldering iron.
-
Tips on how to solder can be found here.
-
-



To reassemble your device, follow these instructions in reverse order.
Cancel: I did not complete this guide.
One other person completed this guide.


