
Compaq Presario V2414NR Keyboard Replacement

Rylie Schmidt and 2 other contributors
Last updated on Dec 28, 2016
Views: 810
View statistics:
- Past 24 Hours:
- 2
- Past 7 Days:
- 16
- Past 30 Days:
- 83
- All Time:
- 810
Comments: 0
No one has left comments on this guide. Will you be first?
Go to guide commentsCompleted: 0 1
No one has marked this guide "completed." Will you be the first?
1 person has marked this guide "completed." It's you — great job!
Favorites: 0 1
No one has favorited (and subscribed to) this guide. Will you be the first?
1 person has favorited (and subscribed to) this guide — and that's you!
Introduction
Go to step 1 ↓Without a keyboard the computer becomes essentially unusable. In this guide, you will learn how to remove and replace the keyboard.
What you need
Tools


-
-
-
Shutdown the computer.
-
Remove all external devices.
-
Unplug the power, and any other cords, from the laptop.
-
Turn the laptop upside down, with the front towards you.
 Ask FixBot
-
-
-
Slide the battery release latch to the left until the battery pops up.
-
Lift the front edge of the battery pack and swing it back to remove it.
-
-
-
-
-
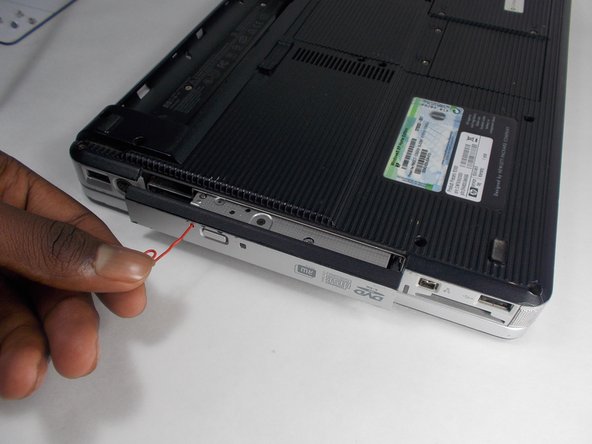
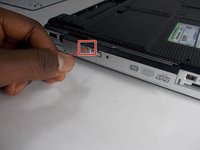
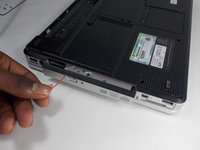
On the optical drive there is small pin hole. Insert a paperclip or similarly sized object in the hole.
-
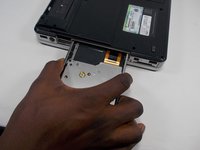
The Drive will pop a short way out of the computer.
-
-
-
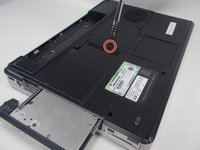
Remove the 7mm Phillips #1 screw that secures the optical drive to the computer.
-
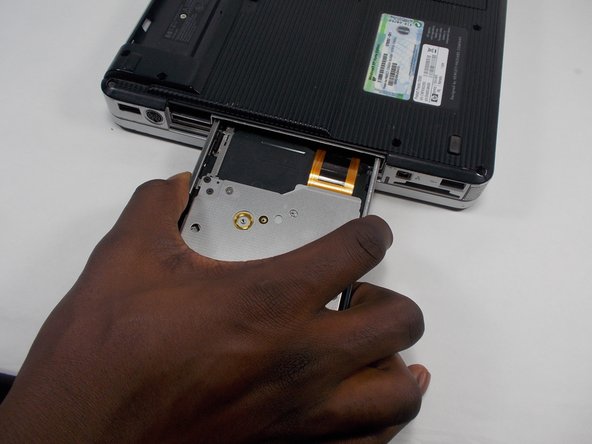
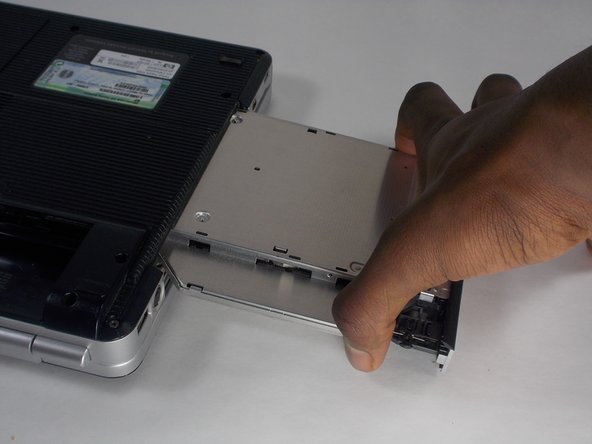
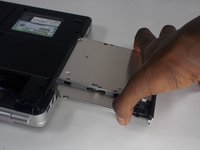
Grip the sides of the Optical Drive and slide it out until it is completely removed from the computer.
-
-
-
-
-
Remove the two 4mm Philips #1 screws that secure the switch cover to the computer.
-
Turn the computer display-side up with the front panel toward you.
-
Open the computer display as far as possible.
-
-
-
Insert a plastic opening tool into the slots located behind the [F5] key and lift the front edge of the switch cover until it disengages from the computer.
-
Insert a plastic opening tool into the slots located behind the [Insert] key and lift the front edge of the switch cover until it disengages from the computer.
-
Remove the switch cover.
-
-
-
-
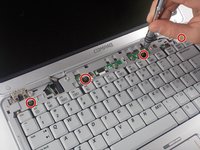
Remove the four 3mm Phillips #1 screws that secure the keyboard to the computer.
-
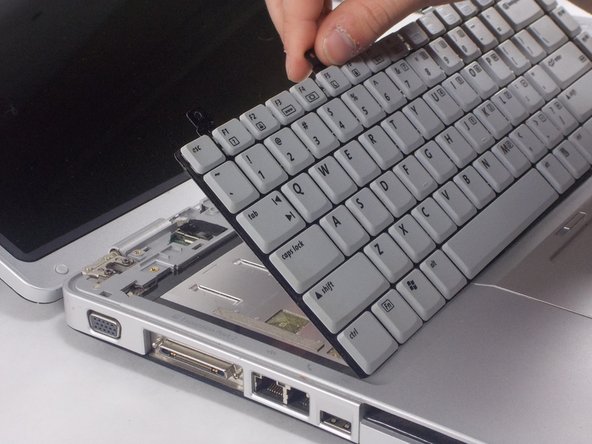
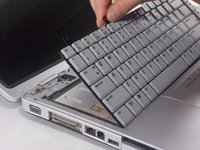
Swing the rear edge of the keyboard up and forward until it rests on the palm rest.
-
-
-
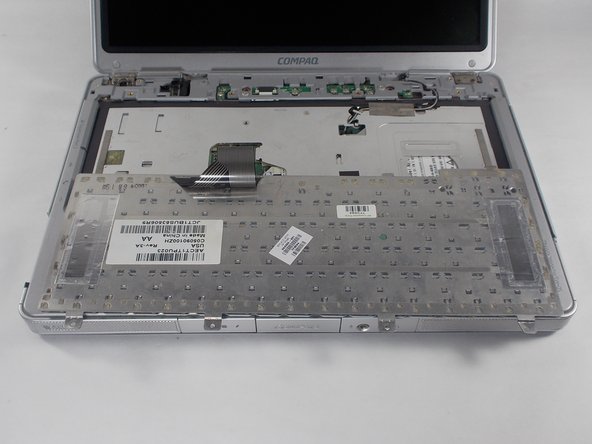
Use your fingernails or two plastic opening tools to push the white portion of the ZIF connector towards the hinge of the computer.
-
Remove the ribbon cable from the ZIF connector.
-
Remove the keyboard.
-
-





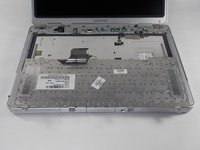

To reassemble your device, follow these instructions in reverse order.

Team

UMass Dartmouth, Team 2-1, Isaacson Fall 2016 Member of UMass Dartmouth, Team 2-1, Isaacson Fall 2016
UMASSD-ISAACSON-F16S2G1
3 Members
84 Guides authored
