
Compaq Mini 110 Keyboard Replacement

alea and 10 other contributors
Last updated on Jun 10, 2022
Views: 18K
View statistics:
- Past 24 Hours:
- 3
- Past 7 Days:
- 28
- Past 30 Days:
- 107
- All Time:
- 17,595
Comments: 7
4 comments on steps, 3 guide comments.
Go to guide commentsCompleted: 4 5
4 people have marked this guide "completed." Will you be next?
5 people have marked this guide "completed." Including you — great job!
Favorites: 4 5
4 people have favorited (and subscribed to) this guide. Will you be next?
5 people have favorited (and subscribed to) this guide — including you!
Missing Steps
Oops! This guide is currently missing one or more important steps.
Better Introduction
Improve this guide by completing or revising its introduction.
Missing Details
Some of this guide's details are missing. Help users by adding tools, difficulty, or time.
Introduction
Go to step 1 ↓Sticky keys? Simply just want to get rid of your keyboard? Here's how.
What you need
Tools
-
Spudger4.9


-
-
-
Locate the battery and the battery tabs on the bottom of the Compaq Mini.
 Ask FixBot
-
-
-
-
-
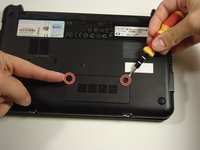
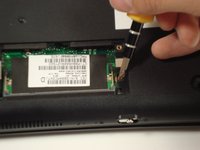
Use a Philips #0 screwdriver to unscrew the two screws covering the memory compartment on the bottom of the laptop and remove the cover.
-
-
-
-
-
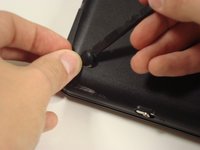
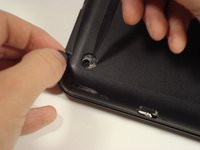
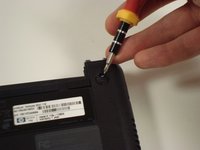
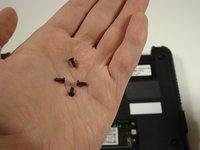
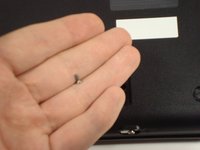
Unscrew all the corner screws. There are four total, one under each rubber pad.
-
-
-
-
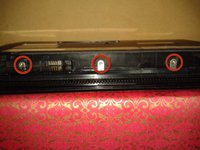
Remove the three screws in the silver tabs at the back of the keyboard.
-
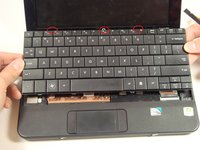
Lift the keyboard away from the laptop.
-










To reassemble your device, follow these instructions in reverse order.
Cancel: I did not complete this guide.
4 other people completed this guide.

Team

Cal Poly, Team 22-2, Maness Fall 2010 Member of Cal Poly, Team 22-2, Maness Fall 2010
CPSU-MANESS-F10S22G2
6 Members
180 Guides authored
3 Guide Comments
hi, steps 5 and 6 are not needed. not sure about removing RAM either. If I look on my removed keyboard, all I see are three places for screws - those located nearby battery socket.
I think steps 3,4,5,6,7 are not needed! The essential problem in removing the keyboard is not shown: how to lift the keyboard! Use the flat side or back of a screwdriver to push the metal strips shown in step 8 up (in the direction of the keyboard) to lift the keyboard. Put your fingers under the edge of the keyboard and pull gently but firmly. There is some resistance of the holding cover.
