Introduction
Nothing ruins a trail ride faster than a throttle that refuses to snap back. Most riders run into this at some point: dirt, rain, and normal wear cause the throttle cable or housing to stick. Over time, these components can become worn, sticky, or damaged — making the bike difficult or even unsafe to operate.
This guide shows you how to replace the entire throttle assembly on a Coleman CT200U‑AB minibike so you can get back to reliable, responsive riding in under an hour.
Key Terminology
- Throttle housing – A two‑piece plastic shell that holds the grip and cable end on the handlebar.
- Ferrule – The metal collar crimped to the throttle cable sheath.
- Carburetor linkage – The lever on the carb accepts the inner cable.
- Free play – Small rotational slack at the grip (1–2 mm) before the cable pulls.
Hot engines and moving parts can cause serious injury.
‑ Let the engine cool completely.
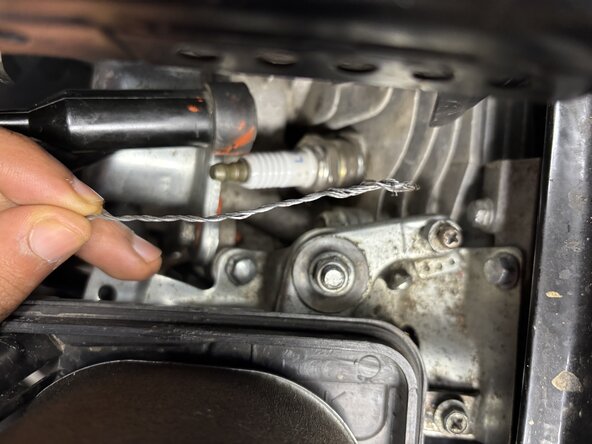
‑ Remove the spark‑plug boot before you start.
‑ Wear safety glasses and gloves at all times.
What you need
-
-
Switch the fuel valve OFF, and place the bike on a level surface before starting.
-
Remove the seat for better access.
-
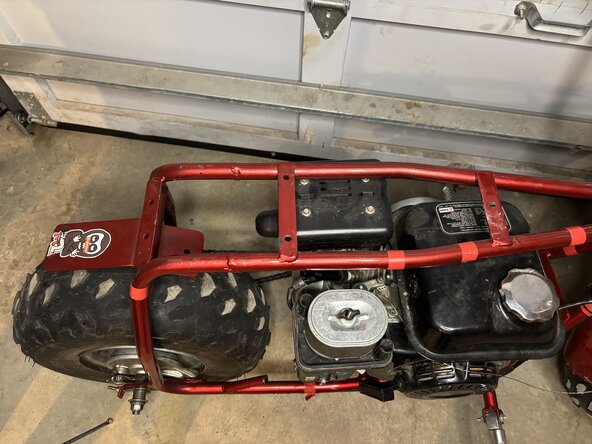
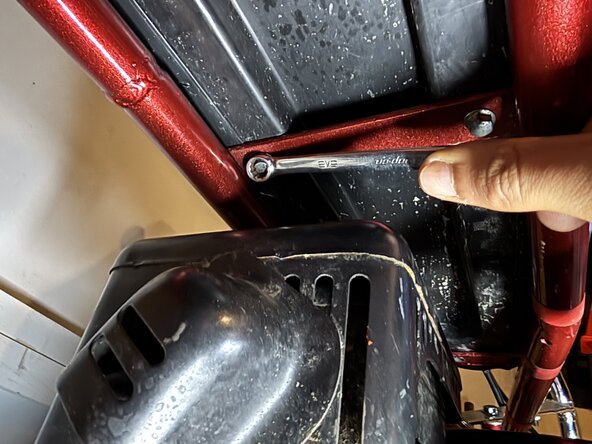
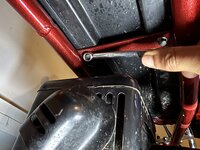
Two 8mm bolts are holding the seat down to the frame (Picture 2).
-
Use the 8mm wrench to remove the bolts, then lift the seat to remove it.
 Ask FixBot
-
-
-
Inspect the throttle assembly. Check for visible damage to the throttle cable, grip, and housing. Look for frayed cables or sticking in the throttle twist mechanism.
-
This throttle cable is visibly frayed and must be replaced.
-
-
-
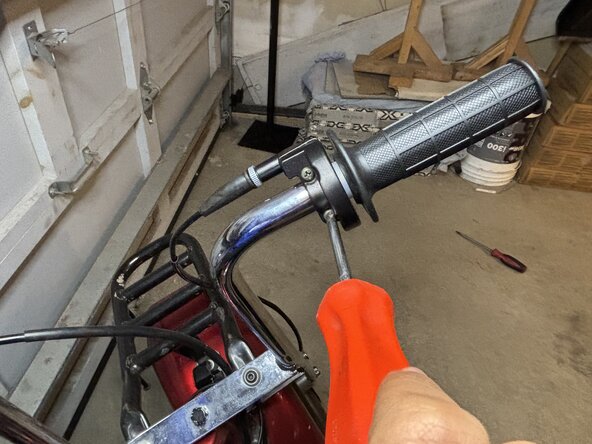
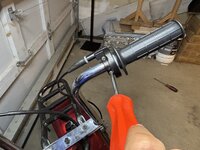
Remove the screw using a Phillips #00 screwdriver.
-
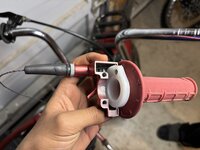
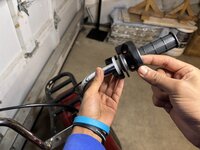
Slide off the rubber grip.
-
Take off the throttle clamp to expose the throttle cable sheath.
-
-
-
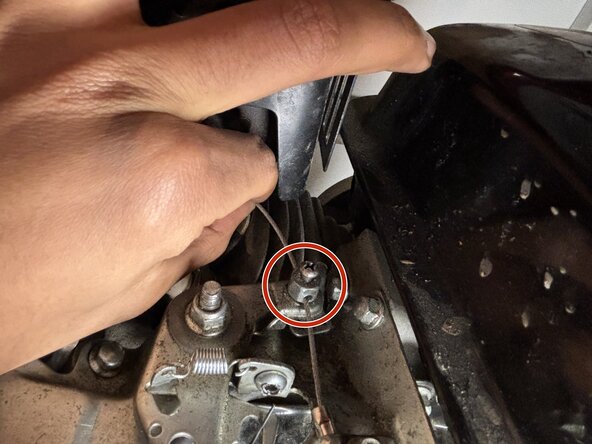
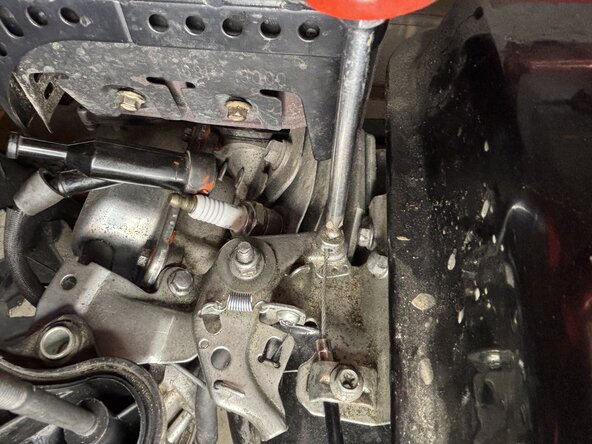
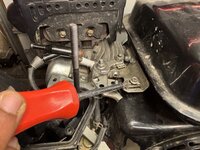
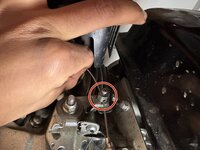
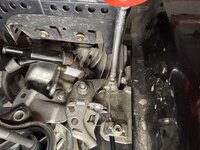
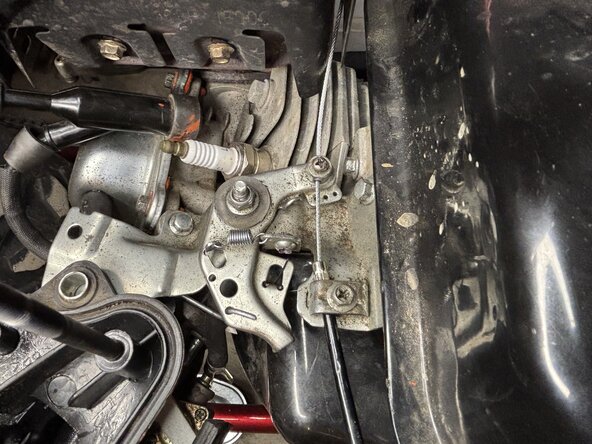
Remove the nut and screw securing the throttle cable to the carburetor linkage.
-
Pull the cable out of the throttle assembly.
-
-
-
-
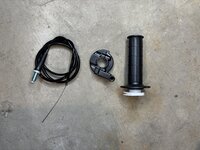
Lay out the new throttle kit in front of you. Make sure that you have a throttle cable, clamp, and grip.
-
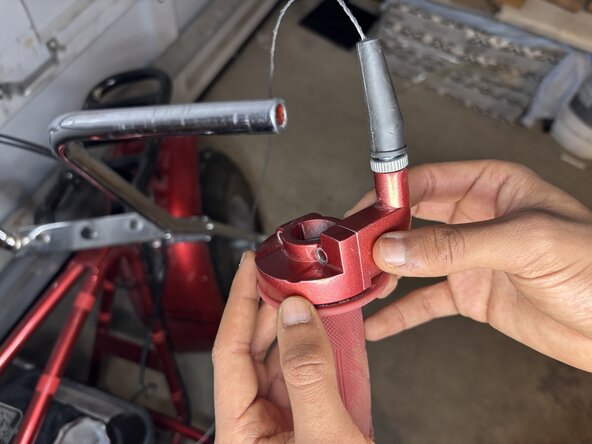
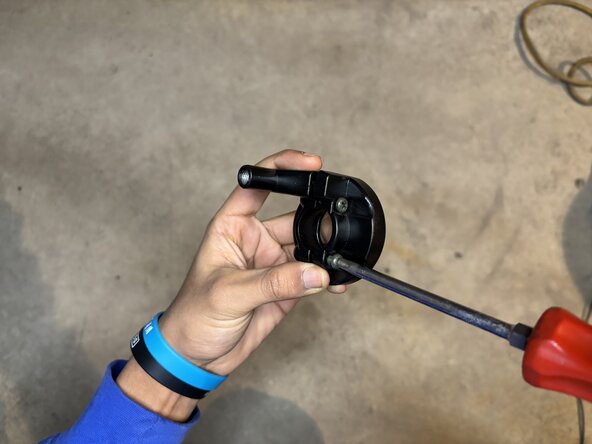
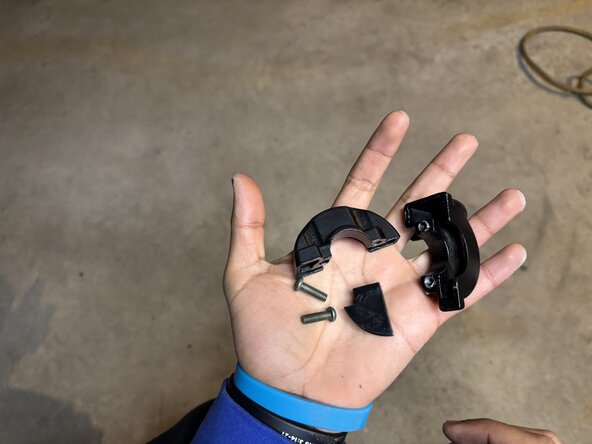
Use the screwdriver to separate the two halves of the throttle clamp.
-
-
-
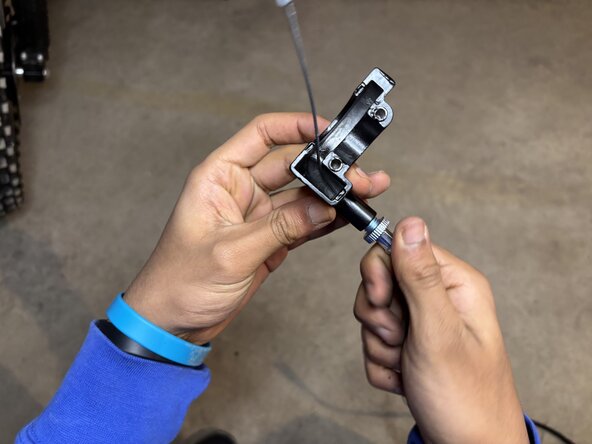
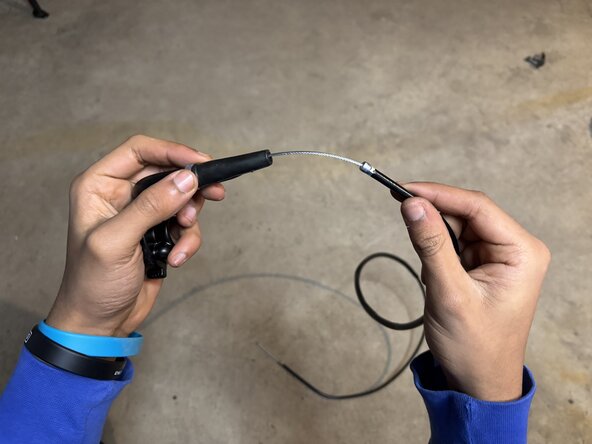
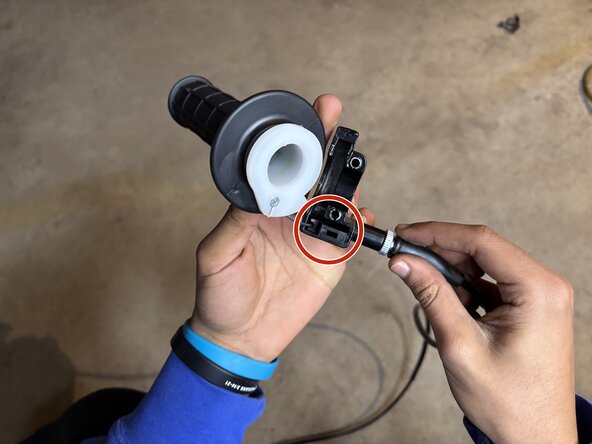
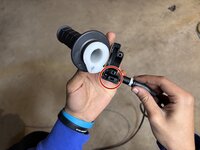
Install the new wire into the new throttle.
-
Insert the ferrule into the throttle clamp.
-
-
-
Insert the ferrule into the throttle housing.
-
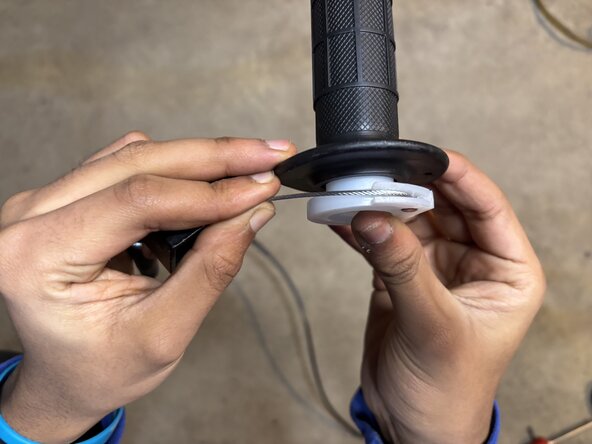
Hook the barrel into the grip drum.
-
Check that the cable rides in the molded channel.
-
-
-
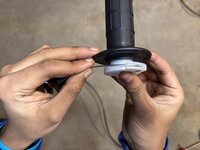
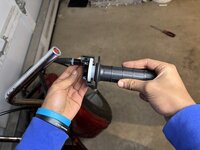
Prepare the grip and the throttle for installation on the handlebars.
-
Apply a drop of thread‑locker to each bolt. Clamp the two housing halves together.
-
Slide the grip onto the handlebar.
-
-
-
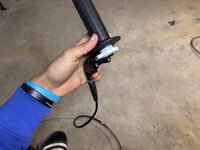
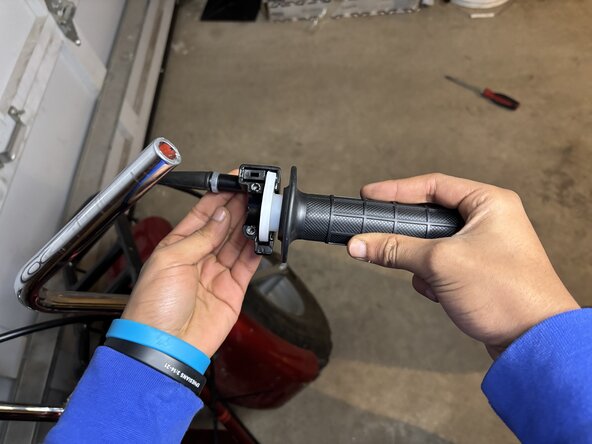
Secure the throttle assembly onto the handlebars.
-
Reinstall the screws and tighten them with a screwdriver.
-
-
-
Attach the cable sleeve to the throttle assembly on the engine.
-
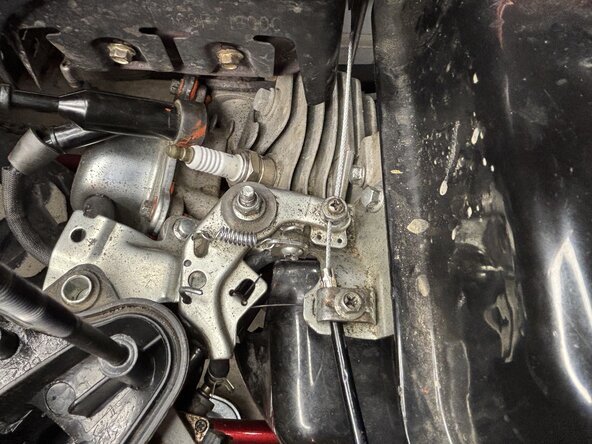
Place the throttle cable into the throttle assembly located on the engine.
-
Tighten the screws to secure the throttle cable.
-
-
-
Adjust the throttle tension. Ensure that the throttle snaps back properly when released.
-
Adjust the cable tension if necessary using the adjustment screw near the carburetor. Refer back to Step 11 if needed.
-
-
-
Reattach the spark plug wire to the spark plug.
-
Reinstall the seat and tighten the bolts.
-
Twist the throttle to make sure it works properly.
-














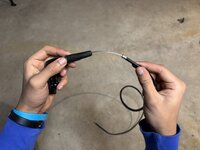

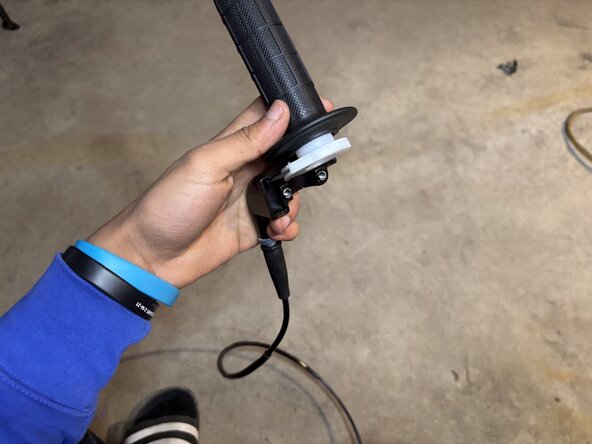
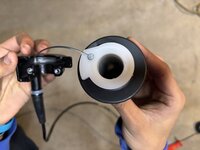





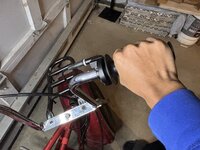
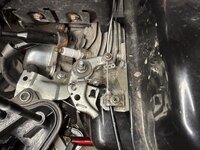
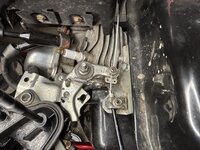

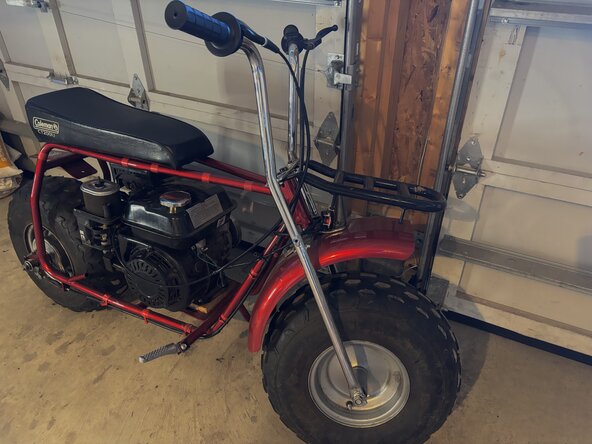
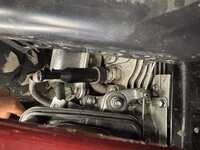
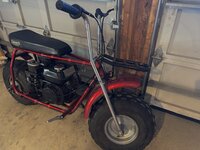
The throttle replacement is complete. The throttle should move smoothly and snap back when released.
Cancel: I did not complete this guide.
4 other people completed this guide.

Team

York University, Team 4-8, Woodhouse Winter 2025 Member of York University, Team 4-8, Woodhouse Winter 2025
YORK-WOODHOUSE-W25S4G8
2 Members
2 Guides authored
