
Coin Counter Disassembly

osmar and 4 other contributors
Last updated on Nov 19, 2024
Views: 912
View statistics:
- Past 24 Hours:
- 6
- Past 7 Days:
- 28
- Past 30 Days:
- 121
- All Time:
- 912
Comments: 0
No one has left comments on this guide. Will you be first?
Go to guide commentsCompleted: 0 1
No one has marked this guide "completed." Will you be the first?
1 person has marked this guide "completed." It's you — great job!
Favorites: 0 1
No one has favorited (and subscribed to) this guide. Will you be the first?
1 person has favorited (and subscribed to) this guide — and that's you!
Community-Contributed Guide
An awesome member of our community made this guide. It was not created by iFixit staff.
What you need
Tools

-
-
-
I will be showing you how to look at the motherboard of a coin counter
-
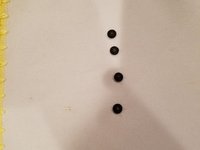
the first step is to flip it to the back to see the little screws
 Ask FixBot
-
-
-
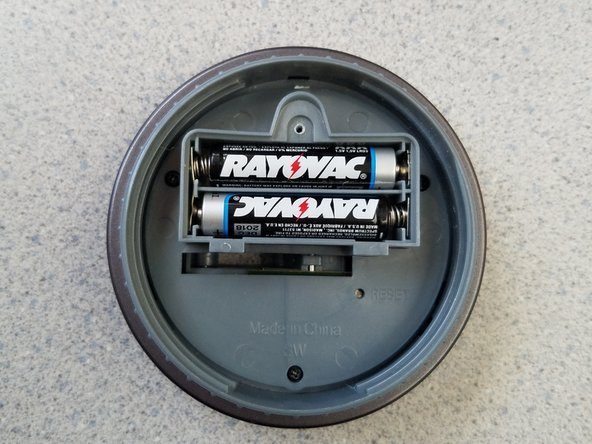
the second step is to remove the batteries.
-
To remove the batteries you have to take the top screw off
-
the second picture will show you how i toke out the screw in order to take out the batteries.to be safe when i get to the motherboard
-
-
-
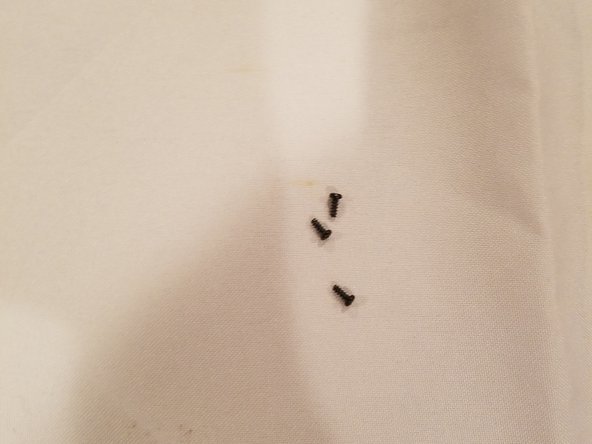
the third step is to take out the 3 little screws in which side of the circle
-
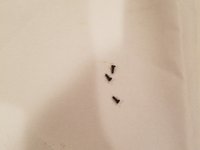
In total you should have 3 screws. make sure you don"t lose them in case you want to put it back together
-
-
-
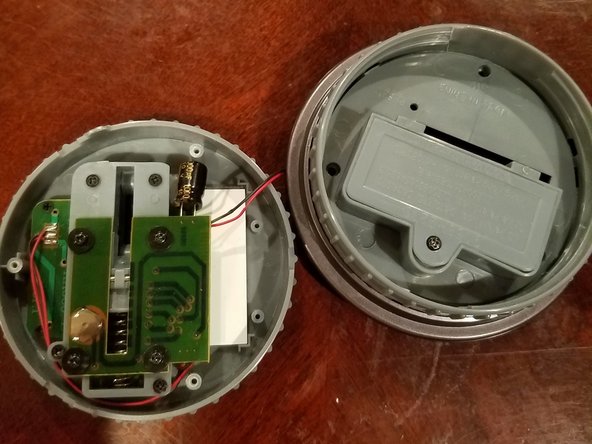
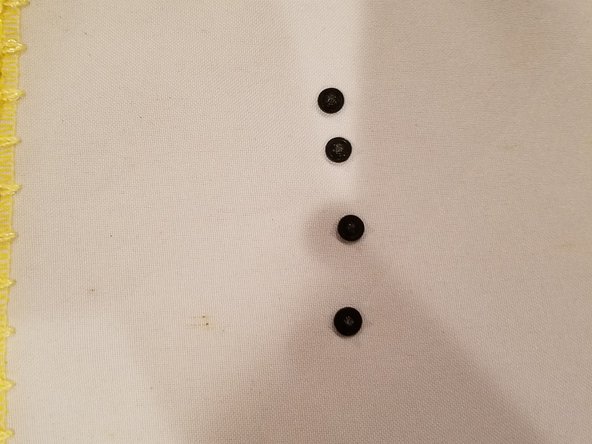
The fourth step is to remove the othere crews from the motherboard. You need to remove the crews in order to take out the motherboard.
-
You have to have the 4 screws if your switch the motherboard to a other one.
-
-
-
-
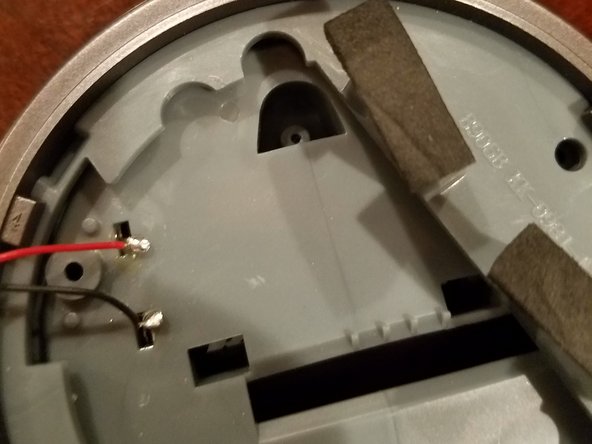
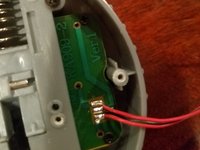
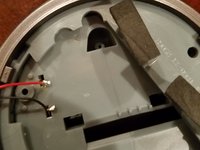
The 5th step is the hardest part because you have to now remove the red and black wires from both sides so then you can see the motherboard.
-
Be very careful removing or pulling the wires because it can break the other wires which will not work anymore.
-
-
-
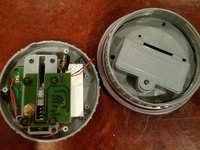
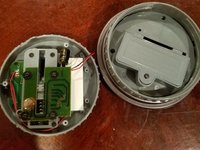
The last step is you got to the motherboard which was my goal. you could use the motherboard for other projects or just put it back for more a challenge.
-
My decisions was to put it back together, so then i can have more of a challenge. thank you for your time and i hoped this helped
-
-







To reassemble your device, follow these instructions in reverse order.

