Free Shipping on Domestic Orders $75+

Cobra 29 LTD Classic Outer Cover Replacement

What you need

  1. Cobra 29 LTD Classic Outer Cover Replacement, Power Cable: step 1, image 1 of 2 Cobra 29 LTD Classic Outer Cover Replacement, Power Cable: step 1, image 2 of 2
    • Turn the power switch, the leftmost knob, counterclockwise to off.

    Ask FixBot
  2. Cobra 29 LTD Classic Outer Cover Replacement: step 2, image 1 of 2 Cobra 29 LTD Classic Outer Cover Replacement: step 2, image 2 of 2
    • Turn the device around and firmly pull the power cable plug to remove it from the radio.

    Ask FixBot
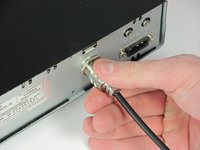
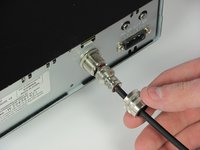
  3. Cobra 29 LTD Classic Outer Cover Replacement, Antenna Cable: step 3, image 1 of 2 Cobra 29 LTD Classic Outer Cover Replacement, Antenna Cable: step 3, image 2 of 2
    • Unscrew the securing cap counterclockwise from the antenna connector.

    Ask FixBot
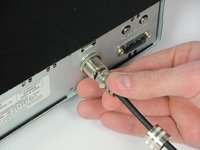
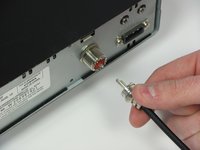
  4. Cobra 29 LTD Classic Outer Cover Replacement: step 4, image 1 of 2 Cobra 29 LTD Classic Outer Cover Replacement: step 4, image 2 of 2
    • Gently pull the antenna cable to remove it from the back of the radio.

    Ask FixBot
  5. Cobra 29 LTD Classic Outer Cover Replacement, Microphone: step 5, image 1 of 2 Cobra 29 LTD Classic Outer Cover Replacement, Microphone: step 5, image 2 of 2
    • Unscrew the cap counterclockwise on the microphone plug to disconnect the cable.

    Ask FixBot
  6. Cobra 29 LTD Classic Outer Cover Replacement: step 6, image 1 of 1
    • Gently unplug the microphone plug.

    Ask FixBot
  7. Cobra 29 LTD Classic Outer Cover Replacement, Outer Cover: step 7, image 1 of 2 Cobra 29 LTD Classic Outer Cover Replacement, Outer Cover: step 7, image 2 of 2
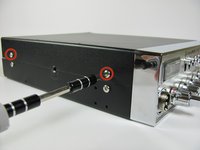
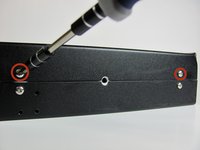
    • Unscrew the top four 6.0mm Phillips head screws counterclockwise on the left and right side of the device using a #1 Phillips head screwdriver.

    Ask FixBot
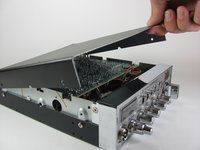
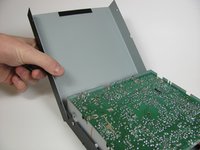
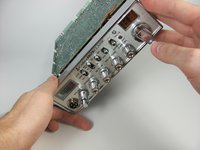
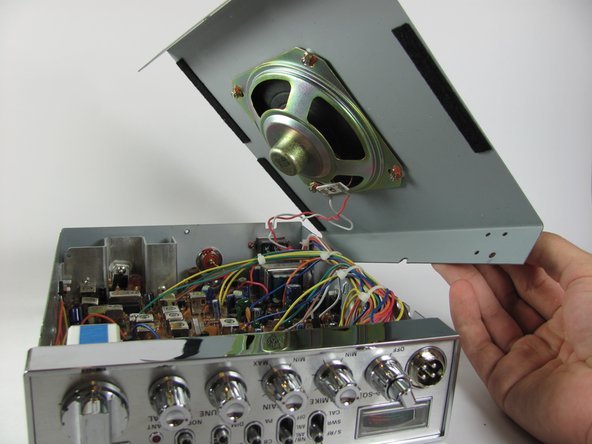
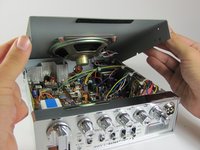
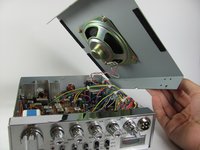
  8. Cobra 29 LTD Classic Outer Cover Replacement: step 8, image 1 of 3 Cobra 29 LTD Classic Outer Cover Replacement: step 8, image 2 of 3 Cobra 29 LTD Classic Outer Cover Replacement: step 8, image 3 of 3
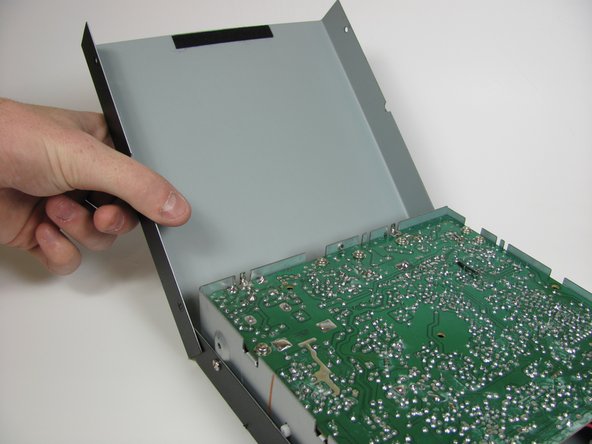
    • Gently life and remove the top cover.

    Ask FixBot
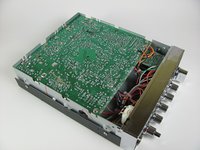
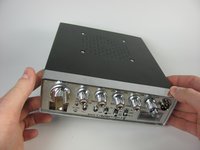
  9. Cobra 29 LTD Classic Outer Cover Replacement: step 9, image 1 of 3 Cobra 29 LTD Classic Outer Cover Replacement: step 9, image 2 of 3 Cobra 29 LTD Classic Outer Cover Replacement: step 9, image 3 of 3
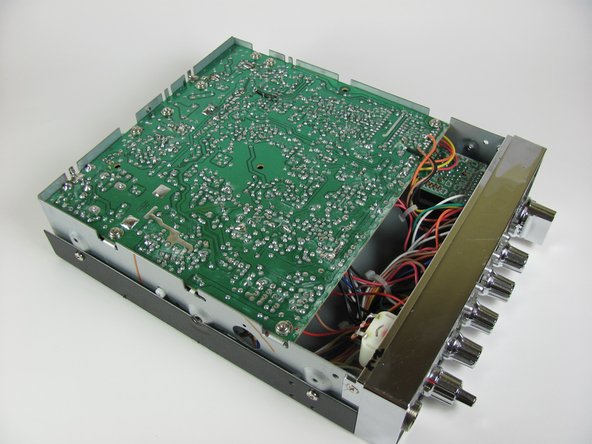
    • Gently set down on a hard, flat, non-conductive surface to minimize risk of shock or breaking your radio.

    • Carefully flip the radio over.

    Ask FixBot
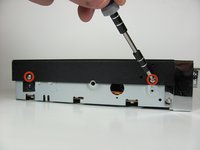
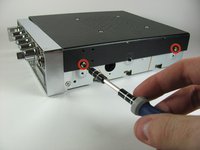
  10. Cobra 29 LTD Classic Outer Cover Replacement: step 10, image 1 of 2 Cobra 29 LTD Classic Outer Cover Replacement: step 10, image 2 of 2
    • Unscrew the four 6.0mm Phillips head screws counterclockwise on the left and right side of the device that connect the remaining cover, using a #1 Phillips head screwdriver.

    Ask FixBot
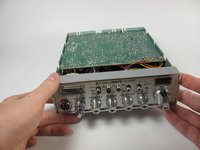
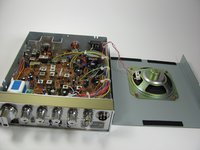
  11. Cobra 29 LTD Classic Outer Cover Replacement: step 11, image 1 of 3 Cobra 29 LTD Classic Outer Cover Replacement: step 11, image 2 of 3 Cobra 29 LTD Classic Outer Cover Replacement: step 11, image 3 of 3
    • Watch out for the wires connected to the speaker. These short wires will not allow you to move the cover very far.

    • Gently lift and remove the case cover.

    Ask FixBot
Conclusion

To reassemble your device, follow these instructions in reverse order.

3 other people completed this guide.

Chase

Member since: 10/20/13

318 Reputation

2 Guides authored

Team

Cal Poly, Team 11-37, Amido Fall 2013 Member of Cal Poly, Team 11-37, Amido Fall 2013

CPSU-AMIDO-F13S11G37

4 Members

14 Guides authored

1 Guide Comment

where are you in the uk .i need parts for a c b radio can yiu help me . please help

Raycollins62 - Reply Share

Add Comment

View Statistics:

Past 24 Hours: 1

Past 7 Days: 8

Past 30 Days: 61

All Time: 2,050