
Free Shipping on Domestic Orders $75+

Cobra 29 LTD Classic Knobs Replacement

What you need

  1. Cobra 29 LTD Classic Knobs Replacement, Power Cable: step 1, image 1 of 2 Cobra 29 LTD Classic Knobs Replacement, Power Cable: step 1, image 2 of 2
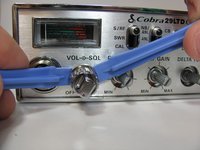
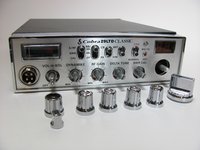
    • Turn the power switch, the leftmost knob, counterclockwise to off.

  2. Cobra 29 LTD Classic Knobs Replacement: step 2, image 1 of 2 Cobra 29 LTD Classic Knobs Replacement: step 2, image 2 of 2
    • Turn the device around and firmly pull the power cable plug to remove it from the radio.

  3. Cobra 29 LTD Classic Knobs Replacement, Microphone: step 3, image 1 of 2 Cobra 29 LTD Classic Knobs Replacement, Microphone: step 3, image 2 of 2
    • Unscrew the cap counterclockwise on the microphone plug to disconnect the cable.

  4. Cobra 29 LTD Classic Knobs Replacement: step 4, image 1 of 1
    • Gently unplug the microphone plug.

  5. Cobra 29 LTD Classic Knobs Replacement, Knobs: step 5, image 1 of 1
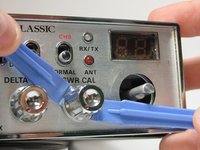
    • Gently turn the middle four knobs counter-clockwise until they no longer move.

    • The middle four knobs are held in place by friction and do not have a way to keep them in the correct position. When reassembling the middle four knobs, make sure to line up the mark on the knob with the left-most mark on the front panel.

  6. Cobra 29 LTD Classic Knobs Replacement: step 6, image 1 of 2 Cobra 29 LTD Classic Knobs Replacement: step 6, image 2 of 2
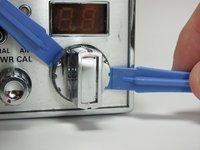
    • Insert two plastic opening tools behind the tuning knob.

    • With some force, pry the knob off of the radio.

    • Two opening tools are needed so that you don't break the knob or connector by applying uneven force.

  7. Cobra 29 LTD Classic Knobs Replacement: step 7, image 1 of 3 Cobra 29 LTD Classic Knobs Replacement: step 7, image 2 of 3 Cobra 29 LTD Classic Knobs Replacement: step 7, image 3 of 3
    • Repeat the above procedure with the remaining knobs.

    • The final knob will have a power knob on the end of it. When reassembling, put the power knob on last.

Conclusion

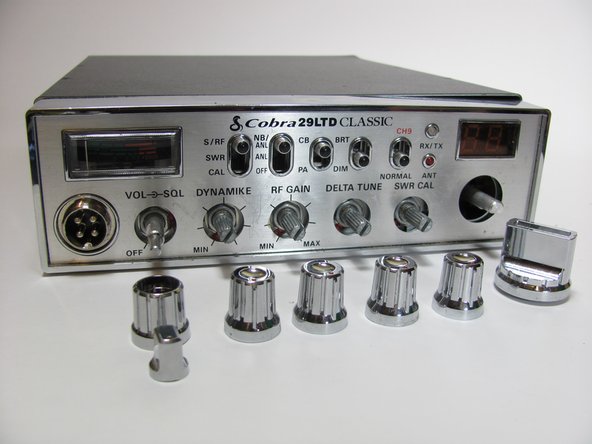
To reassemble your device, align the buttons and push them on.

2 other people completed this guide.

Matt Williams

Member since: 10/20/13

160 Reputation

1 Guide authored

Team

Cal Poly, Team 11-37, Amido Fall 2013 Member of Cal Poly, Team 11-37, Amido Fall 2013

CPSU-AMIDO-F13S11G37

4 Members

14 Guides authored

0 Guide Comments

Add Comment

View Statistics:

Past 24 Hours: 1

Past 7 Days: 19

Past 30 Days: 81

All Time: 5,883