
Closing bObi's Cover Post-Repair

Chelsea and 2 other contributors
Last updated on Jun 16, 2015
Views: 701
View statistics:
- Past 24 Hours:
- 3
- Past 7 Days:
- 17
- Past 30 Days:
- 95
- All Time:
- 701
Comments: 0
No one has left comments on this guide. Will you be first?
Go to guide commentsCompleted: 2 3
2 people have marked this guide "completed." Will you be next?
3 people have marked this guide "completed." Including you — great job!
Favorites: 0 1
No one has favorited (and subscribed to) this guide. Will you be the first?
1 person has favorited (and subscribed to) this guide — and that's you!
Community-Contributed Guide
An awesome member of our community made this guide. It was not created by iFixit staff.
Introduction
Go to step 1 ↓How to close and seal bObi's cover after opening and addressing any internal repair.
What you need
Tools

-
-
-
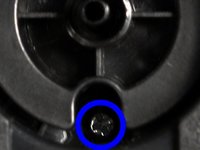
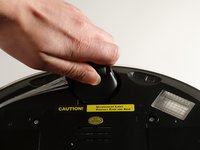
Remove bObi’s front wheel to access one of the screws holding bObi together.
-
Uninstall the larger screw that sits deeper in the wheel compartment.
 Ask FixBot
-
-
-
Remove bObi's dustbin.
-
Uninstall the 2 screws close to the bin and 2 smaller screws above her main brushes.
-
-
-
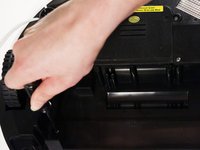
Lift the brush holder. To detach completely, unplug it from bObi.
-
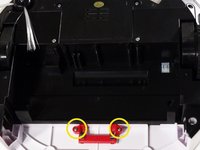
Remove the two screws on the dustbin contact point holder inside bObi.
-
There are 4 screws beneath the main brushes. Uninstall these, and open bObi up to expose her main circuit board.
-
-
-
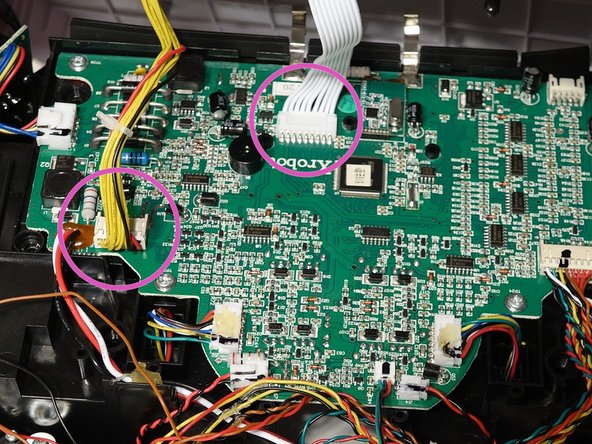
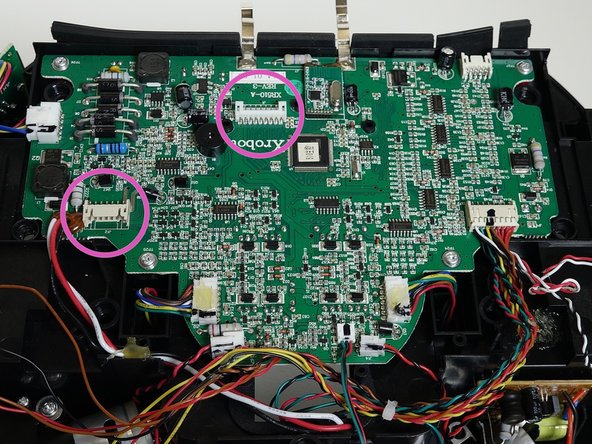
Detach the two circuit plugs connecting bObi's cover to the main board and the cover will be completely removed.
-
-
-
-
-
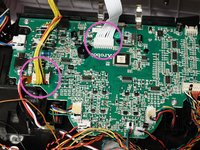
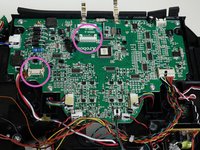
Attach the circuit plugs from bObi's cover back on her main board.
-
The all white plug goes to the centre of the circuit board.
-
The smaller plug connects at the side, closer to bObi's left wheel.
-
-
-
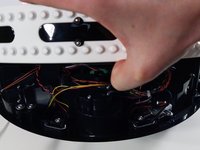
Lay down bObi's cover and line up the sides carefully.
-
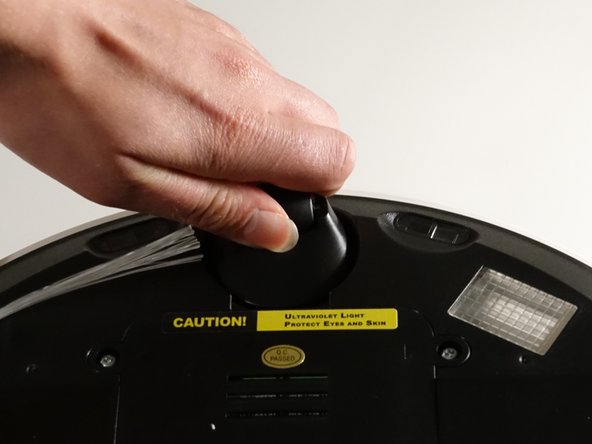
Re-install the front wheel's screw.
-
Place the wheel back in its compartment so it points towards bObi's touch sensors. Push down to secure it on bObi.
-
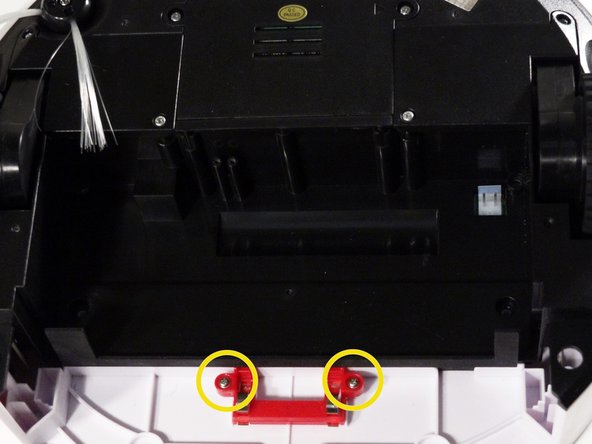
Replace the dustbin contact point fastener on bObi and install its two screws.
-
-
-
-
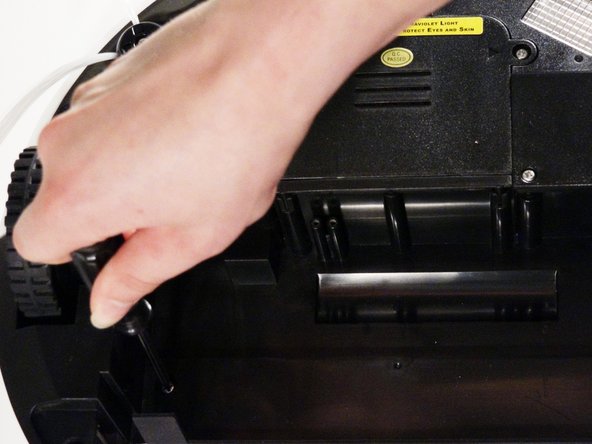
Install the four screws that were previously found under the main brushes.
-
Place the small main brush fastener overtop the screw posts on bObi and reinstall the two thin screws which hold it in place.
-
Lay the main brush attachment in the open space.
-
-
-
Replace the corner pieces close to the dustbin and install the 2 screws securing them on bObi.
-
Insert the dustbin before using bObi again.
-
-


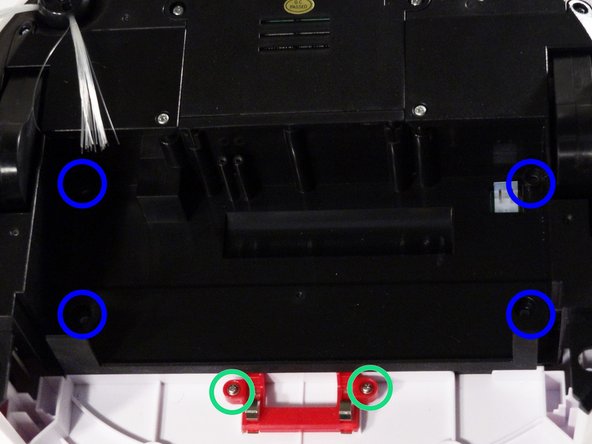
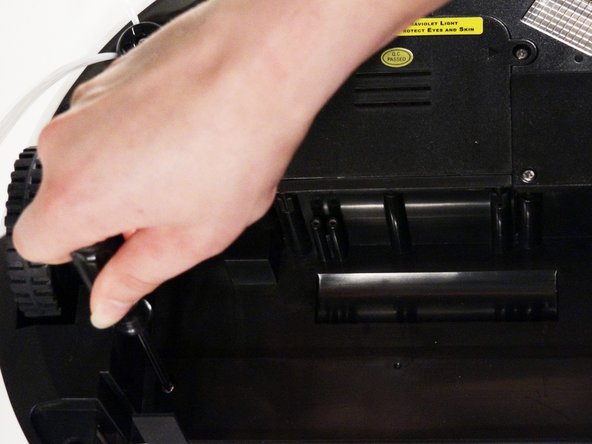




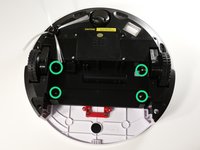
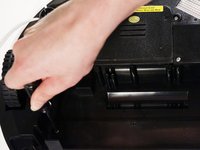

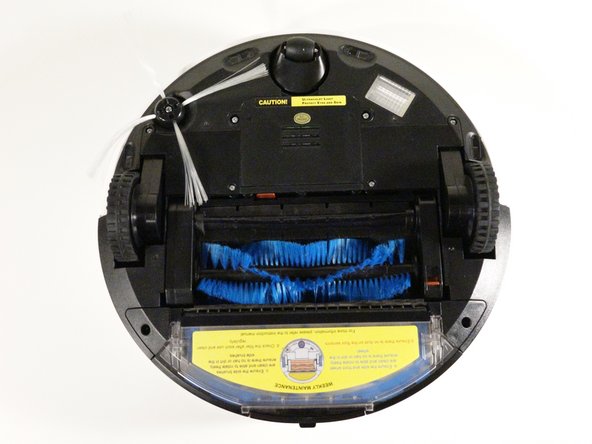
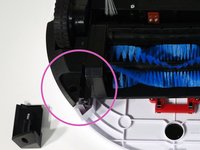
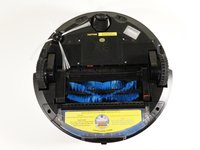
Follow this guide or reverse the directions of the Opening bObi guide to reassemble your device.
Cancel: I did not complete this guide.
2 other people completed this guide.

