
Cirago M9030 Screen Protector Replacement

Ryan Sutardji and 6 other contributors
Last updated on Jan 10, 2025
Views: 1.4K
View statistics:
- Past 24 Hours:
- 2
- Past 7 Days:
- 15
- Past 30 Days:
- 100
- All Time:
- 1,388
Comments: 0
No one has left comments on this guide. Will you be first?
Go to guide commentsCompleted: 1 2
1 person has marked this guide "completed." Will you be next?
2 people have marked this guide "completed." Including you — great job!
Favorites: 0 1
No one has favorited (and subscribed to) this guide. Will you be the first?
1 person has favorited (and subscribed to) this guide — and that's you!
Needs Better Images
Better photos will improve this guide. Help out by taking, editing, or uploading new ones!
Better Introduction
Improve this guide by completing or revising its introduction.
What you need
Tools


-
-
-
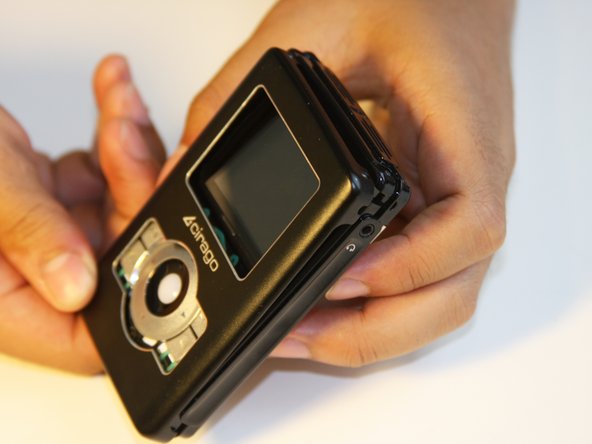
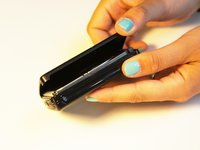
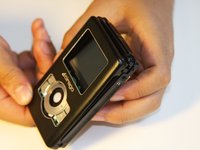
Use a Phillips #00 screwdriver to unscrew the four 1.1mm long screws on each corner located at the top of the cover.
 Ask FixBot
-
-
-
Similar to the last step, flip the cover over and use a Phillips #00 screwdriver to unscrew the four 1.1mm long screws on each corner located at the bottom of the cover.
-
-
-
-
-
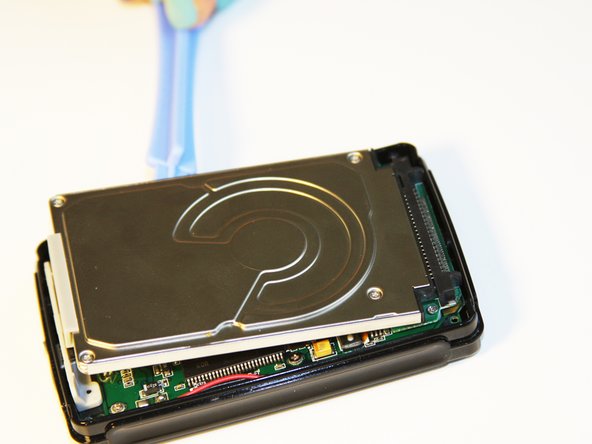
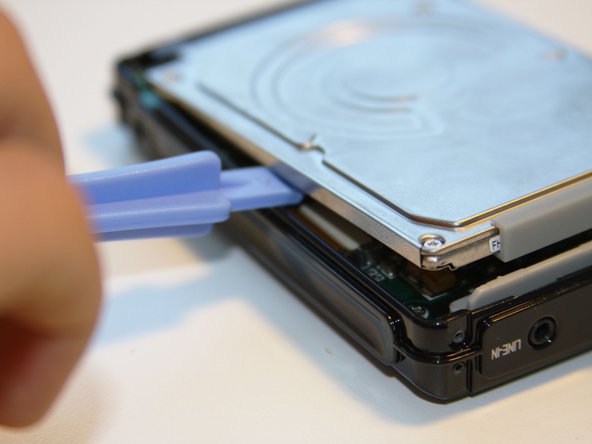
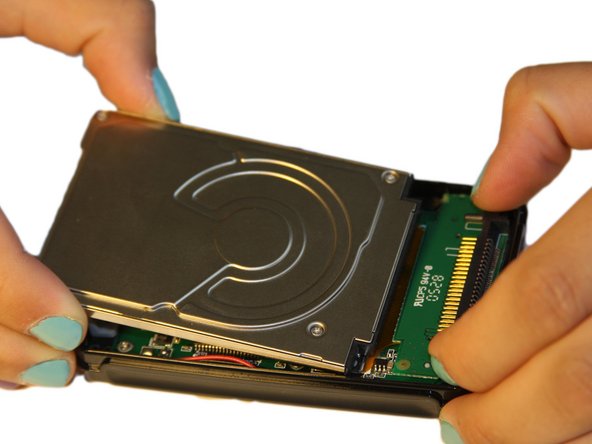
Using the plastic opening tool, wedge the tool underneath the bottom left edge of the hard drive.
-
Raise the bottom edge of the hard drive 15 degrees up from the device.
-
-
-
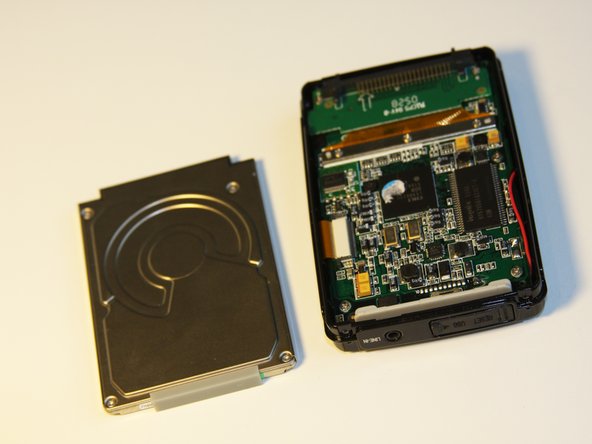
Place fingers on the IDE connectors gently picking up and sliding the hard drive out from the IDE module.
-
-
-
-
Using the Phillips #00 screwdriver, unscrew the two 1.5mm long screws holding the IDE connector to the motherboard located at the top.
-
-
-
Using the Phillips #00 screwdriver, unscrew the three 1.5mm long screws on the metal bracket.
-
-
-
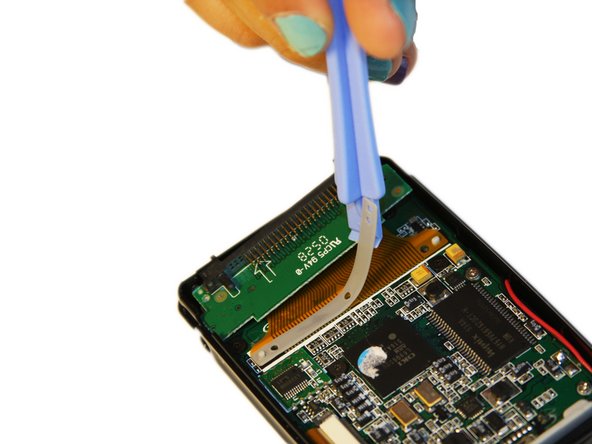
Using the plastic opening tool, completely lift the metal bracket off of the motherboard.
-
Using the plastic opening tool, completely lift the rubber insulator off of the motherboard.
-
-
-
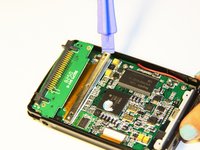
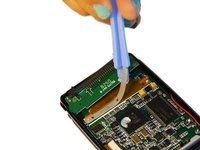
Using the plastic opening tool, completely lift the ribbon off of the motherboard.
-
-
-
-
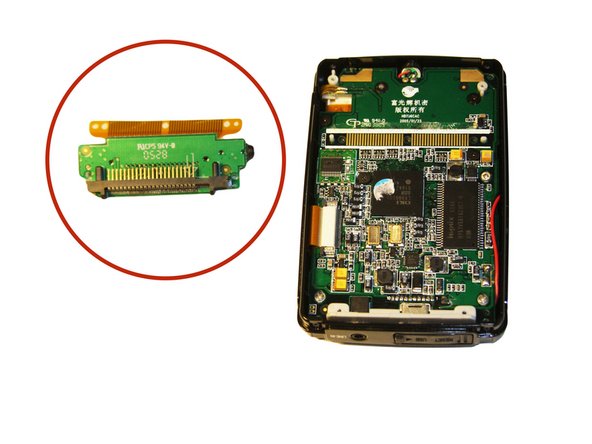
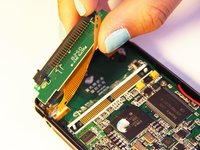
The audio jack is attached to the IDE connector. Pull at a 45 degree angle from the audio jack.
-
Completely remove the IDE connector from the device.
-
-
-
-
-
Using the plastic opening tool, wedge the tool underneath the top edge of the motherboard.
-
Completely remove the motherboard.
-
-
-
-
-
Grasping the sides of the cover, gently press on screen protector from the inside of the front cover to pop out the screen protector.
-





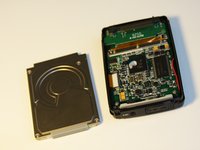


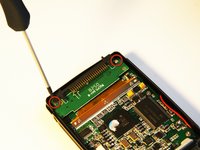
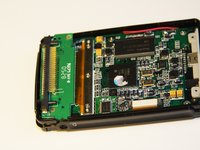




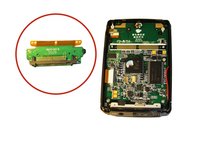

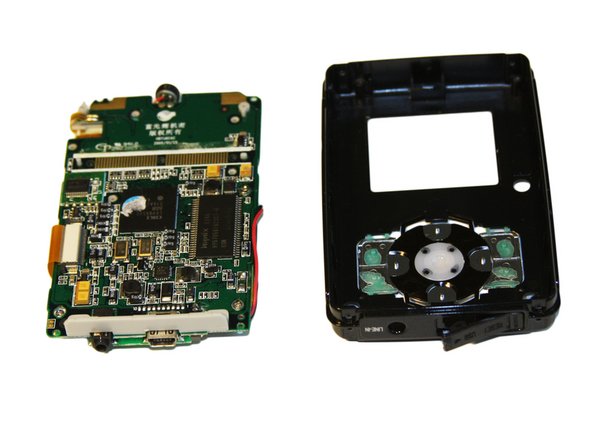
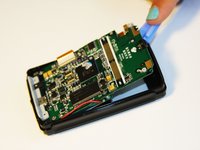


To reassemble your device, follow these instructions in reverse order.
Cancel: I did not complete this guide.
One other person completed this guide.

Team

Cal Poly, Team 1-4, Regan SU 2012 Member of Cal Poly, Team 1-4, Regan SU 2012
CPSU-REGAN-SU12S1G4
4 Members
84 Guides authored
