Free Shipping on Domestic Orders $75+

Cirago M9030 Battery Replacement

What you need

    1. Cirago M9030 Battery Replacement, Cover: step 1, image 1 of 1
      • Use a Phillips #00 screwdriver to unscrew the four 1.1mm long screws on each corner located at the top of the cover.

      Ask FixBot

      Add Comment

    2. Cirago M9030 Battery Replacement: step 2, image 1 of 1
      • Similar to the last step, flip the cover over and use a Phillips #00 screwdriver to unscrew the four 1.1mm long screws on each corner located at the bottom of the cover.

      • Remove the warranty sticker across the bottom.

      Ask FixBot

      Add Comment

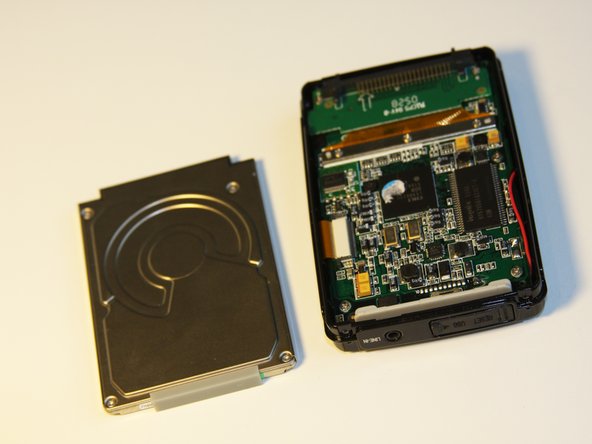
    3. Cirago M9030 Battery Replacement: step 3, image 1 of 2 Cirago M9030 Battery Replacement: step 3, image 2 of 2
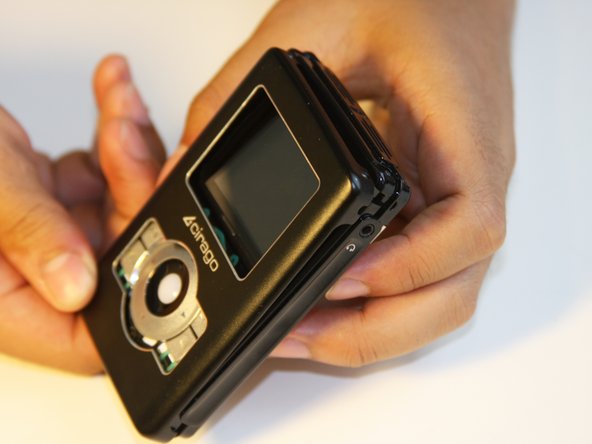
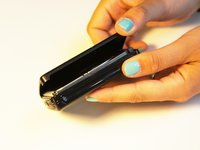
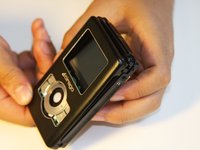
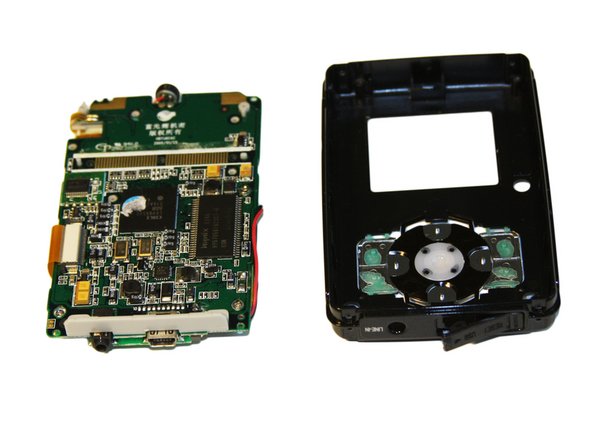
      • Gently take the cover apart using your hands separating the top and bottom.

      • The outer shell is expected to easily come apart.

      Ask FixBot

      Add Comment

    1. Cirago M9030 Battery Replacement, Hard Drive: step 4, image 1 of 1
      • Make sure that the screen of the device is facing down.

      Ask FixBot

      Add Comment

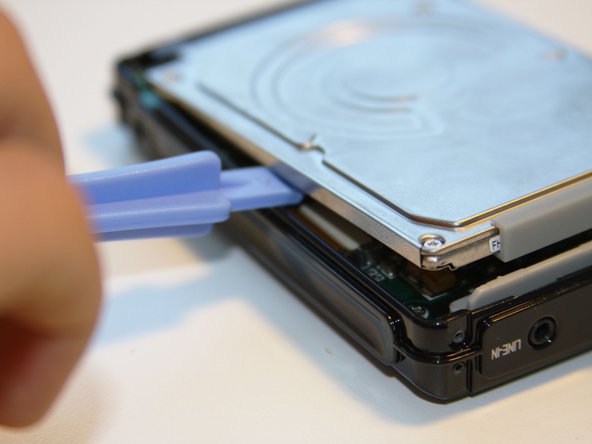
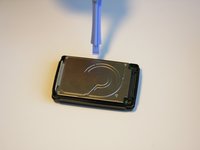
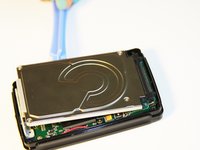
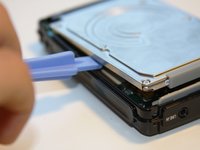
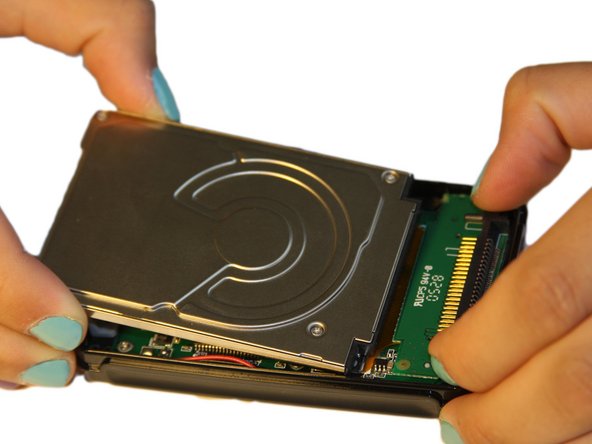
    2. Cirago M9030 Battery Replacement: step 5, image 1 of 3 Cirago M9030 Battery Replacement: step 5, image 2 of 3 Cirago M9030 Battery Replacement: step 5, image 3 of 3
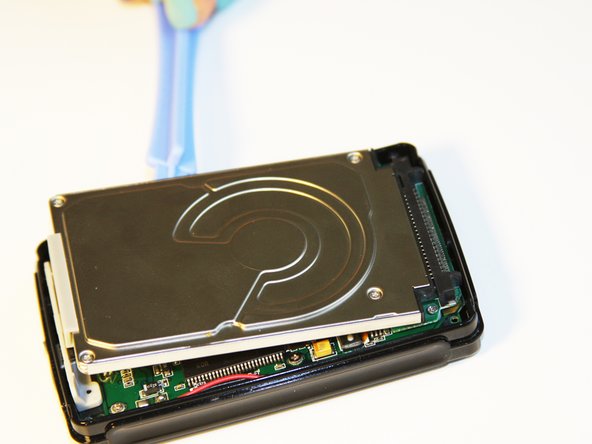
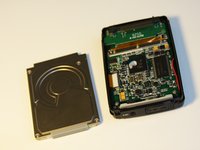
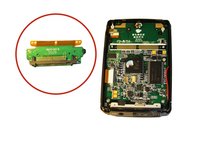
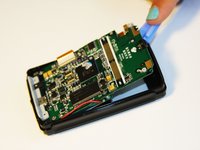
      • Using the plastic opening tool, wedge the tool underneath the bottom left edge of the hard drive.

      • Raise the bottom edge of the hard drive 15 degrees up from the device.

      Ask FixBot

      Add Comment

    3. Cirago M9030 Battery Replacement: step 6, image 1 of 3 Cirago M9030 Battery Replacement: step 6, image 2 of 3 Cirago M9030 Battery Replacement: step 6, image 3 of 3
      • Place fingers on the IDE connectors gently picking up and sliding the hard drive out from the IDE module.

      Ask FixBot

      Add Comment

    1. Cirago M9030 Battery Replacement, IDE Connector: step 7, image 1 of 2 Cirago M9030 Battery Replacement, IDE Connector: step 7, image 2 of 2
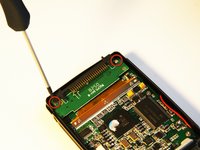
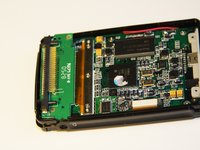
      • Using the Phillips #00 screwdriver, unscrew the two 1.5mm long screws holding the IDE connector to the motherboard located at the top.

      Ask FixBot

      Add Comment

    2. Cirago M9030 Battery Replacement: step 8, image 1 of 1
      • Using the Phillips #00 screwdriver, unscrew the three 1.5mm long screws on the metal bracket.

      Ask FixBot

      Add Comment

    3. Cirago M9030 Battery Replacement: step 9, image 1 of 2 Cirago M9030 Battery Replacement: step 9, image 2 of 2
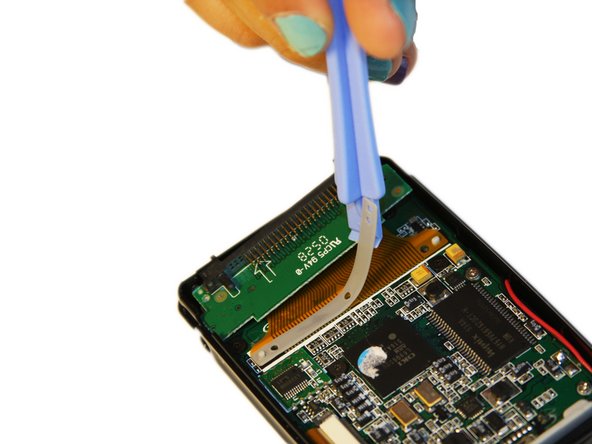
      • Using the plastic opening tool, completely lift the metal bracket off of the motherboard.

      • Using the plastic opening tool, completely lift the rubber insulator off of the motherboard.

      Ask FixBot

      Add Comment

    4. Cirago M9030 Battery Replacement: step 10, image 1 of 1
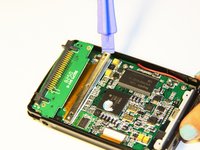
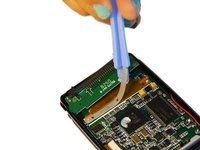
      • Using the plastic opening tool, completely lift the ribbon off of the motherboard.

      Ask FixBot

      Add Comment

    5. Cirago M9030 Battery Replacement: step 11, image 1 of 2 Cirago M9030 Battery Replacement: step 11, image 2 of 2
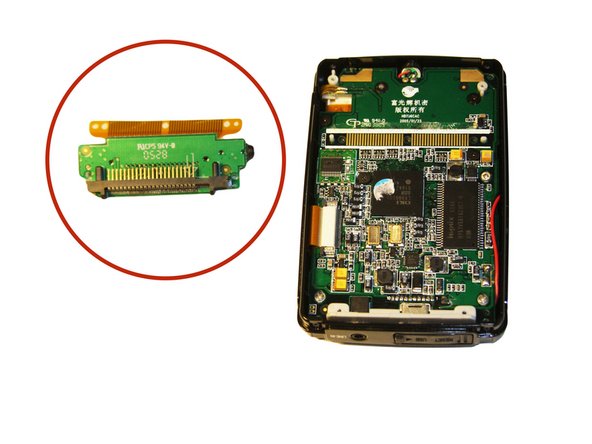
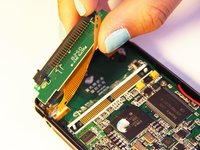
      • The audio jack is attached to the IDE connector. Pull at a 45 degree angle from the audio jack.

      • Completely remove the IDE connector from the device.

      Ask FixBot

      Add Comment

    1. Cirago M9030 Battery Replacement, Motherboard: step 12, image 1 of 2 Cirago M9030 Battery Replacement, Motherboard: step 12, image 2 of 2
      • Using the plastic opening tool, wedge the tool underneath the top edge of the motherboard.

      • Completely remove the motherboard.

      • The motherboard should slide out easily.

      Ask FixBot

      Add Comment

    1. Cirago M9030 Battery Replacement, Button Module: step 13, image 1 of 1
      • Set aside the front cover.

      • Flip over the motherboard.

      • Using the Philips #00 screwdriver, remove the three 4mm long screws holding down the button module.

      Ask FixBot

      Add Comment

    2. Cirago M9030 Battery Replacement: step 14, image 1 of 3 Cirago M9030 Battery Replacement: step 14, image 2 of 3 Cirago M9030 Battery Replacement: step 14, image 3 of 3
      Tool used on this step:
      Tweezers
      $4.99
      Buy
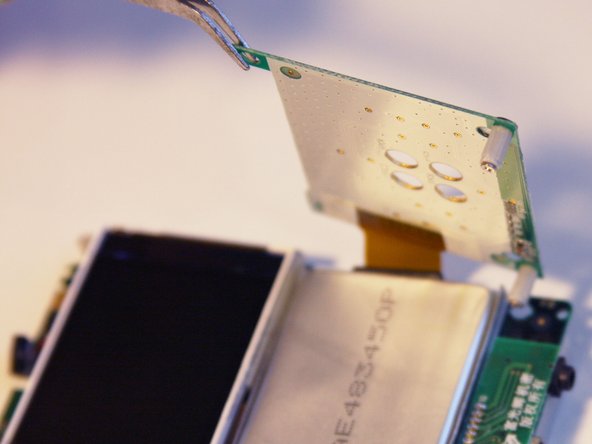
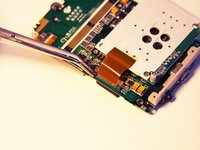
      • Using the tweezers, lift up the button module to a 180 degree angle.

      • Leave the button module attached by the ribbon.

      • Flip over the motherboard with the button module still attached.

      Ask FixBot

      Add Comment

    3. Cirago M9030 Battery Replacement: step 15, image 1 of 3 Cirago M9030 Battery Replacement: step 15, image 2 of 3 Cirago M9030 Battery Replacement: step 15, image 3 of 3
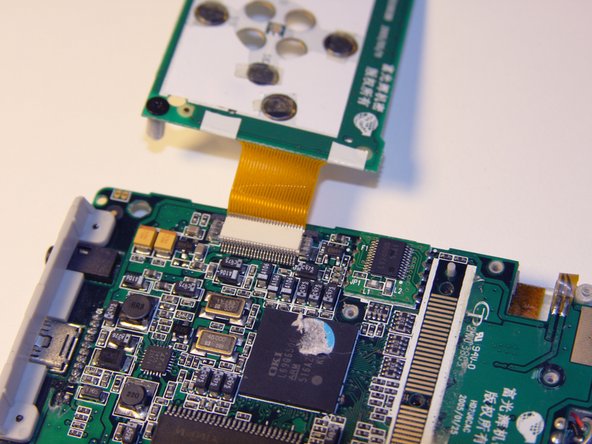
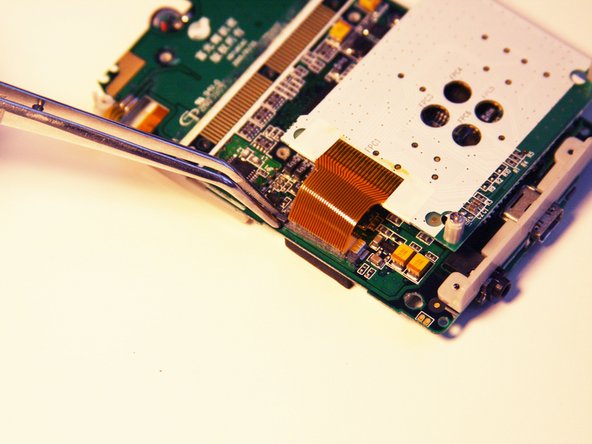
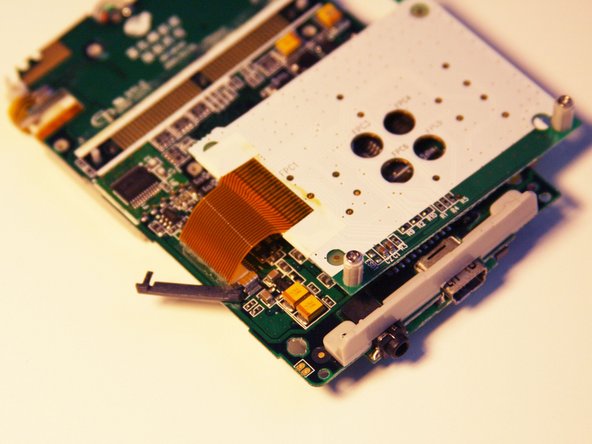
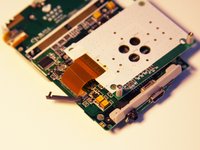
      • Fold the button module over the motherboard.

      • Using the tweezers, remove the ribbon pin.

      • The ribbon pin should snap completely off of the motherboard.

      Ask FixBot

      Add Comment

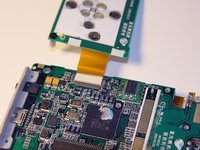
    4. Cirago M9030 Battery Replacement: step 16, image 1 of 2 Cirago M9030 Battery Replacement: step 16, image 2 of 2
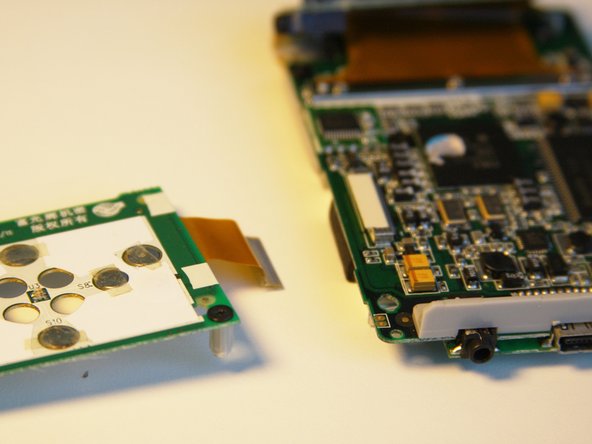
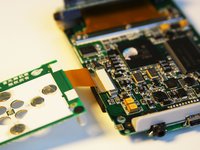
      • The ribbon should easily detach from the motherboard.

      Ask FixBot

      Add Comment

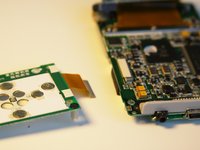
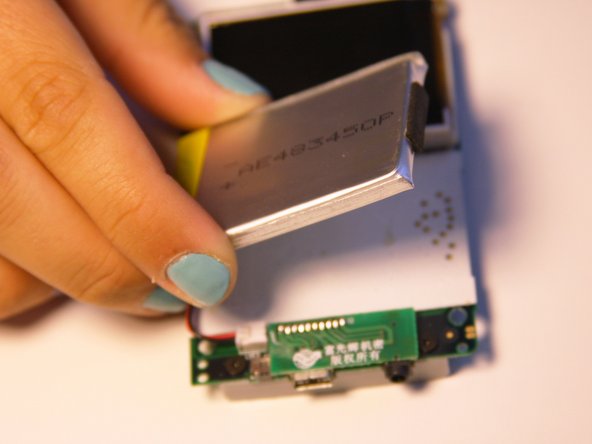
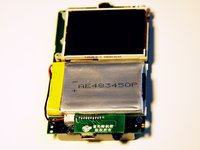
    1. Cirago M9030 Battery Replacement, Battery: step 17, image 1 of 2 Cirago M9030 Battery Replacement, Battery: step 17, image 2 of 2
      • Flip over the motherboard so the screen faces up.

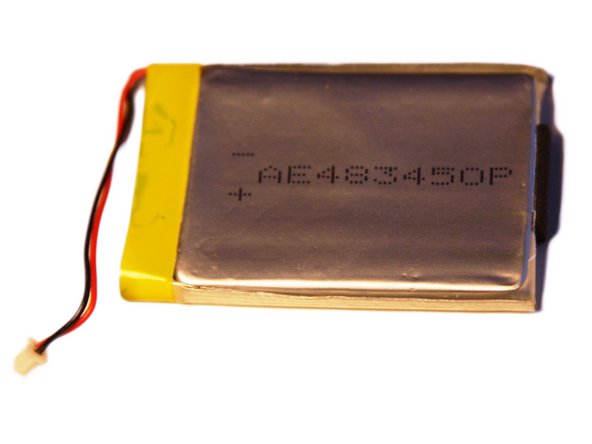
      • Carefully slide the battery off of the motherboard.

      • Leave the battery cable connected to the motherboard.

      Ask FixBot

      Add Comment

    2. Cirago M9030 Battery Replacement: step 18, image 1 of 3 Cirago M9030 Battery Replacement: step 18, image 2 of 3 Cirago M9030 Battery Replacement: step 18, image 3 of 3
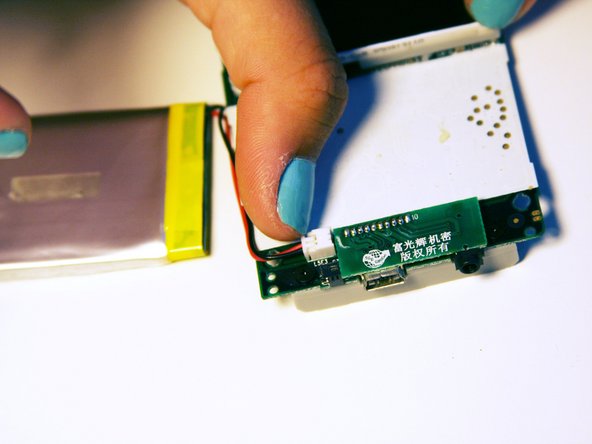
      • Place two fingers on the battery connectors and gently pull the power cable connector completely out from the motherboard.

      • Do not pull directly on the wire as it may damage the connector.

      Ask FixBot

      Add Comment

Conclusion

To reassemble your device, follow these instructions in reverse order.

Cancel: I did not complete this guide.

One other person completed this guide.

Ryan Sutardji

Member since: 06/29/12

171 Reputation

7 Guides authored

Team

Cal Poly, Team 1-4, Regan SU 2012 Member of Cal Poly, Team 1-4, Regan SU 2012

CPSU-REGAN-SU12S1G4

4 Members

84 Guides authored

0 Guide Comments

Add Comment

View Statistics:

Past 24 Hours: 3

Past 7 Days: 8

Past 30 Days: 23

All Time: 1,630