
Chromo Noria Touch Screen Replacement

Nick Rohn and one other contributor
Last updated on Dec 13, 2016
Views: 777
View statistics:
- Past 24 Hours:
- 1
- Past 7 Days:
- 13
- Past 30 Days:
- 93
- All Time:
- 777
Comments: 0
No one has left comments on this guide. Will you be first?
Go to guide commentsCompleted: 1 2
1 person has marked this guide "completed." Will you be next?
2 people have marked this guide "completed." Including you — great job!
Favorites: 0 1
No one has favorited (and subscribed to) this guide. Will you be the first?
1 person has favorited (and subscribed to) this guide — and that's you!
Step Trimmer
This guide has unnecessary steps. Trim them to be more concise!
Introduction
Go to step 1 ↓This guide is a repair manual for the touch screen on the Chromo Noria. If your screen is broken or needs repair for any reason, this guide will take you through the necessary steps to repair it. Although this guide may look long, you can fix it!
What you need
Tools


-
-
-
Insert your Plastic Opening Tool into the crease between the front panel and back panel.
-
Slide the Opening Tool around the entire device. As you progress, you should see the device open.
 Ask FixBot
-
-
-
Carefully turn the device over.
-
Lay the back panel aside so you can see the device's parts.
-
-
-
-
-
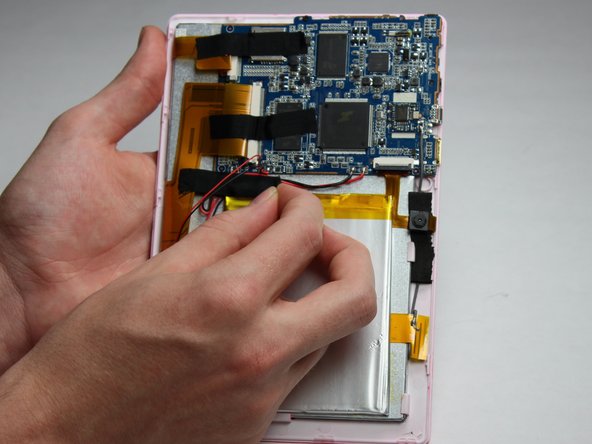
Place your finger at the end of the tape closest to the battery.
-
Peel the tape towards the flex cables to free the battery wires.
-
-
-
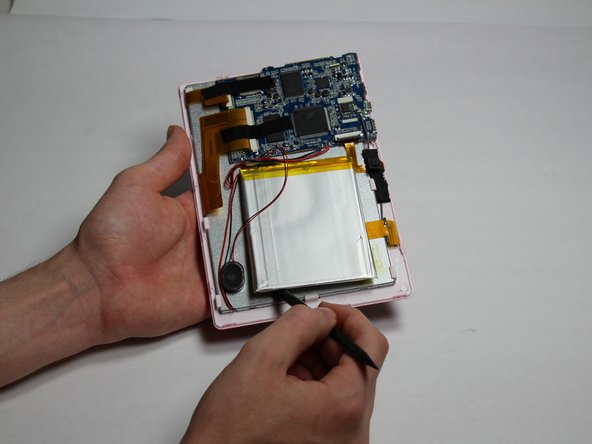
Using the spudger tool, place the tool along an edge of the battery.
-
Move the spudger around the edges of the battery to detach it from the tablet.
-
-
-
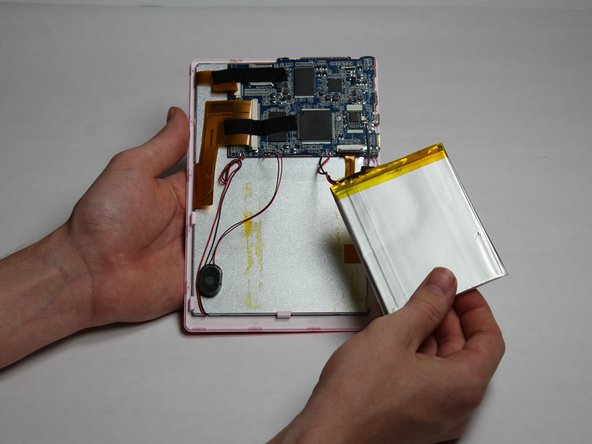
Using a soldering iron, desolder both of the battery wires. The battery's wires are located to the left of the camera's flex cable.
-
Remove the battery.
-
-
-
-
-
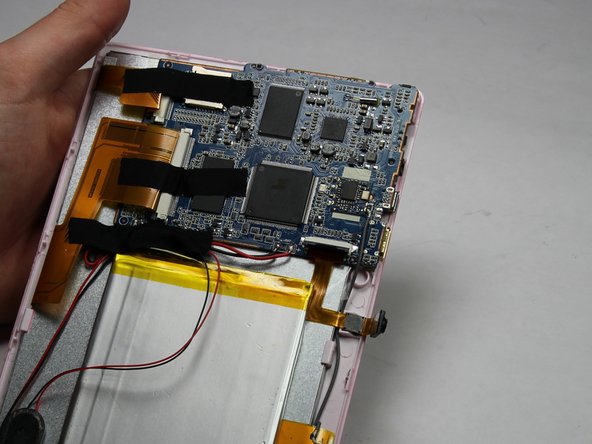
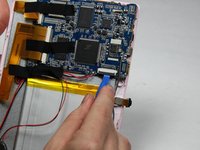
Using a small plastic opening tool, flip the black connector up until it makes "tick" sound.
-
Now, the flexing cable is ready to be removed.
-
-
Tool used on this step:Tweezers$4.99
-
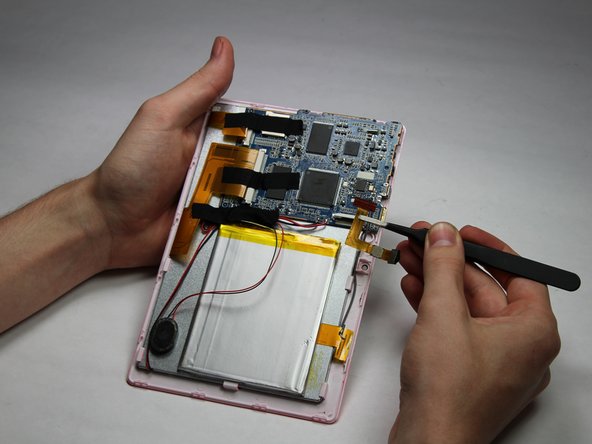
Using a pair of tweezers, hold the flexing cable right below the black connector.
-
Gently pull the flexing cable out of the connector while balancing the other side of the device with another hand.
-
-
-
-
-
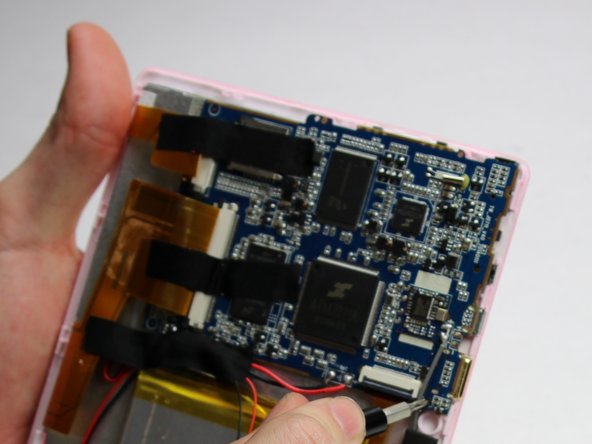
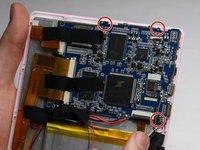
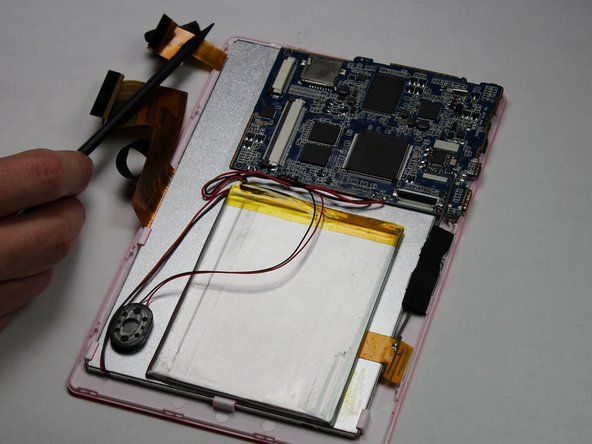
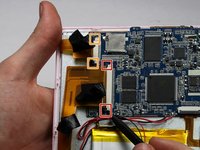
Using a Phillips #00 Precision Screwdriver, remove the three 3mm screws by turning the screwdriver counter-clockwise.
-
-
-
-
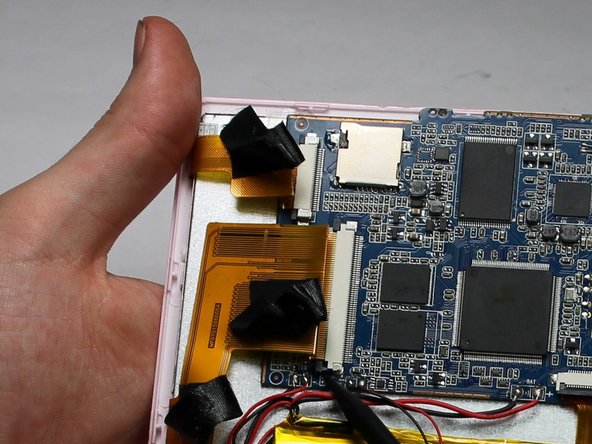
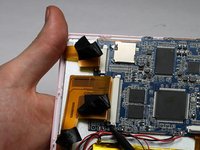
Place a spudger on the small black pins on either side of the flex cables.
-
Gently push the spudger towards the back of flex cables to unlock the flex cable.
-
Remove the flex cables from their insert.
-
-
-
-
-
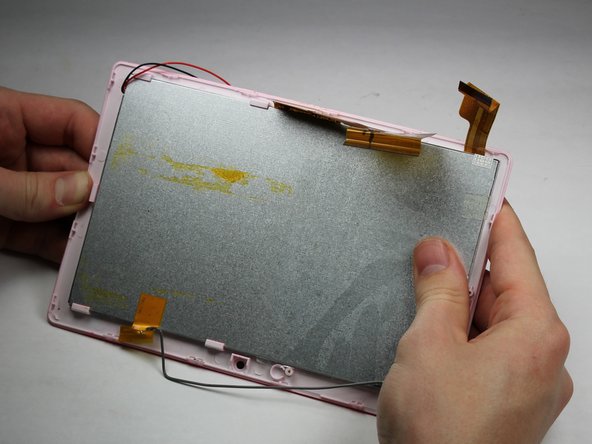
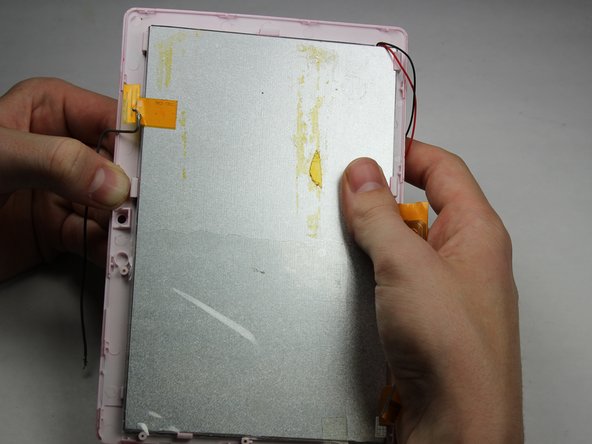
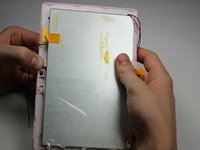
Apply downward pressure to each of the clips that hold the touchscreen to the plastic surround.
-
Work your way around the device in a clockwise motion as you progress.
-
-




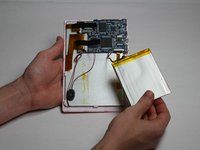


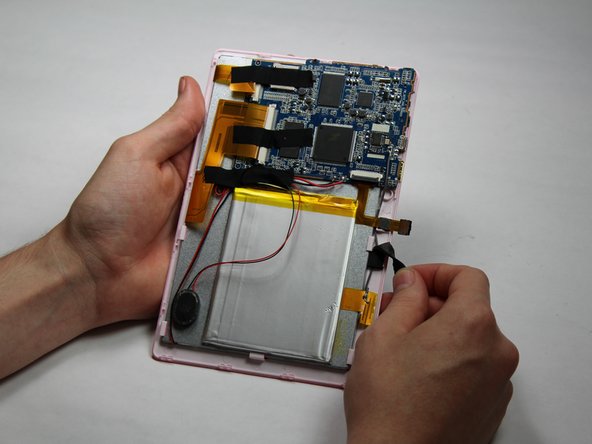


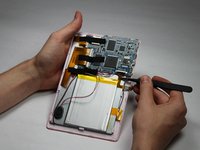
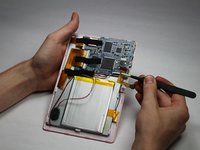


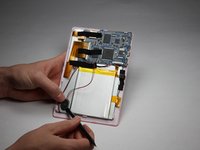
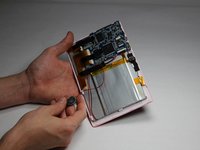






To reassemble your device, follow these instructions in reverse order.
Cancel: I did not complete this guide.
One other person completed this guide.

Team

Baylor, Team 5-6, Williams Fall 2016 Member of Baylor, Team 5-6, Williams Fall 2016
BU-WILLIAMS-F16S5G6
3 Members
72 Guides authored
