
Chevy Corvair Fan Belt Replacement

OSerrano and 4 other contributors
Last updated on Jan 14, 2026
Views: 419
View statistics:
- Past 24 Hours:
- 1
- Past 7 Days:
- 10
- Past 30 Days:
- 55
- All Time:
- 419
Comments: 0
No one has left comments on this guide. Will you be first?
Go to guide commentsCompleted: 0 1
No one has marked this guide "completed." Will you be the first?
1 person has marked this guide "completed." It's you — great job!
Favorites: 0 1
No one has favorited (and subscribed to) this guide. Will you be the first?
1 person has favorited (and subscribed to) this guide — and that's you!
Needs Better Images
Better photos will improve this guide. Help out by taking, editing, or uploading new ones!
Introduction
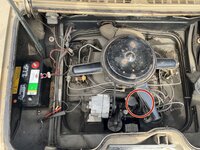
Go to step 1 ↓This guide demonstrates how to replace the fan belt on a Chevy Corvair. The belt gets worn down easily due to its placement and because it's used for an air-cooled engine. It is very common for the belt to become damaged or torn, so regular maintenance is necessary.
Before you begin this repair, make sure the car is turned off, parked, and that the engine has cooled if you recently drove it.
What you need
Tools


-
-
-
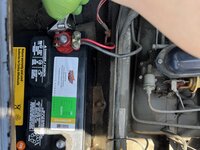
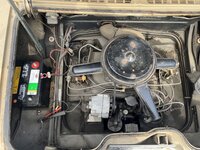
Disconnect the negative terminal, and then the positive terminal from the battery.
 Ask FixBot
-
-
-
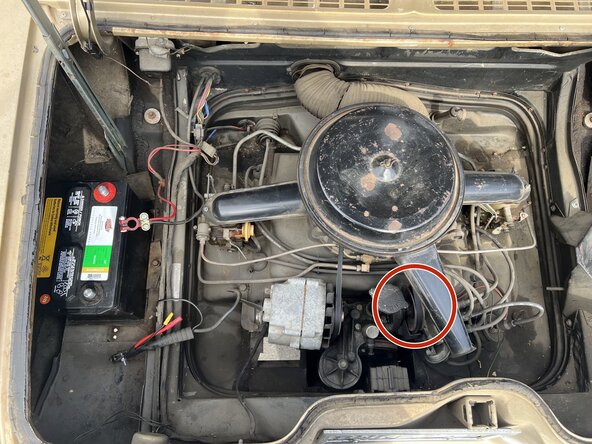
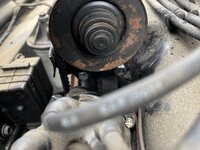
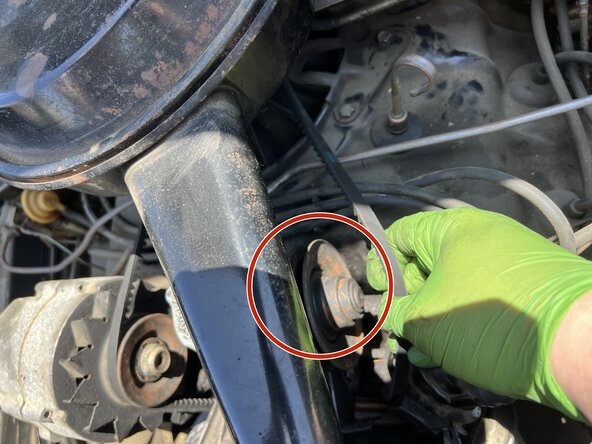
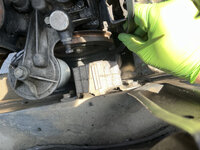
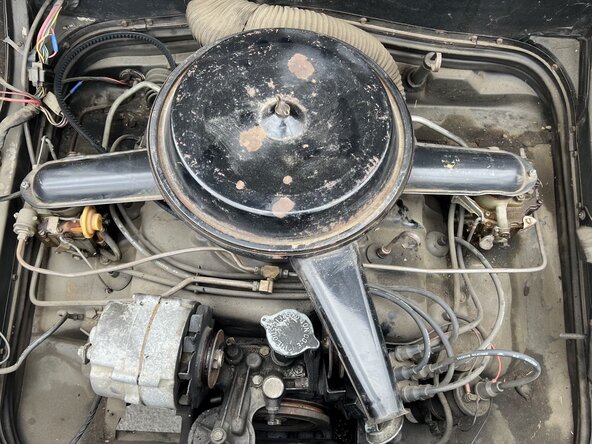
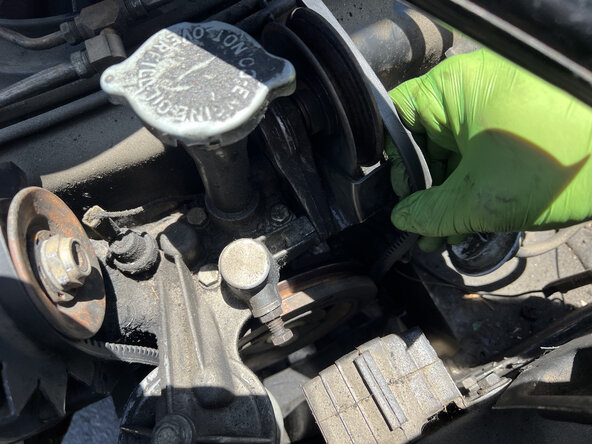
Locate the idler pulley, which is usually on the right-hand side of the track.
-
-
-
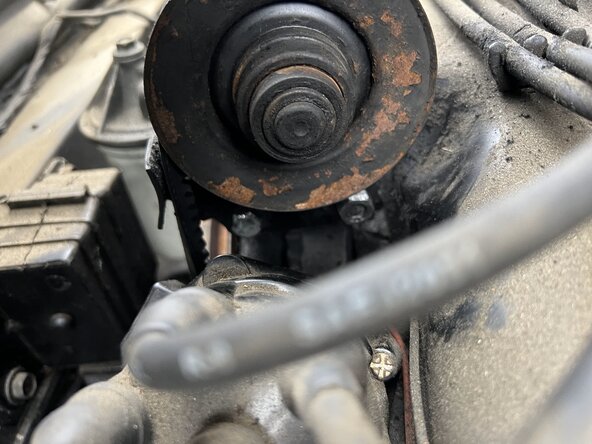
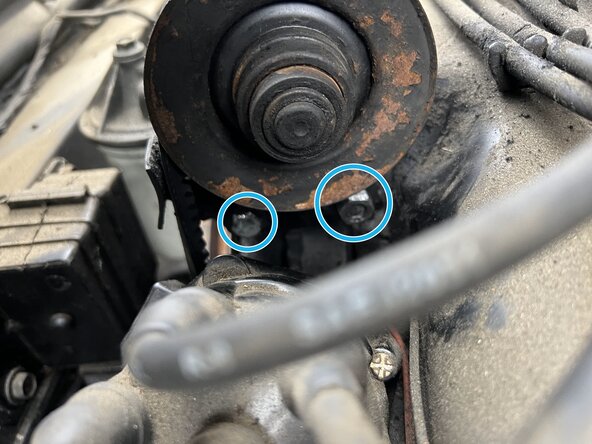
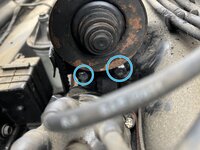
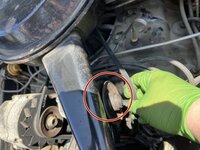
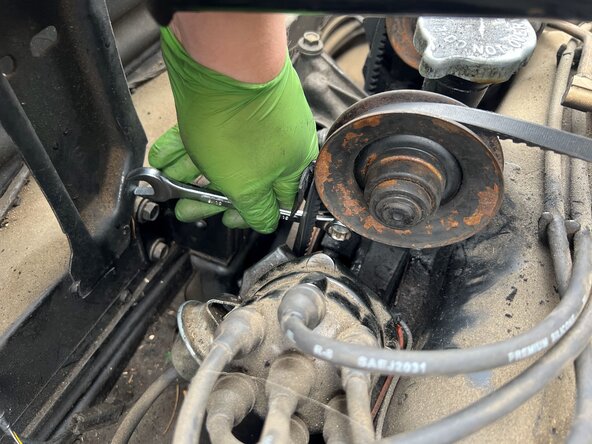
Find the two bolts on the idler pulley.
-
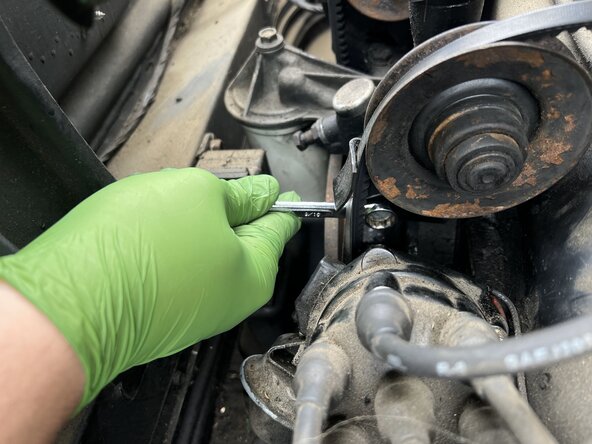
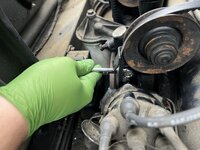
Use a 9/16" wrench to relieve the tension on the vehicle, and then loosen both bolts.
-
-
-
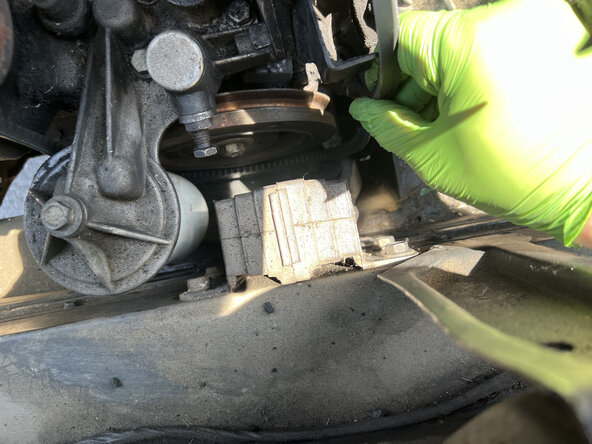
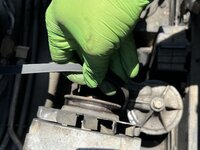
Begin by removing the belt from the idle pulley.
-
Work your way around from the bottom and the alternator to remove the belt completely.
-
-
-
-
Clean the pulleys and the belt path before installing the new belt.”
-
Start by placing the belt on the top pulley and work your way around, finishing by placing it on the idler pulley.
-
Make sure the belt is aligned correctly along the path.
-
-
-
Finish by tightening the bolts, but make sure the belt path is not too tight.
-
-
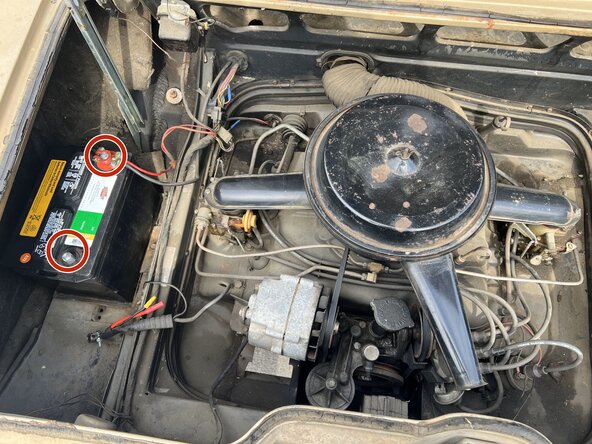
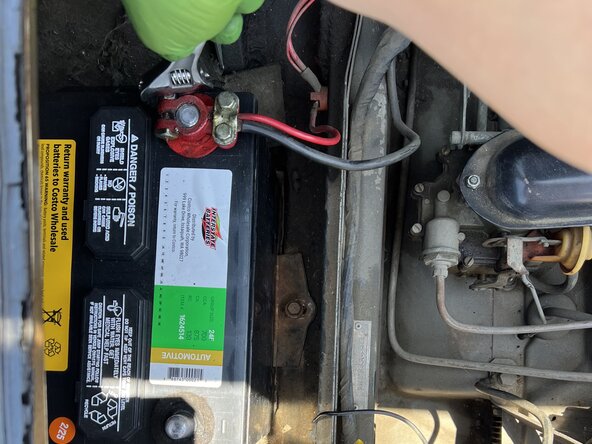
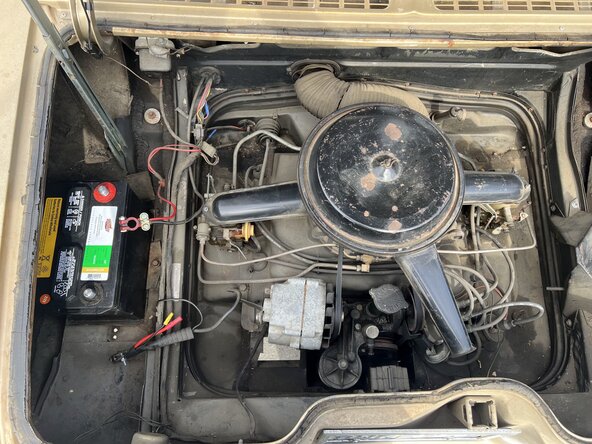
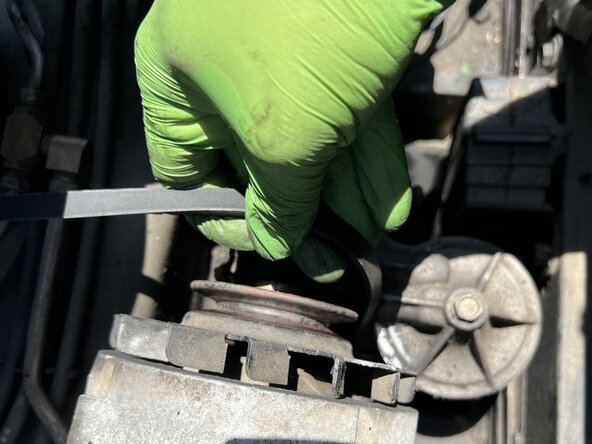
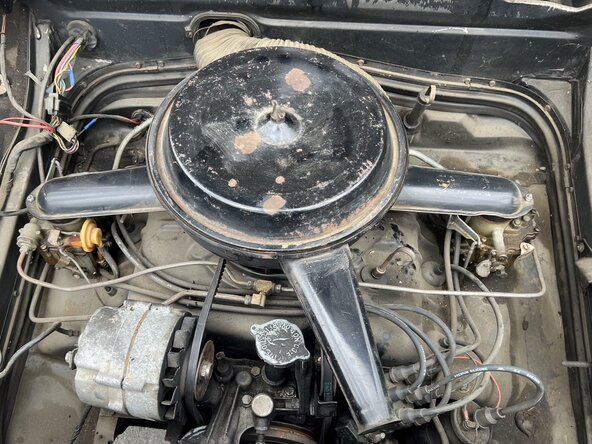
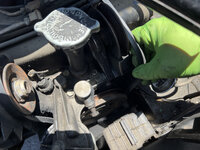
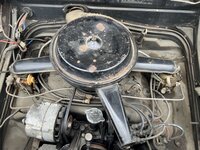
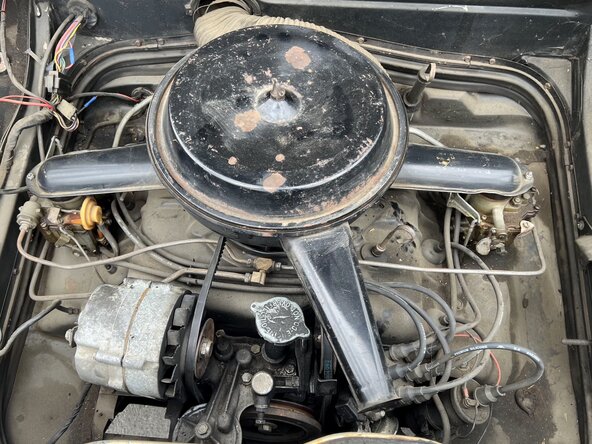
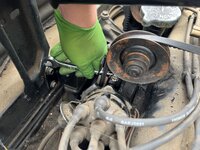
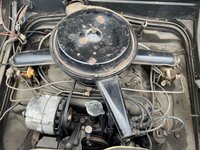
Make sure there isn't too much tension on the belt and you'll be good to go.

Team

CSU Los Angeles, Team 3-15, Grodsky Spring 2025 Member of CSU Los Angeles, Team 3-15, Grodsky Spring 2025
CSULA-GRODSKY-S25S3G15
1 Member
12 Guides authored
