
ChefsChoice M677 Power Cord Replacement

Randy Fromm and 14 other contributors
Last updated on Jun 7, 2023
Views: 4.9K
View statistics:
- Past 24 Hours:
- 1
- Past 7 Days:
- 20
- Past 30 Days:
- 159
- All Time:
- 4,890
Comments: 0
No one has left comments on this guide. Will you be first?
Go to guide commentsCompleted: 4 5
4 people have marked this guide "completed." Will you be next?
5 people have marked this guide "completed." Including you — great job!
Favorites: 0 1
No one has favorited (and subscribed to) this guide. Will you be the first?
1 person has favorited (and subscribed to) this guide — and that's you!
Step Trimmer
This guide has unnecessary steps. Trim them to be more concise!
Introduction
Go to step 1 ↓If your ChefsChoice M677 electric kettle is struggling to turn on, you may have to replace the power cord. Use this guide to replace your power cord. Before using this guide make sure that the current cord still won't work so that you know you're fixing the right issue.
A functional power cord provides energy to your ChefsChoice Kettle and when damaged, you'll need to replace it. No need to worry as replacement is cheap and easy. Continue by following the steps to replace your power cord.
What you need
Tools


-
-
-
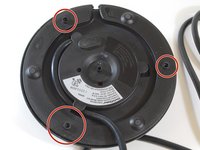
Three 3/8" standard Phillips screws
-
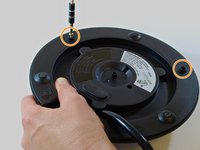
And one 3/8" non-standard triangular Phillips screw.
 Ask FixBot
-
-
-
Remove the "K" rubber pad, then remove the three 3/8" Phillips screws from the baseplate using a #1 Phillips screwdriver.
-
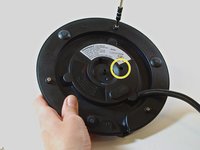
Remove the non-standard Phillips screw.
-
-
-
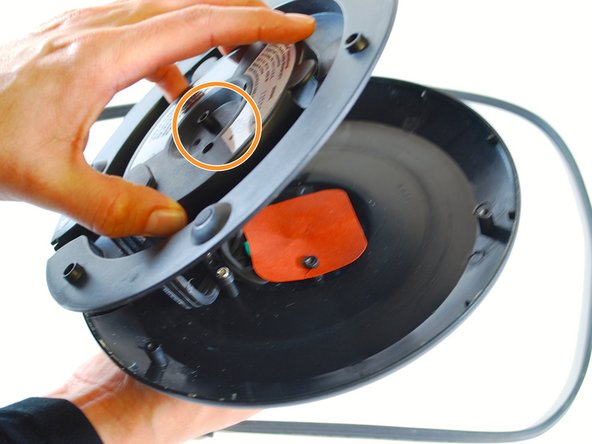
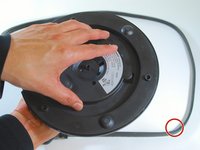
Ensure that the cord is completely unwound from the base plate.
-
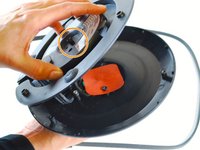
Lift the base plate away from the unit.
-
-
-
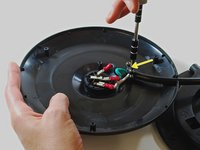
Remove the two 3/8" Phillips screws using a #1 Phillips screwdriver.
-
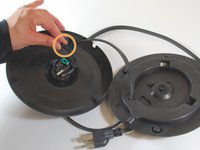
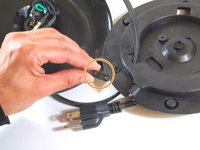
Remove the clamp which holds the cord in place.
-
-
-
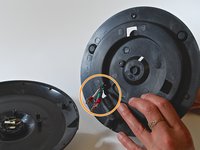
Use your hands to pull the black cylinder out from the center of the baseplate. This is the power coupling.
-
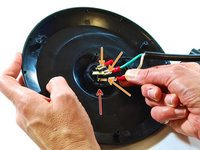
The GREEN wire is the 'ground' or 'protection' wire. It is connected to the center post.
-
The other two wires are both BLACK. You can distinguish them by feel:
-
The smooth wire is the 'neutral' wire.
-
The ribbed wire is the 'hot' wire.
-
-
-
Remove the connectors (spaded lugs) from the kettle's power coupling by gently pulling on each wire.
-
-
-
You will need three 16-22 gauge connectors (spaded lugs). The 'gauge' number refers to the wire size the lug connector is designed to fit. These connectors will slip over the contacts on the power coupling.
-
-
-
On the replacement cord, remove the white, green, and black protective caps. By hand, affix one connector to each cord wire. Follows these steps for each wire:
-
Twist the copper strands on the wire so you can cleanly insert the wire into the connector.
-
Push the copper wiring into the connector until the insulation prevents further insertion.
-
-
-
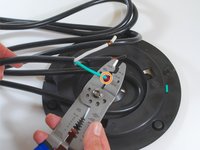
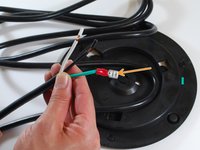
Using the multi-tool in crimper mode (or a special crimping tool), apply pressure on the connector 'shank' where the wire was inserted.
-
The ridge that you achieve by crimping should look the same as the connector shown here on the green wire. Give the connector a gentle pull to confirm it is well connected to the wire (it should not slip off).
-
Repeat steps 10 and 11 for the remaining two wires requiring connectors.
-
-
-
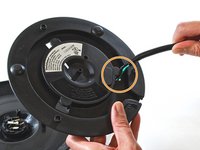
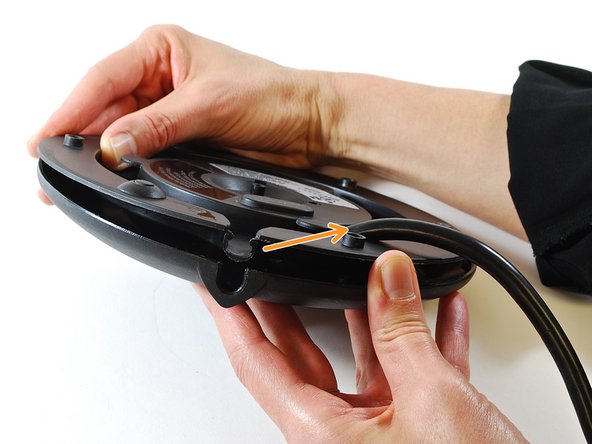
Thread the replacement cord through the opening closest to the cord symbol on the bottom of the baseplate.
-
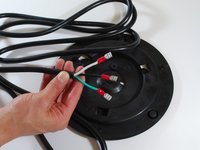
Insert the cord until the green, white, and black wires are pushed all the way through.
-
-
-
-
Reinsert the power coupling (the black cylinder) through the baseplate.
-
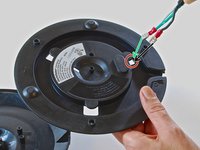
Slide the connectors into the exposed metal prongs protruding from the power coupling. This may require a little force because the connection is a tight fit.
-
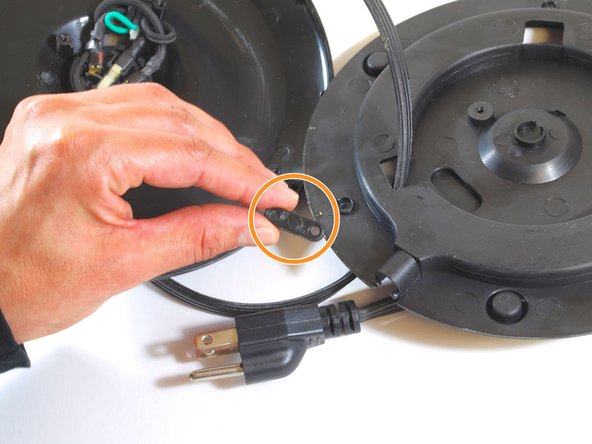
Reattach the black plastic oval piece in order to secure and stabilize the cord wires.
-
-
-
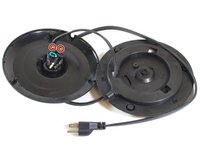
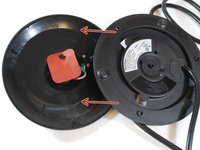
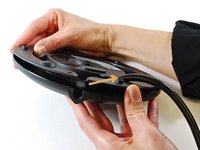
Align the two parts of the baseplate as shown in these two photos.
-
Push or pull on the cord as needed to ensure a stable fit before inserting the screws.
-
-
-
Align the holes on the two halves of the baseplate precisely.
-
Using a #1 Phillips head screwdriver, tighten the three 3/8" Philips head screws in the holes located along the outer edge of the base plate.
-
Using a #1 TRIANGULAR head screwdriver, tighten the 3/8" TRIANGULAR Phillips screw at the center of the base plate.
-
-
-
Your baseplate with the new cord attached should look similar to the one shown in the photo.
-
-















Cancel: I did not complete this guide.
4 other people completed this guide.

Team

New Mexico State, Team 1-1, Sheppard Spring 2014 Member of New Mexico State, Team 1-1, Sheppard Spring 2014
NMSU-SHEPPARD-S14S1G1
4 Members
36 Guides authored
