
Chefmate TO-09 Timer Replacement

Andy Tran and 3 other contributors
Last updated on Oct 7, 2022
Views: 1K
View statistics:
- Past 24 Hours:
- 2
- Past 7 Days:
- 18
- Past 30 Days:
- 79
- All Time:
- 1,010
Comments: 0
No one has left comments on this guide. Will you be first?
Go to guide commentsCompleted: 1 2
1 person has marked this guide "completed." Will you be next?
2 people have marked this guide "completed." Including you — great job!
Favorites: 0 1
No one has favorited (and subscribed to) this guide. Will you be the first?
1 person has favorited (and subscribed to) this guide — and that's you!
Introduction
Go to step 1 ↓If the timer on your Chefmate Toaster Oven (model TO-09) has stopped functioning, use this guide to learn how its function can be replaced or restored.
The timer on the toaster oven sets the duration of time for which the appliance will be actively heating. A defective timer switch will not turn off the oven at the end of the time selected, or it may cease the function of the appliance completely by not being able to start the oven in the first place.
Before using this guide, inspect the exterior of the timer to make sure nothing is obstructing its mobility. The timer function should typically still work regardless of whether it is plugged into power or not. If after inspection it still is not working, we can conclude that the timer is dysfunctional.
Steps 2 and 3 require the use of the Phillips #0 Screwdriver, or a “plus” screwdriver that has a head with pointed edges in the shape of a cross or plus sign. In addition, a flat screwdriver is needed to complete step 5, and flat pliers may also be needed to complete the step.
Before beginning, make sure the appliance is completely unplugged from power.
What you need
Parts
-
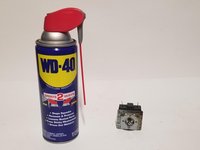
wd-47 (WD-47 110071 Multi-Use Product Spray with Smart Straw, 11 oz. (Pack of 1))Affiliate linkAvailable for sale on Amazon
You can buy this product mostly anywhere at your local store.
Tools


-
-
-
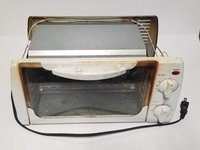
Examine the condition of the appliance.
-
Remove the tray from inside the toaster oven before dissembling.
 Ask FixBot
-
-
-
Flip the toaster oven on its head so that its bottom side is facing upwards.
-
Use a Phillips #0 screwdriver to remove the four screws hidden underneath the legs of the appliance.
-
There are two legs covering the two screws in the front peg .
-
The other two screws are visible under the back legs.
-
-
-
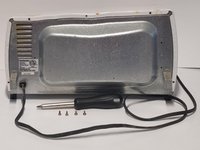
Return the toaster oven to its upright position and rotate it so its backside is facing you.
-
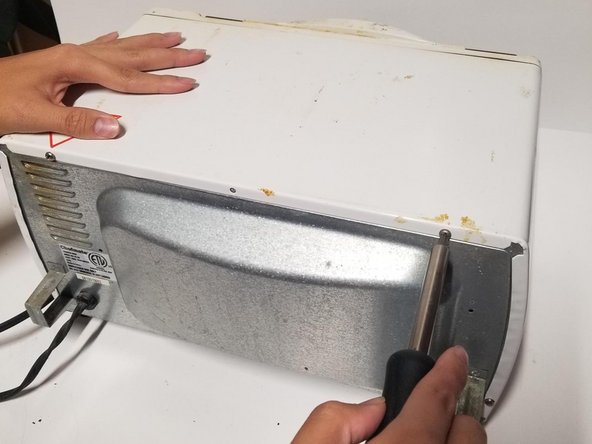
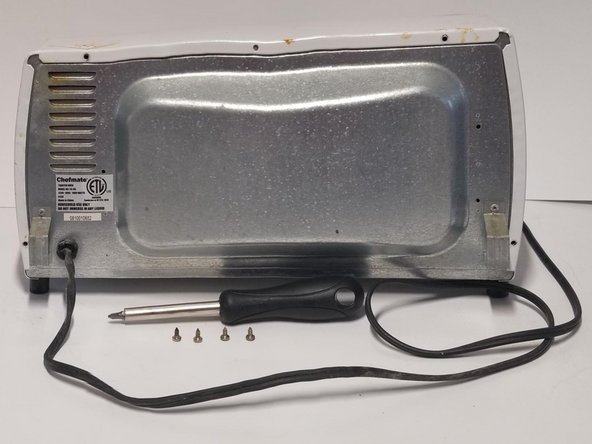
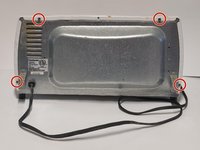
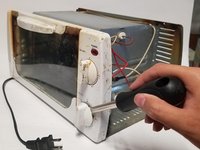
Use the Phillips #0 screwdriver to unscrew the four screws visible on the backside.
-
-
-
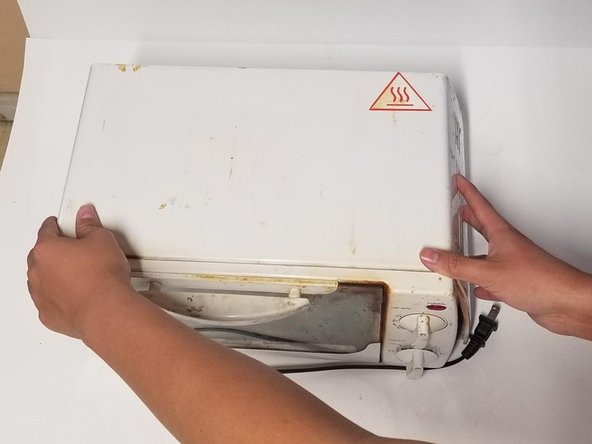
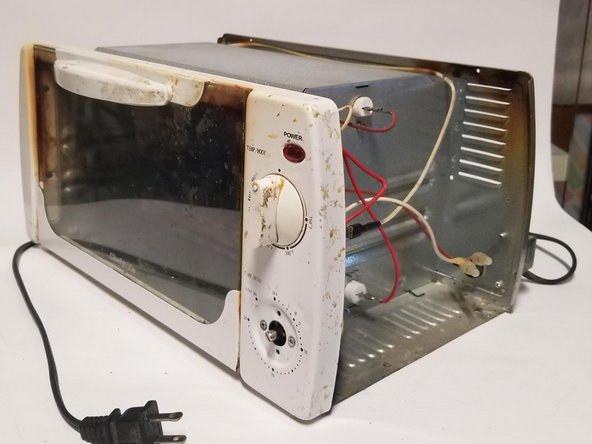
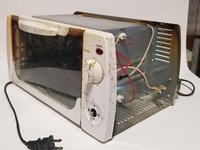
With the appliance facing you, remove the top cover of the toaster oven to access the timer location.
-
-
-
-
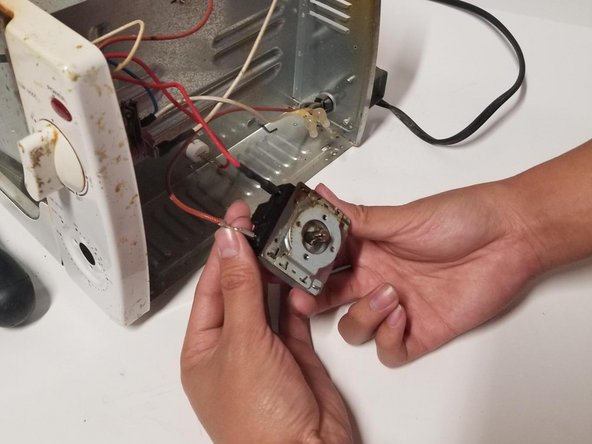
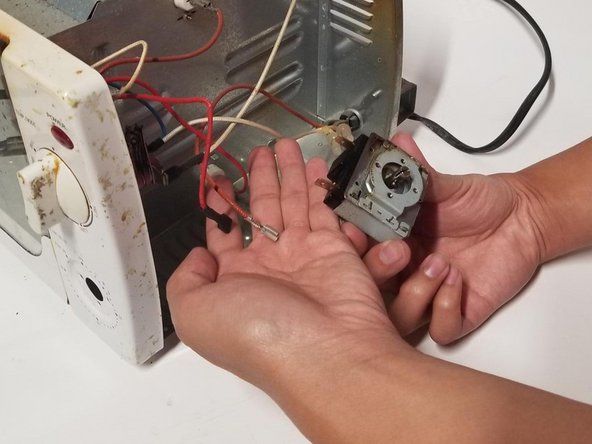
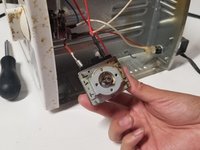
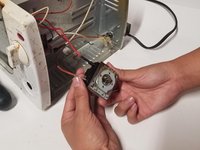
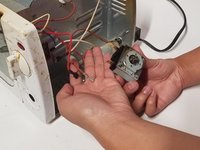
With the timer in hand, gently remove the two wires attached to the square object.
-
-
-
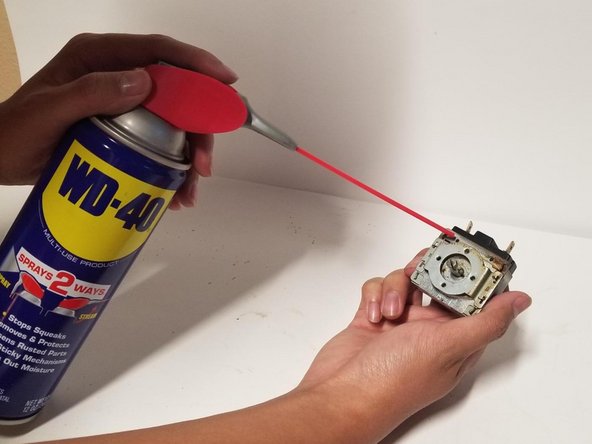
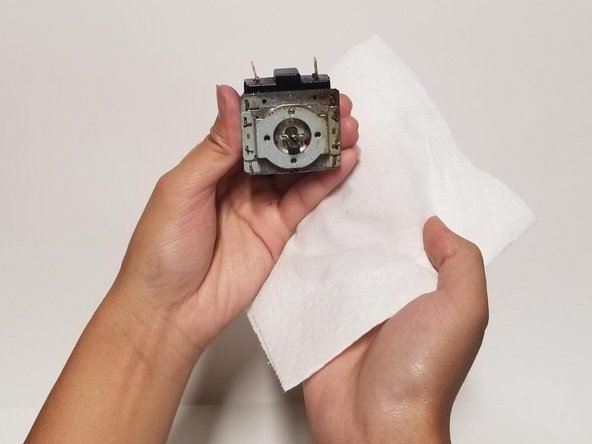
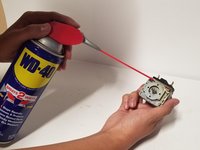
Apply WD-40 to the timer's slight peek edge.
-
Let the WD-40 sit and take effect for around 30 seconds or a minute after you spray it onto the timer.
-
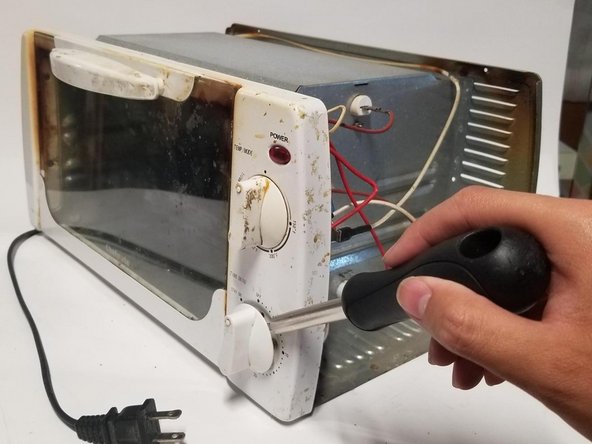
You can test the timer using a flat head screwdriver to turn the timer to see if it ticks/works.
-
-








To reassemble your device, follow these instructions in reverse order.
Cancel: I did not complete this guide.
One other person completed this guide.

Team

CSU Los Angeles, Team 4-61, Briggs Spring 2022 Member of CSU Los Angeles, Team 4-61, Briggs Spring 2022
CSULA-BRIGGS-S22S4G61
1 Member
12 Guides authored
