Introduction
If the temperature of the air fryer isn’t changing after several adjustment, you’ve come to the right place. This guide will work you through how to replace your air fryer’s temperature potentiometer in a less confusing way and you do not need any special tools.
What you need
-
-
-
Please be sure that the device is unplugged and remove the frying basket from the device.
-
Orient your device where the both the timer knob and temperature knob are facing you.
-
Slide the plastic opening tool under the temperature knob to lift it up.
-
You can slide your fingers in between the gap and take the temperature knob off.
 Ask FixBot
-
-
-
Using the Phillips #1 screwdriver, remove the two 4mm screws found under the temperature knob.
-
Place you fingers under the silver top and firmly lift it up.
-
-
-
-
Using the Phillips #1 screwdriver, remove the two 3 mm screws found at the top of the black panel.
-
Pop off the top panel of the device with your fingers.
-
-
-
Using a pair of scissors, cut off the cable cord that is securing the wire cords.
-
-
-
Replace a new potentiometer to the device.
-
Attach the wires back to the new potentiometer.
-
-


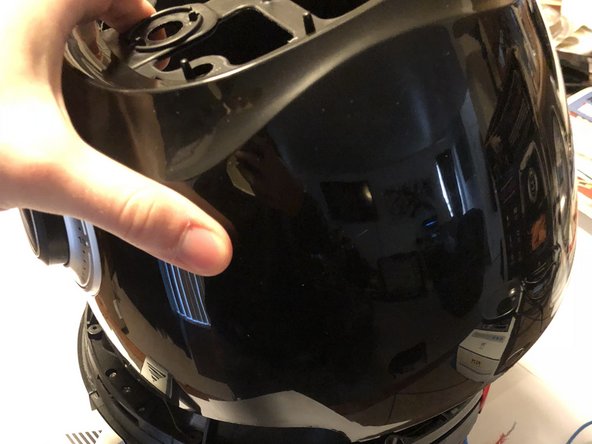
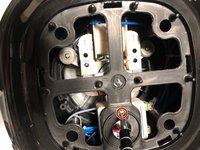
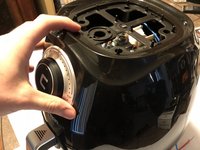
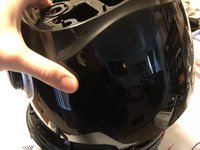


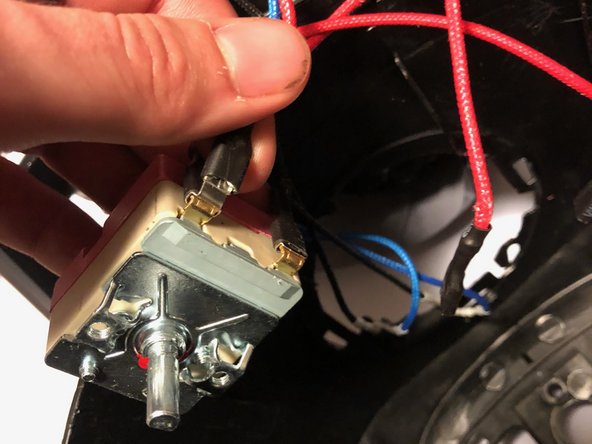

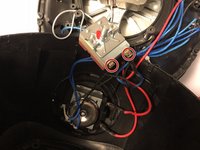
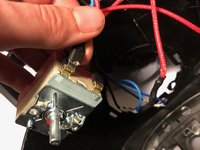
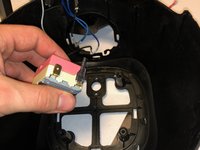

To reassemble your device, follow these instructions in reverse order.
Cancel: I did not complete this guide.
2 other people completed this guide.

