Free Shipping on Domestic Orders $75+

Chef's Choice M115 Power Switch Replacement

What you need

  1. Chef's Choice M115 Power Switch Replacement, Case: step 1, image 1 of 2 Chef's Choice M115 Power Switch Replacement, Case: step 1, image 2 of 2
    • Remove the two rubber feet on the motor side of the device.

    • Remove the five Phillips screws from the bottom of the case.

    • These screws are recessed deep in the device, so a long, thin screwdriver is required.

    Ask FixBot

    Add Comment

  2. Chef's Choice M115 Power Switch Replacement: step 2, image 1 of 1
    • Remove the two hex-cap screws on the bottom using a pair of pliers.

    Ask FixBot

    Add Comment

  3. Chef's Choice M115 Power Switch Replacement: step 3, image 1 of 1
    • Carefully flip the device right-side-up while grasping the top and bottom pieces.

    • The white cover should lift off with no resistance. If it does not, ensure all screws were removed in previous step.

    Ask FixBot

    Add Comment

  4. Chef's Choice M115 Power Switch Replacement: step 4, image 1 of 1
    • Remove the sharpener guard by gently pulling up on it.

    • If the sharpener guard does not come off easily, ensure all screws were removed in step 1.

    Ask FixBot

    Add Comment

  5. Chef's Choice M115 Power Switch Replacement, Power Switch: step 5, image 1 of 1
    • Carefully lift the entire motor assembly out of the case.

    Ask FixBot

    Add Comment

  6. Chef's Choice M115 Power Switch Replacement: step 6, image 1 of 2 Chef's Choice M115 Power Switch Replacement: step 6, image 2 of 2
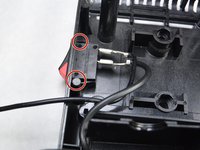
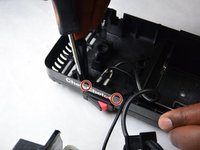
    • Using a screw driver, unclip the edges of the switch by pushing them inwards and nudging the switch out of the plastic casing. You will hear a click when the edges unhook from the casing.

    Ask FixBot

    Add Comment

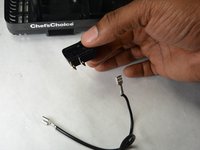
  7. Chef's Choice M115 Power Switch Replacement: step 7, image 1 of 2 Chef's Choice M115 Power Switch Replacement: step 7, image 2 of 2
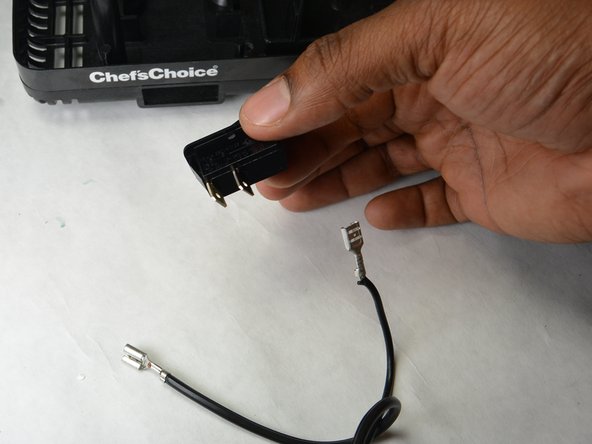
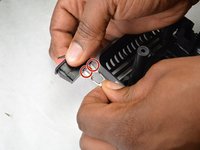
    • Remove the spade connectors from the switch by pulling only on the connector, not the wire.

    • This may require a fair bit of force. Use caution to not damage the device, yourself, or your surroundings.

    Ask FixBot

    Add Comment

Conclusion

To reassemble your device, follow these instructions in reverse order.

Cancel: I did not complete this guide.

2 other people completed this guide.

Hatontola malawo

Member since: 09/17/15

147 Reputation

1 Guide authored

Team

IUPUI, Team 3-3, Harley Fall 2015 Member of IUPUI, Team 3-3, Harley Fall 2015

IUPUI-HARLEY-F15S3G3

5 Members

14 Guides authored

1 Guide Comment

What kind of switch should I replace the bad switch with? Is there one on Amazon ?

Ryan Frawley - Reply Share

Add Comment

View Statistics:

Past 24 Hours: 1

Past 7 Days: 4

Past 30 Days: 28

All Time: 666