
Charge 3 Battery Replacement

Supper Simon and 2 other contributors
Last updated on Mar 22, 2026
Views: 4K
View statistics:
- Past 24 Hours:
- 7
- Past 7 Days:
- 37
- Past 30 Days:
- 130
- All Time:
- 4,049
Comments: 4
4 guide comments.
Go to guide commentsCompleted: 2 3
2 people have marked this guide "completed." Will you be next?
3 people have marked this guide "completed." Including you — great job!
Favorites: 0 1
No one has favorited (and subscribed to) this guide. Will you be the first?
1 person has favorited (and subscribed to) this guide — and that's you!
Bullets!
Better coordination with markups and the color/type of bullets will help make this guide more clear!
Community-Contributed Guide
An awesome member of our community made this guide. It was not created by iFixit staff.
Better Introduction
Improve this guide by completing or revising its introduction.
Introduction
Go to step 1 ↓This repair helps fix bad battery life which could cause the device to reboot at random
What you need


-
-
-
Remove both T2 screws
-
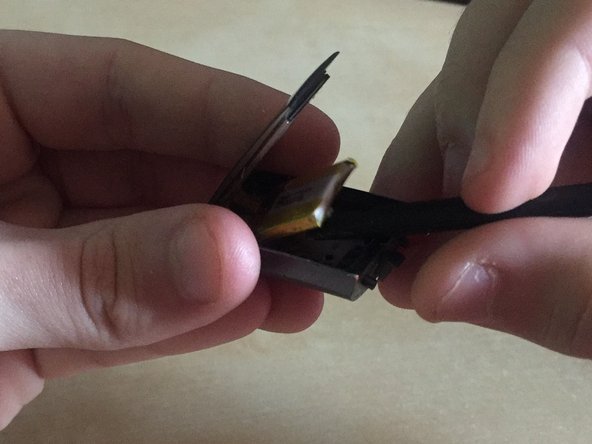
Slide off the plastic piece by lifting out and then up
-
Slide plastic and spring assembly off the rail
 Ask FixBot
-
-
-
Heat the glass screen with a blowdryer to soften the adhesives
-
Insert a razor blade between the glass and the body
-
Keep going around the rim of the display until loose
-
-
-
Connect new battery connector
-
Peel the plastic layer off the adhesive backing
-
Put the battery back in place
-
-
-
-
Flip down the screen and remove any extra glue that squeezes out
-
Take a rubber band and wrap it around the device, this will ensure the display stays in place until the glue cures
-
With the rubber bands on go to step 1 and reverse the steps to reinstall the band release
-
-
-
When the glue is fully cured remove the rubber bands
-
And voila - you now have a repaired Fitbit Charge 3
-
-




Thanks to ShellingRook27's Original Dissasembly I Was Able to Make this Guide And Bring a new life to my old device.
Cancel: I did not complete this guide.
2 other people completed this guide.

4 Guide Comments
Hi! My fitbit charge 4 is taken apart now but now that I've lifted the battery what I see is completely different from what's shown in the photo. If I haven't already destroyed my Fitbit, how about a version for the Fitbit 4? Or a video would be even better. In the meantime, I'm stuck. I bought the battery from you.
Regi
I don't have a charge 4 so I'm only going off the internet here, but you can follow some of the steps here to replace the battery https://www.youtube.com/watch?v=2C1DiVXj... and if you need any further guidance please let me know
