Free Shipping on Domestic Orders $75+

Ceiling Fan Pull Chain Switch Replacement

Views: 21K

View statistics:

Past 24 Hours:
25
Past 7 Days:
160
Past 30 Days:
693
All Time:
20,642
Comments: 2

1 comment on steps, 1 guide comment.

Go to guide comments
Completed: 4

4 people have marked this guide "completed." Will you be next?

Favorites: 0

No one has favorited (and subscribed to) this guide. Will you be the first?

Time Required: 10 - 20 minutes
Difficulty: Moderate
Action Shots

Be an action hero! This guide needs images that better demonstrate how to perform specific actions.

Ceiling Fan Pull Chain Switch Replacement

Introduction

Go to step 1 ↓

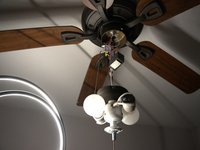
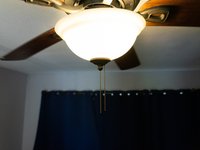
This guide will show you how to replace a ceiling fan pull chain switch.

Ceiling fan pull chains can break in two different ways:

  1. Chain breaks somewhere in the middle, outside the fan housing
    • In this case, the chain can be fixed by adding an extension chain.
  2. Chain breaks inside the fan housing
    • The chain will not be visible from the outside, so the fan housing must be opened to replace the chain or the pull chain switch itself.

This is a guide for replacing the pull chain switch.

Warning: Following this guide may expose you to voltage. Turn off the power from the circuit breaker and turn off any light switches that provide power to the ceiling fan to prevent injury.

What you need

Parts

Tools

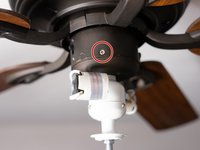
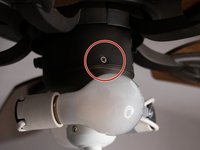
    1. Ceiling Fan Pull Chain Switch Replacement, Pull Chain Switch: step 1, image 1 of 2 Ceiling Fan Pull Chain Switch Replacement, Pull Chain Switch: step 1, image 2 of 2
      • Caution: Turn off the power from the circuit breaker and turn off any light switches that provide power to the ceiling fan.

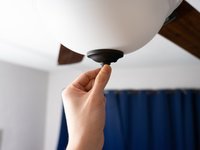
      • Remove the white cover by unscrewing the nut on the bottom from where the chain is hanging.

      Ask FixBot

      Add Comment

    2. Ceiling Fan Pull Chain Switch Replacement: step 2, image 1 of 3 Ceiling Fan Pull Chain Switch Replacement: step 2, image 2 of 3 Ceiling Fan Pull Chain Switch Replacement: step 2, image 3 of 3
      • Caution: Let the bulbs cool off before you remove them.

      • Remove the bulbs from their sockets.

      Ask FixBot

      Add Comment

    3. Ceiling Fan Pull Chain Switch Replacement: step 3, image 1 of 2 Ceiling Fan Pull Chain Switch Replacement: step 3, image 2 of 2
      • Remove the screws around the base.

      • Remove the fan housing.

      Ask FixBot

      Add Comment

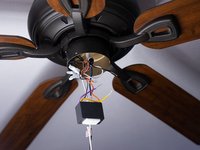
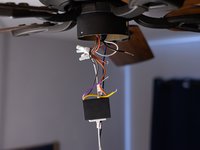
    4. Ceiling Fan Pull Chain Switch Replacement: step 4, image 1 of 1
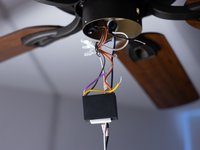
      • Pull the switch out of the fan housing, leaving the wires attached.

      Ask FixBot

      Add Comment

    5. Ceiling Fan Pull Chain Switch Replacement: step 5, image 1 of 3 Ceiling Fan Pull Chain Switch Replacement: step 5, image 2 of 3 Ceiling Fan Pull Chain Switch Replacement: step 5, image 3 of 3
      • Cut the colored wires from the switch using a pair of wire cutters.

      • On some switch models, the wires can be detached by pulling.

      Ask FixBot

      Add Comment

    6. Ceiling Fan Pull Chain Switch Replacement: step 6, image 1 of 3 Ceiling Fan Pull Chain Switch Replacement: step 6, image 2 of 3 Ceiling Fan Pull Chain Switch Replacement: step 6, image 3 of 3
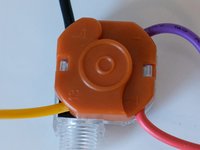
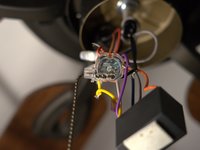
      • Note the wire colors and the terminal they attach to on the old switch.

      • 1 - Red

      • 2 - Purple

      • 3 - Yellow

      • L - Black

      Ask FixBot

      Add Comment

    7. Ceiling Fan Pull Chain Switch Replacement: step 7, image 1 of 1
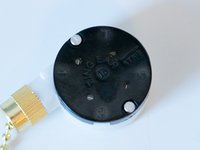
      • Attach the colored wires to the new switch's respective terminals.

      Ask FixBot

      Add Comment

    8. Ceiling Fan Pull Chain Switch Replacement: step 8, image 1 of 2 Ceiling Fan Pull Chain Switch Replacement: step 8, image 2 of 2
      • Put back the switch in the hole in the fan housing from the inside.

      • Tighten up the screws on the outside.

      Ask FixBot

      Add Comment

    9. Ceiling Fan Pull Chain Switch Replacement: step 9, image 1 of 3 Ceiling Fan Pull Chain Switch Replacement: step 9, image 2 of 3 Ceiling Fan Pull Chain Switch Replacement: step 9, image 3 of 3
      • Put back the white cover and then tighten up the nut at the bottom of the cover from where the chain is hanging.

      Ask FixBot

      Add Comment

    10. Ceiling Fan Pull Chain Switch Replacement: step 10, image 1 of 2 Ceiling Fan Pull Chain Switch Replacement: step 10, image 2 of 2
      • Turn the power back on and test the switch to find if it is working or not.

      Ask FixBot

      Add Comment

Finish Line

Cancel: I did not complete this guide.

4 other people completed this guide.

1 Guide Comment

I'd recommend adding wire caps to the wires and also black tape.

Richard D - Reply Share

Add Comment

View Statistics:

Past 24 Hours: 25

Past 7 Days: 160

Past 30 Days: 693

All Time: 20,642