
Casio LK-170 Button Replacement

Eileen Tran and 3 other contributors
Last updated on Mar 30, 2017
Views: 985
View statistics:
- Past 24 Hours:
- 5
- Past 7 Days:
- 20
- Past 30 Days:
- 95
- All Time:
- 985
Comments: 0
No one has left comments on this guide. Will you be first?
Go to guide commentsCompleted: 0 1
No one has marked this guide "completed." Will you be the first?
1 person has marked this guide "completed." It's you — great job!
Favorites: 0 1
No one has favorited (and subscribed to) this guide. Will you be the first?
1 person has favorited (and subscribed to) this guide — and that's you!
Introduction
Go to step 1 ↓With the help of a screwdriver, you will be able to replace the silicon buttons, so you can hear some tunes again.
What you need


-
-
-
Using a JIS-1 screwdriver, remove the seven 11 mm screws located on the back of the keyboard.
 Ask FixBot
-
-
-
Once all the screws are out, flip the keyboard over and gently pull the middle panel out.
-
Flip the middle panel up so that the component board can be seen.
-
-
-
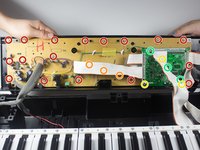
First, you will use a PH-1 bit to remove the 17 8mm screws circled in red.
-
Next, using the same PH-1 bit, you will remove the three 8mm screws hidden under the white wires, circled in orange.
-
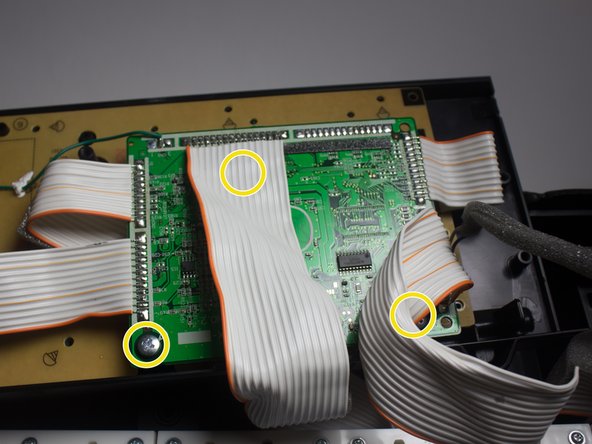
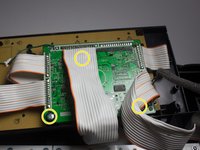
Then, using a JIS-1 bit, we will remove three 7mm screws from the circuit board, circled in yellow.
-
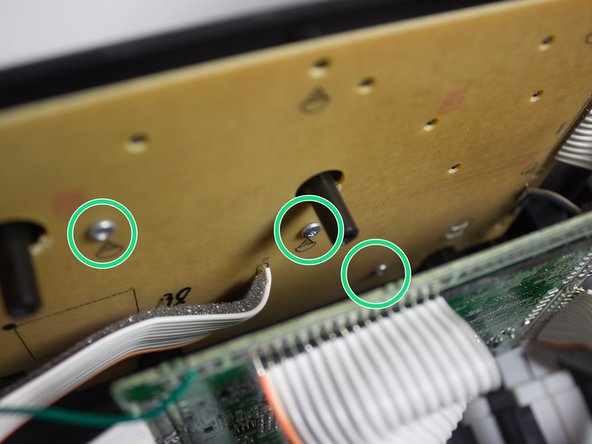
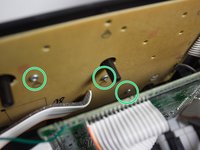
After removing the circuit board, the last three screws are revealed, circled in green. You will use the PH-1 bit to remove these last screws.
-
-
-
Once all the screws have been removed, lift the panel and place it face down on the keys.
-
-
-
-
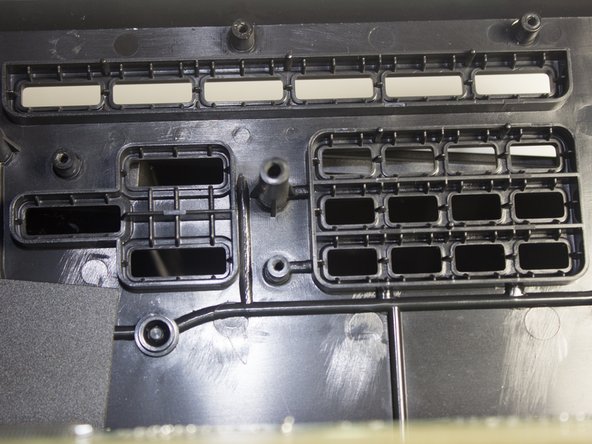
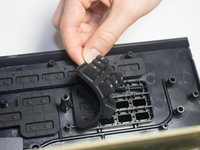
Under the panel are the buttons. Remove them by pulling from any corner with your fingers.
-
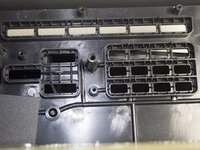
Remove all the buttons that need to be replaced.
-
-




To reassemble your device, follow these instructions in reverse order.

Team

Cal Poly, Team 13-2, Banghart Winter 2017 Member of Cal Poly, Team 13-2, Banghart Winter 2017
CPSU-BANGHART-W17S13G2
3 Members
60 Guides authored
