Introduction
If your Casio G-Shock GA110-1B Watch isn’t working/turning on as before, then probably the battery has died and will require a replacement.
With a battery, it helps the watch to function. But as time flies by, the battery will eventually die out, leaving the watch not working like before.
And with this guide I create, I will show you how to replace a battery on a Casio G-Shock GA110-1B Watch. There is no need to go and get somebody to replace the battery for you when you can do it at home. Also, no need to throw away your watch when the battery dies.
What you need
Video Overview
-
-
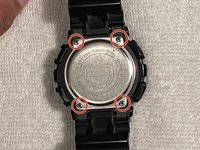
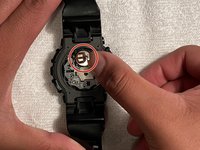
Remove the four screws from the back of the watch using the Phillips #0 Screwdriver
 Ask FixBot
-
-
Tool used on this step:Tweezers$4.99
-
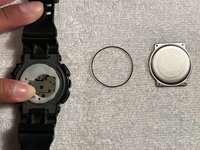
Use a pair of tweezers to remove the metal cover.
-
-
-
-
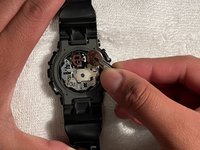
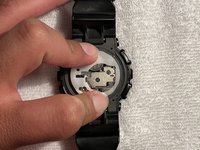
Use a pair of tweezers or your fingers to remove the battery from its place.
-
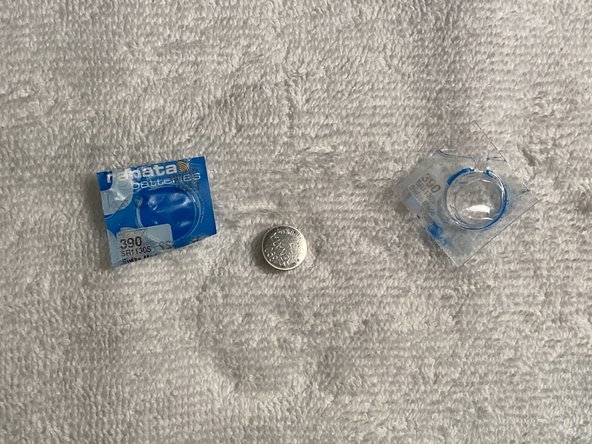
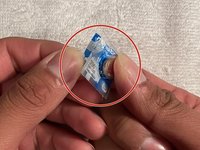
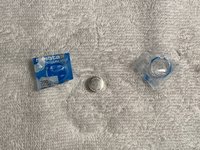
Remove the new battery from its packaging.
-
-
-
Place the new battery where it belongs with your fingers. Hook it back onto the device to secure it in place.
-
Reattach the white cover onto the device.
-
-
-
Put back the metal cover and screw in back the four screws using the Phillips #0 screwdriver.
-
-
-
After screwing in the four screws, flip the watch over. Push the button on the bottom left and the watch should turn on!
-








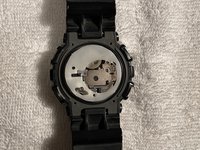
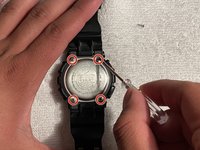
To reassemble your device, follow these instructions in reverse order.
For optimal performance, after completing this guide, calibrate your newly installed battery.
Take your e-waste to an R2 or e-Stewards certified recycler.
Cancel: I did not complete this guide.
5 other people completed this guide.

Team

CSU Los Angeles, Team 11-3, Grodsky Fall 2021 Member of CSU Los Angeles, Team 11-3, Grodsky Fall 2021
CSULA-GRODSKY-F21S11G3
1 Member
2 Guides authored
3 Guide Comments
syncing the hands with the digital clock, should you just turn the hands?
found a guide online on how to set g-shock hands, just hold down reverse and forward button at the same time for a few seconds, and too long to explain, search it up or experiment with it, it's quite easy
