Introduction
If your Casio keyboard (model 3200) is having problems with a faulty or broken LCD screen, this is the second guide in fixing or replacing any LCD-related issues.
Before using this guide, make sure to disconnect any external parts, tools, or modifiers from the keyboard's ports in order to make the removal process simpler. Only use the recommended tool for this project, any misuse of tools could result in injury. For more information on how to maintain project safety, see iFixit's Project Safety Page.
Before beginning, make sure to power off your keyboard completely, remove the batteries, and disconnect it from the external power cord.
What you need
-
-
-
Remove the seven 10 mm Phillips #1 screws on the underside of the keyboard that secure the center front panel.
 Ask FixBot
-
-
-
Flip the keyboard over and remove the central panel on the front and place it above the keyboard.
-
-
-
-
-
-
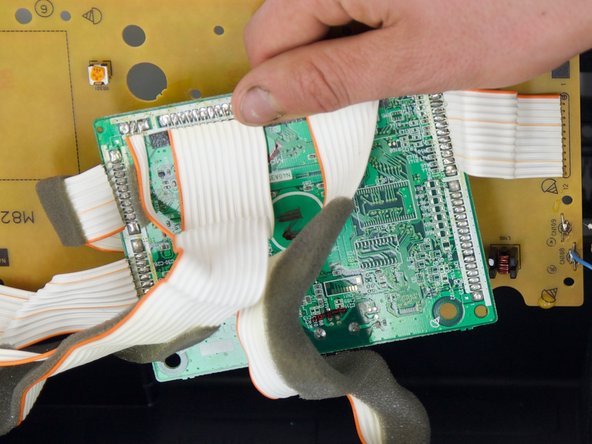
Make sure you are not putting too much strain on the wires that connect the yellow board to the rest of the piano.
-
-
-
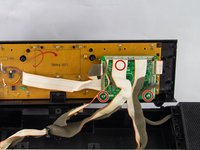
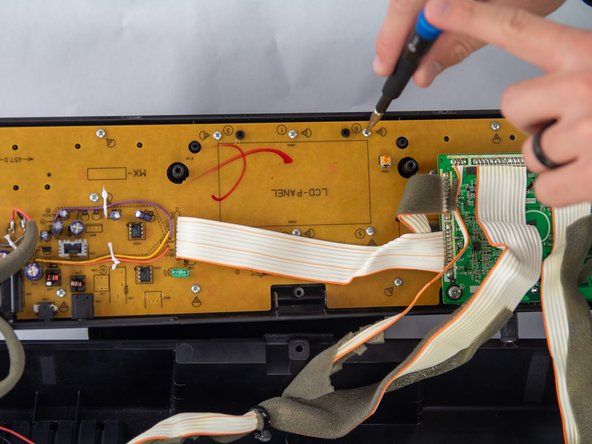
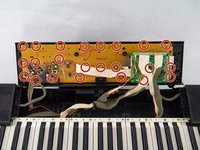
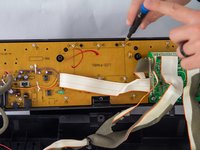
Remove all twenty-three of the 10 mm Phillips #1 screws from the yellow circuit board.
-
-
-
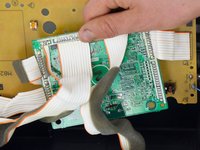
The board is now able to be removed from the center front panel. Carefully remove the board, making certain not to break the board or any of the components attached to it.
-
-




To reassemble your device, follow the above steps in reverse order.
Take your e-waste to an R2 or e-Stewards certified recycler.
Repair didn’t go as planned? Try some basic troubleshooting or ask our Answers community for help.
Cancel: I did not complete this guide.
One other person completed this guide.

Team

Cuesta, Team 10-4, Krynen Fall 2024 Member of Cuesta, Team 10-4, Krynen Fall 2024
CUESTA-KRYNEN-F24S10G4
4 Members
24 Guides authored
