
Carrera Mario Copter Motor Replacement

Edgar Lopez-Allende and 2 other contributors
Last updated on May 7, 2024
Views: 1K
View statistics:
- Past 24 Hours:
- 2
- Past 7 Days:
- 18
- Past 30 Days:
- 86
- All Time:
- 1,026
Comments: 0
No one has left comments on this guide. Will you be first?
Go to guide commentsCompleted: 0 1
No one has marked this guide "completed." Will you be the first?
1 person has marked this guide "completed." It's you — great job!
Favorites: 0 1
No one has favorited (and subscribed to) this guide. Will you be the first?
1 person has favorited (and subscribed to) this guide — and that's you!
Introduction
Go to step 1 ↓A weak or damaged motor might be the reason your quadrocopter is unable to fly properly. This guide will show you how to replace any of the four motors
What you need
Tools


-
-
-
Flip the quadrocopter over so that the underside of the device is facing up.
-
Unplug the battery cable from the socket on the quadrocopter.
 Ask FixBot
-
-
-
Push the battery upward with your thumbs to loosen it from the tight slot until your thumbs can not reach the bottom of the battery anymore.
-
-
-
-
-
Using the JIS #00 screwdriver, hold the rotor blade still and unscrew the 4.762mm screw in the center of the blade.
-
-
-
-
-
With the PH1 screwdriver, unscrew the four 7.1mm screws located underneath the quadrocopter.
-
Pull the base out and set the foam piece aside
-
-
Tool used on this step:Tweezers$4.99
-
From the precision tweezers set, use the round-end tweezers to pull and wiggle the white-head wires from the motherboard.
-
-
-
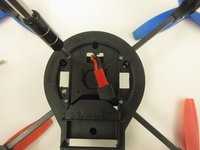
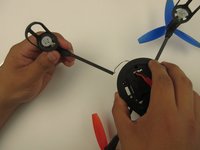
Using the PH0 screwdriver, unscrew the 3.2 mm screw on the base.
-
Pull the rotor leg out from the base
-
-
-
-
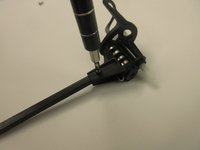
Using the PH0 screwdriver, unscrew the 4 mm screw where the leg meets the motor case/ rotor stand.
-
Pull the leg apart from the motor case/ rotor stand
-
-
-
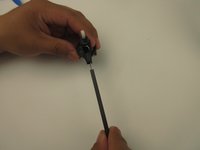
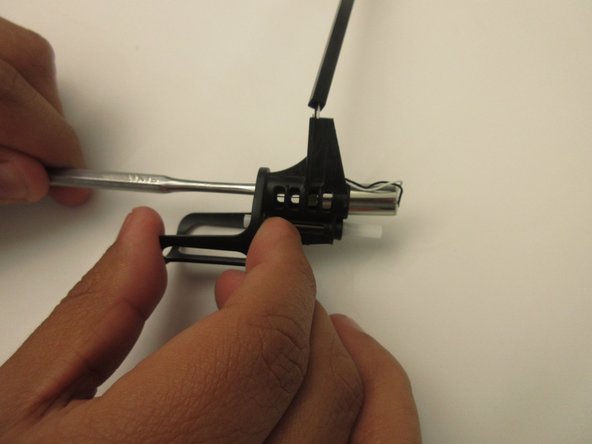
Using the metal spudger of your choice, remove the clip at the top of the motor.
-
Use the thinner side of the spudger to push the motor through and out of the case.
-
-






To reassemble your device, follow these instructions in reverse order.

Team

UW Tacoma, Team S1-G6, Rose Fall 2017 Member of UW Tacoma, Team S1-G6, Rose Fall 2017
UWT-ROSE-F17S1G6
4 Members
60 Guides authored
