-
-
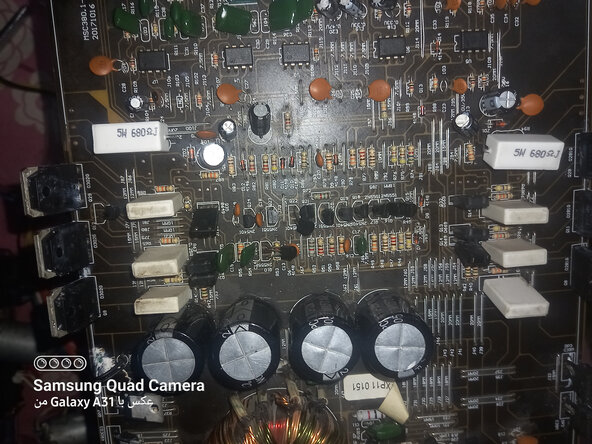
Many car amplifiers with simple circuit designs develop strange faults that are hard to diagnose, even for skilled technicians. I’d like to share my repair experiences here, hoping they might help others in troubleshooting similar issues
 Ask FixBot
-
-
-
Insert wisdom here. Even after thoroughly checking all components and replacing any suspect parts, and confirming that the amplifier is fully functional, one may still encounter unexpected quiescent current draw and overheating in the input or output stages during testing. This issue is particularly perplexing and challenging to diagnose.
-
-
-
-
It is essential to take several clear photos of all parts of the board, both front and back. If the no-load current is below 1 A and the supply capacitor voltages are correct, follow the voltage path and verify that there are no open circuits. When replacing a transistor, ensure both the parameters match and the pinout is correct.
-
-
-
Check the ESR of capacitors, even if they are not the suspected cause. If the above steps do not resolve the issue, start lifting component pins and check the current draw. Always begin with components like op-amps, since they have minimal impact on other sections. Repeat this process until the fault is identified.
-
-
-
If you cannot locate the problem, it is likely due to a mistake in the process, and you will need to start over.
-
To reassemble your device, follow these instructions in reverse order.
Cancel: I did not complete this guide.
One other person completed this guide.
