
Capresso Perfectea 260 Control System Replacement

Kenji Anzai and one other contributor
Last updated on Jun 24, 2015
Views: 3.1K
View statistics:
- Past 24 Hours:
- 2
- Past 7 Days:
- 14
- Past 30 Days:
- 92
- All Time:
- 3,087
Comments: 0
No one has left comments on this guide. Will you be first?
Go to guide commentsCompleted: 1 2
1 person has marked this guide "completed." Will you be next?
2 people have marked this guide "completed." Including you — great job!
Favorites: 0 1
No one has favorited (and subscribed to) this guide. Will you be the first?
1 person has favorited (and subscribed to) this guide — and that's you!
Inconsistent Images
Updating the images on this guide to be more consistent with the prerequisites would increase its awesomeness.
Introduction
Go to step 1 ↓If you need to repair any of the wires or computer chips, use this guide to remove these components for repair and replacement.
What you need
Tools


-
-
-
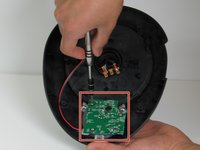
Remove the four 12 mm Phillips #2 screws surrounding the base then lift the bottom half of the base to expose the circuit boards inside the device.
-
-
-
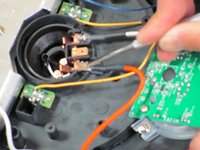
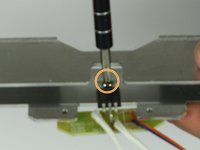
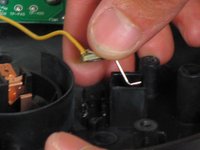
Use the metal spudger to cut open the rubber covering the latch where it clamps onto the copper tab.
-
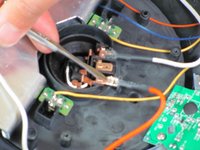
Unplug wire at heating element by first using the metal spudger to push the latch in and then pushing it out.
-
-
-
-
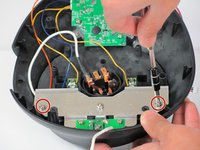
Remove the two 7.5mm Phillips #2 screws from the metal frame.
-
Remove the frame from the assembly.
-
-
-
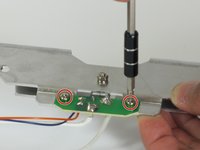
Remove the two 6mm fine thread Phillips #2 screws attaching the small computer chip to the metal frame.
-
Flip over and remove the 7.5 mm fine thread Phillips #2 screw from the back while holding the 5mm nut on the front securely.
-
-
-
-
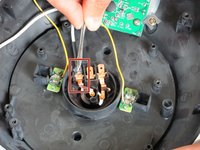
Find the cable that attaches the small computer chip to the heating element connections.
-
Use the spudger to cut open the rubber coating on the latch where it clamps onto the copper tab.
-
Insert the metal spudger into the rectangular hole on the latch and push toward the tab (away from the wire) to unbend the tab.
-
Push the latch off the tab with the spudger.
-
-
-
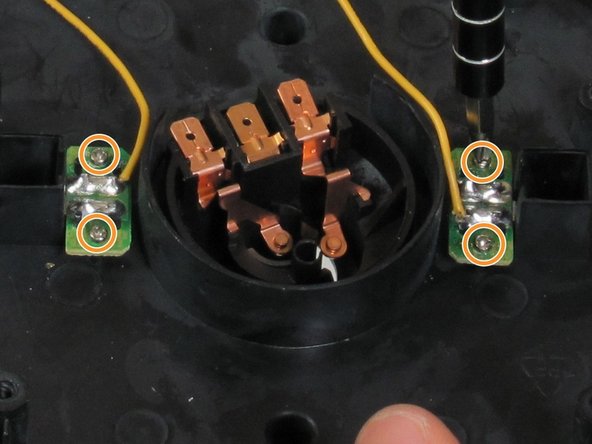
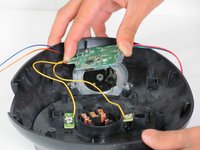
Identify the two computer chips that connect the two yellow wires to the temperature controls.
-
Remove the four 5 mm Phillips #1 screws.
-
Remove the two computer chips from their places.
-
-
-
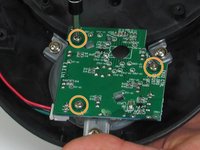
Find the computer chip over the dial.
-
Remove the three 6mm Phillips #2 screws.
-
Remove the computer chip.
-
-

 Ask FixBot















To reassemble your device, follow these instructions in reverse order.
Cancel: I did not complete this guide.
One other person completed this guide.

Team

Cal Poly, Team 6-17, Maness Spring 2015 Member of Cal Poly, Team 6-17, Maness Spring 2015
CPSU-MANESS-S15S6G17
4 Members
72 Guides authored
