Free Shipping on Domestic Orders $75+

Capresso Infinity Outside Casing Replacement

Views: 2.1K

View statistics:

Past 24 Hours:
2
Past 7 Days:
21
Past 30 Days:
82
All Time:
2,134
Comments: 9

9 comments on steps.

Completed: 0

No one has marked this guide "completed." Will you be the first?

Favorites: 0

No one has favorited (and subscribed to) this guide. Will you be the first?

Time Required: 15 minutes
Difficulty: Easy
Capresso Infinity Outside Casing Replacement

Introduction

Go to step 1 ↓

If you need to replace the outside casing, follow this guide. The outside casing is essential to keeping everything inside in place, and protecting the internal structures of the device. If there is cosmetic damage or significant disfigurement, replacement of the metal outside casing is suggested. For this guide, you will need the Torx Security T10 Bit Screwdriver as well as the extension bit.

What you need

Tools

    1. Capresso Infinity Outside Casing Replacement, Metal Outside Casing: step 1, image 1 of 2 Capresso Infinity Outside Casing Replacement, Metal Outside Casing: step 1, image 2 of 2
      • Twist the top plastic container to the left counterclockwise.

      • Pull upwards to remove.

      Ask FixBot

      Add Comment

    2. Capresso Infinity Outside Casing Replacement: step 2, image 1 of 3 Capresso Infinity Outside Casing Replacement: step 2, image 2 of 3 Capresso Infinity Outside Casing Replacement: step 2, image 3 of 3
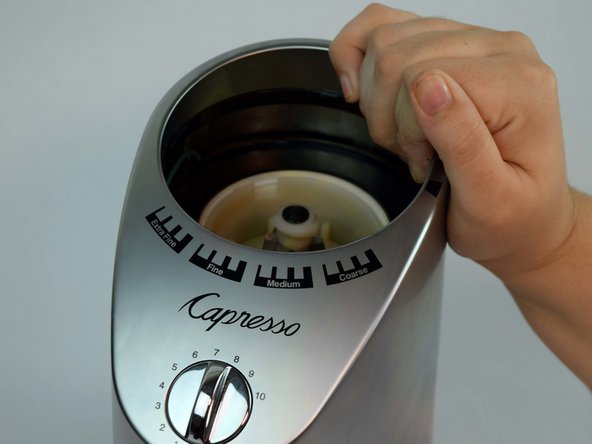
      • Twist the top burr to the left counter clockwise.

      • Pull upwards to remove.

      Ask FixBot

      Add Comment

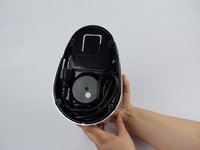
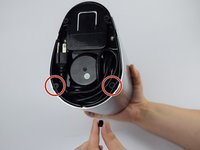
    3. Capresso Infinity Outside Casing Replacement: step 3, image 1 of 2 Capresso Infinity Outside Casing Replacement: step 3, image 2 of 2
      • Flip entire device upside down.

      • Remove two rubber coverings on the back of the device.

      Ask FixBot

      Add Comment

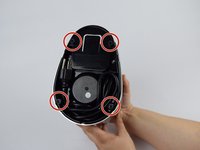
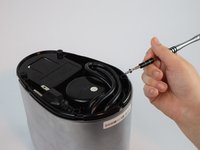
    4. Capresso Infinity Outside Casing Replacement: step 4, image 1 of 2 Capresso Infinity Outside Casing Replacement: step 4, image 2 of 2
      • Remove four 11.59mm T10 screws.

      • The screws will have small circular washers under them. Put them aside for reassembly.

      Ask FixBot

      Add Comment

    5. Capresso Infinity Outside Casing Replacement: step 5, image 1 of 3 Capresso Infinity Outside Casing Replacement: step 5, image 2 of 3 Capresso Infinity Outside Casing Replacement: step 5, image 3 of 3
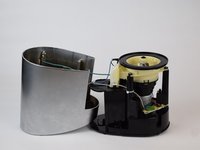
      • Lift the metal outside casing off the black base.

      • Flip the outside casing forward so you have access to the inside of it.

      Ask FixBot

      Add Comment

    6. Capresso Infinity Outside Casing Replacement: step 6, image 1 of 3 Capresso Infinity Outside Casing Replacement: step 6, image 2 of 3 Capresso Infinity Outside Casing Replacement: step 6, image 3 of 3
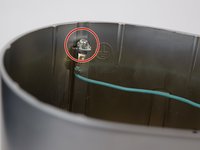
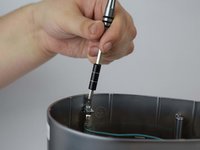
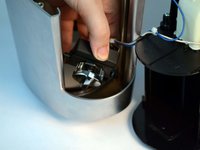
      • Remove one 11.59mm T10 screw.

      • Let the green wire fall, or place somewhere so it doesn't get in the way.

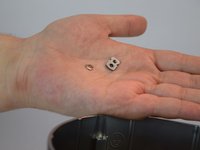
      • There will be a small metal retainer and washer, put them aside for reassembly.

      Ask FixBot

      Add Comment

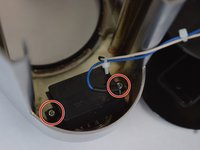
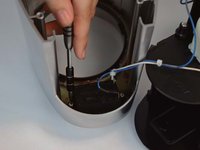
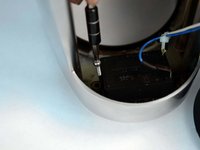
    7. Capresso Infinity Outside Casing Replacement: step 7, image 1 of 3 Capresso Infinity Outside Casing Replacement: step 7, image 2 of 3 Capresso Infinity Outside Casing Replacement: step 7, image 3 of 3
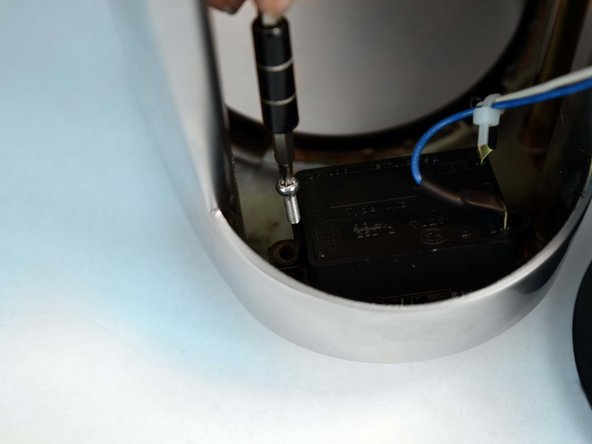
      • Remove two 11.59mm T10 screws.

      Ask FixBot

      Add Comment

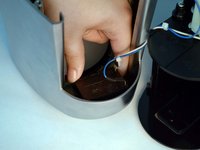
    8. Capresso Infinity Outside Casing Replacement: step 8, image 1 of 2 Capresso Infinity Outside Casing Replacement: step 8, image 2 of 2
      • Remove the time/on switch by pulling upwards.

      Ask FixBot

      Add Comment

Conclusion

To reassemble your device, follow these instructions in reverse order.

Cancel: I did not complete this guide.

Nina Mackin

Member since: 10/09/18

582 Reputation

2 Guides authored

Team

USF Tampa, Team S1-G1, Leahy Fall 2018 Member of USF Tampa, Team S1-G1, Leahy Fall 2018

USFT-LEAHY-F18S1G1

4 Members

60 Guides authored

0 Guide Comments

Add Comment

View Statistics:

Past 24 Hours: 2

Past 7 Days: 21

Past 30 Days: 82

All Time: 2,134