
Cap Restoration

Hayley Rankin and 2 other contributors
Last updated on Jul 25, 2025
Views: 22K
View statistics:
- Past 24 Hours:
- 16
- Past 7 Days:
- 100
- Past 30 Days:
- 306
- All Time:
- 22,351
Comments: 0
No one has left comments on this guide. Will you be first?
Go to guide commentsCompleted: 2 3
2 people have marked this guide "completed." Will you be next?
3 people have marked this guide "completed." Including you — great job!
Favorites: 0 1
No one has favorited (and subscribed to) this guide. Will you be the first?
1 person has favorited (and subscribed to) this guide — and that's you!
Introduction
Go to step 1 ↓This guide will assist in removing wrinkles and creases from caps. Due to the shape of a cap, it is impossible to use an iron to remove wrinkles and creases that may form due to how it has been stored after a long period of time.
The restoration is quick, easy and affordable using few household items.
Many caps are made with different materials, therefore, some items noted in this guide may be optional.
- Bowl/Pot - Can be used to provided extra pressure to the plastic bags while holding the bags in place.
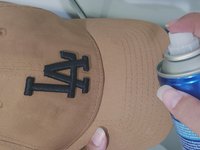
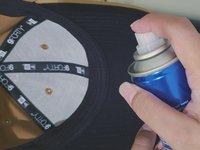
- Hairspray - The hairspray can be used on any area of the cap, it is used to help hold some of the firmer parts of the cap in place and resume its shape. Examples of common caps that will benefit from this is baseball caps and snap backs.
What you need
Tools


-
-
-
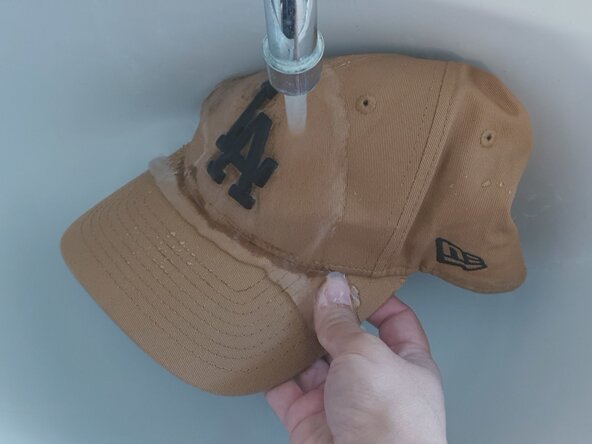
Wash the cap using an old toothbrush to remove residue and stains.
 Ask FixBot
-
-
-
Place plastic bags into the cap ensuring enough bags are used to give the cap some shape.
-
-
-
-
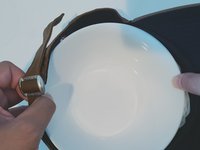
Use a bowl or small pot to add pressure to the plastic bags and hold them in place.
-
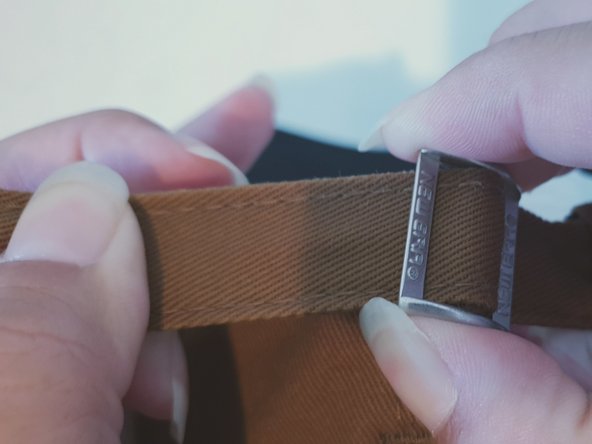
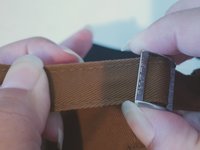
Tighten the clip or snaps of the cap to fix the pot/bowl and plastic bags into place.
-
-
-
Set the cap aside to dry naturally. You can use an indoor fan to assist with this process.
-
-







To reassemble your device, follow these instructions in reverse order.
Cancel: I did not complete this guide.
2 other people completed this guide.

Team

Massey University, Team S1-G4, Rauch Summer 2019 Member of Massey University, Team S1-G4, Rauch Summer 2019
MUNZ-RAUCH-SU19S1G4
1 Member
12 Guides authored
