Free Shipping on Domestic Orders $75+

Canon Vixia HF R62 Display Panel Replacement

What you need

  1. Canon Vixia HF R62 Display Panel Replacement, Outer Shell: step 1, image 1 of 2 Canon Vixia HF R62 Display Panel Replacement, Outer Shell: step 1, image 2 of 2
    • Remove the strap by undoing the Velcro and pulling it through the thread points.

    • Remove the external battery pack by pressing down on the slide release and sliding it out.

    Ask FixBot

    Add Comment

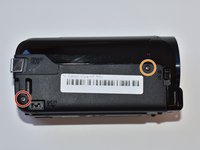
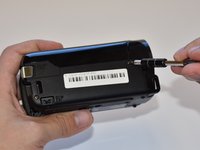
  2. Canon Vixia HF R62 Display Panel Replacement: step 2, image 1 of 2 Canon Vixia HF R62 Display Panel Replacement: step 2, image 2 of 2
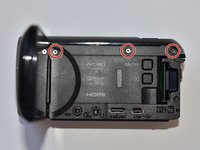
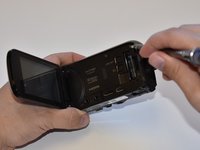
    • Remove the three 5mm Phillips #000 screws on the bottom of the device.

    Ask FixBot

    Add Comment

  3. Canon Vixia HF R62 Display Panel Replacement: step 3, image 1 of 2 Canon Vixia HF R62 Display Panel Replacement: step 3, image 2 of 2
    • On the side of the device, remove the following Phillips #000 screws:

    • One 3mm screw

    • One 5mm screw

    Ask FixBot

    Add Comment

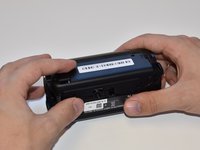
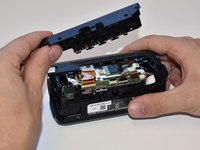
  4. Canon Vixia HF R62 Display Panel Replacement: step 4, image 1 of 2 Canon Vixia HF R62 Display Panel Replacement: step 4, image 2 of 2
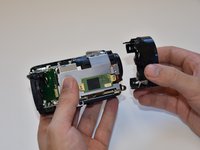
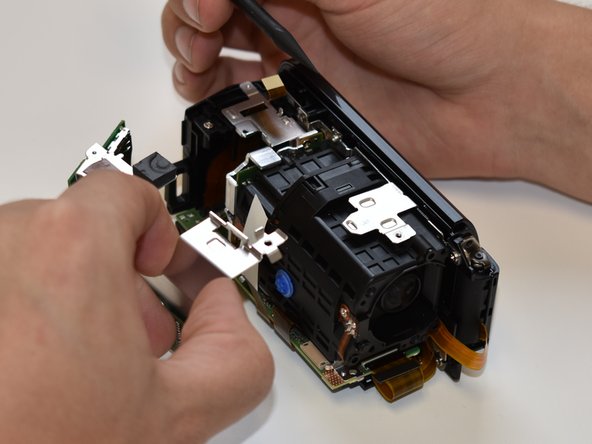
    • Remove the panel opposite the display by pulling up perpendicular to the side.

    Ask FixBot

    Add Comment

  5. Canon Vixia HF R62 Display Panel Replacement: step 5, image 1 of 1
    • Remove the 4mm Phillips #000 screw that was exposed after taking off the side panel.

    Ask FixBot

    Add Comment

  6. Canon Vixia HF R62 Display Panel Replacement: step 6, image 1 of 2 Canon Vixia HF R62 Display Panel Replacement: step 6, image 2 of 2
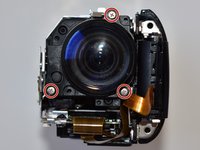
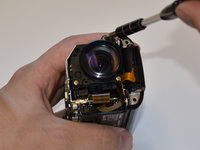
    • Remove the three 4mm Phillips #000 screws shown.

    • There will be foam covers protecting some or all of these screws. These will need to be removed before you will be able to unscrew them.

    Ask FixBot

    Add Comment

  7. Canon Vixia HF R62 Display Panel Replacement: step 7, image 1 of 3 Canon Vixia HF R62 Display Panel Replacement: step 7, image 2 of 3 Canon Vixia HF R62 Display Panel Replacement: step 7, image 3 of 3
    Tool used on this step:
    Tweezers
    $4.99
    Buy
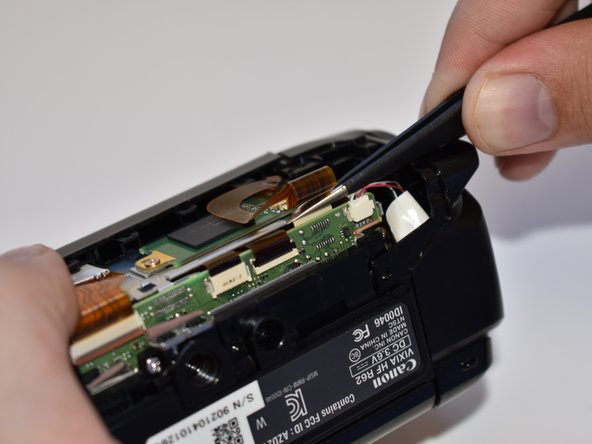
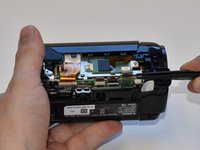
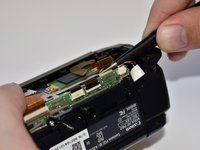
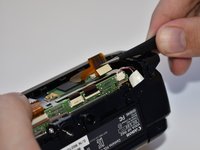
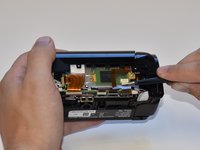
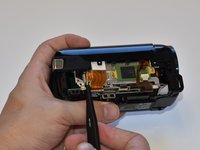
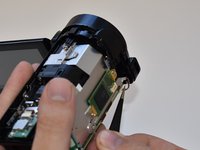
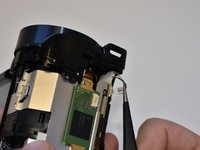
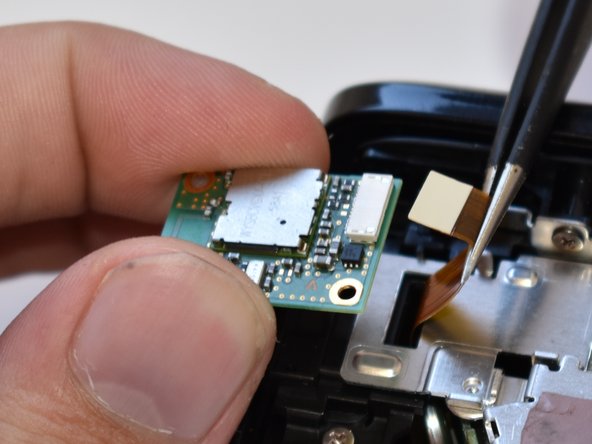
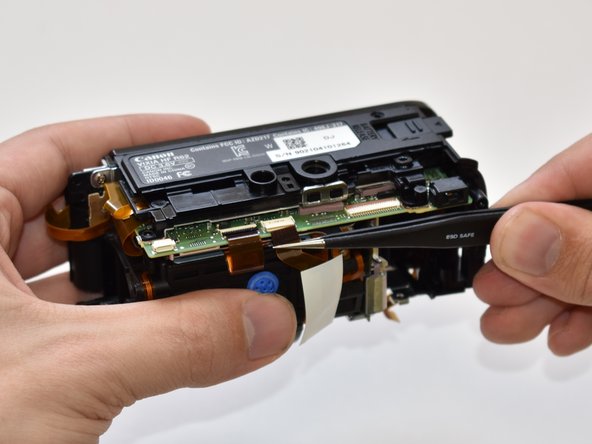
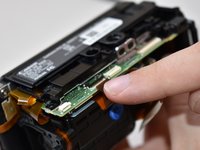
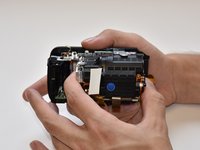
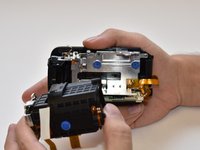
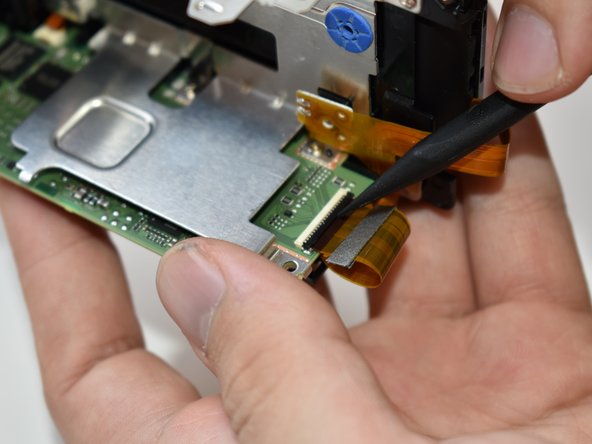
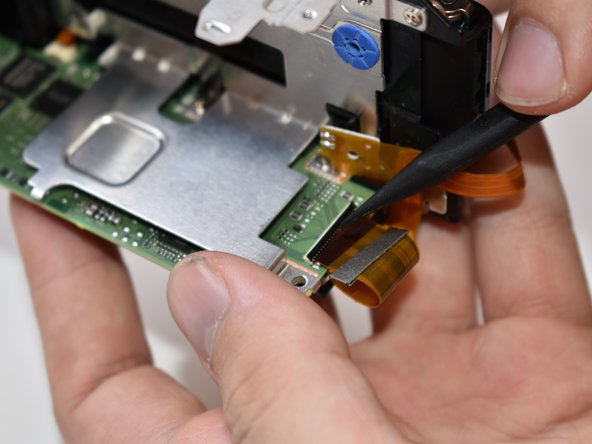
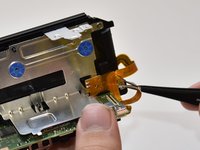
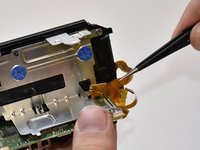
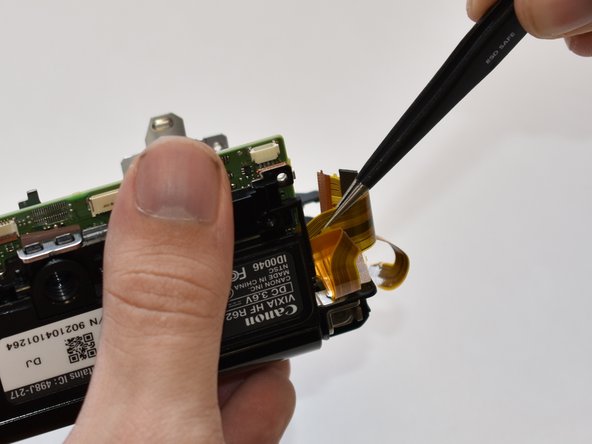
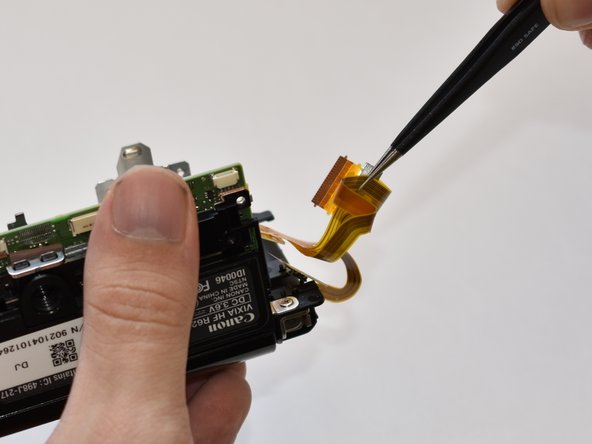
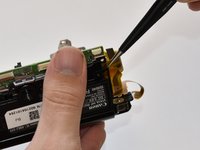
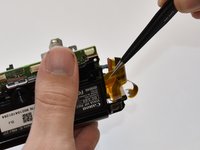
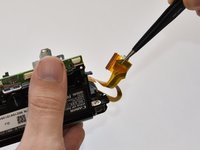
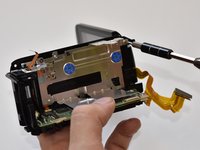
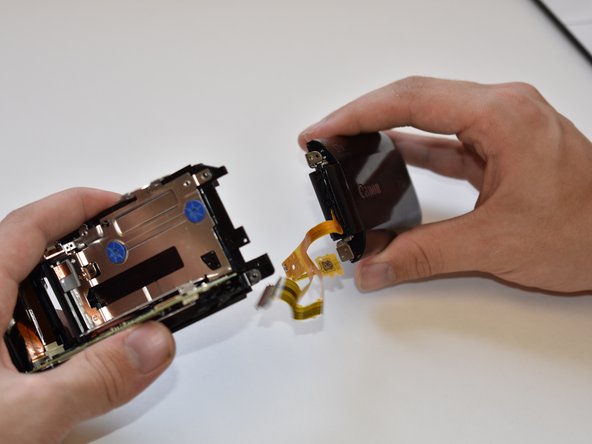
    • Using tweezers, disconnect this ribbon cable by pulling straight out.

    Ask FixBot

    Add Comment

  8. Canon Vixia HF R62 Display Panel Replacement: step 8, image 1 of 3 Canon Vixia HF R62 Display Panel Replacement: step 8, image 2 of 3 Canon Vixia HF R62 Display Panel Replacement: step 8, image 3 of 3
    • Repeat step seven (7) for the remaining three wires shown.

    Ask FixBot

    Add Comment

  9. Canon Vixia HF R62 Display Panel Replacement: step 9, image 1 of 3 Canon Vixia HF R62 Display Panel Replacement: step 9, image 2 of 3 Canon Vixia HF R62 Display Panel Replacement: step 9, image 3 of 3
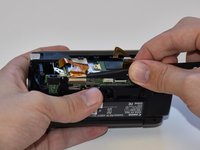
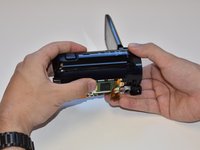
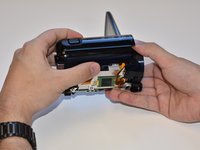
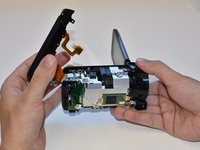
    • Grasp the top of the camera and pull straight up to remove the top panel.

    Ask FixBot

    Add Comment

  10. Canon Vixia HF R62 Display Panel Replacement, Lens: step 10, image 1 of 1
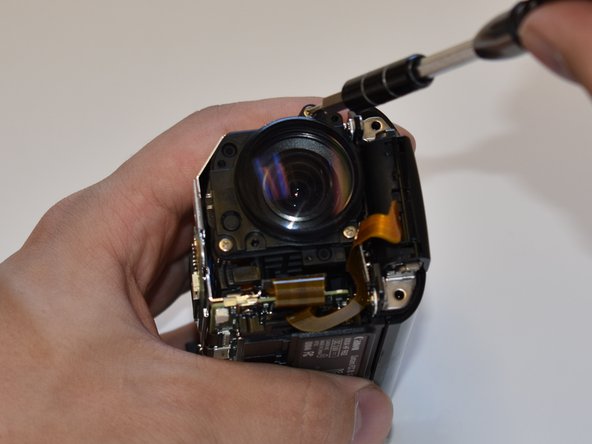
    • Remove the 5mm Phillips #000 screw on top of the inner case.

    Ask FixBot

    Add Comment

  11. Canon Vixia HF R62 Display Panel Replacement: step 11, image 1 of 2 Canon Vixia HF R62 Display Panel Replacement: step 11, image 2 of 2
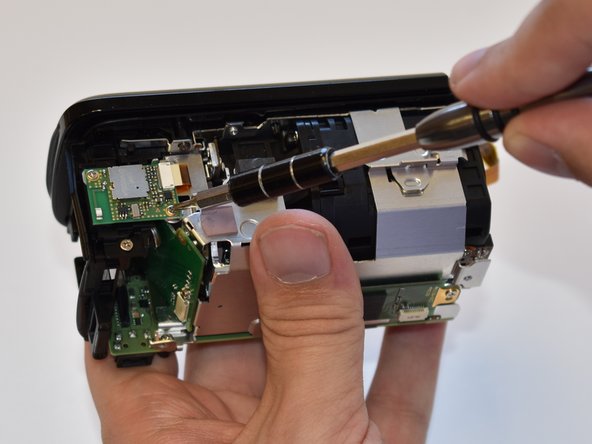
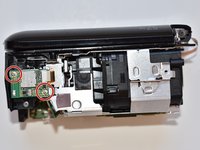
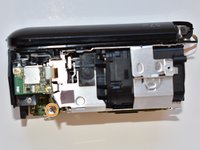
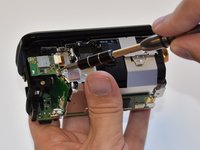
    • Remove the two 5mm Phillips #000 screws near the display panel.

    Ask FixBot

    Add Comment

  12. Canon Vixia HF R62 Display Panel Replacement: step 12, image 1 of 2 Canon Vixia HF R62 Display Panel Replacement: step 12, image 2 of 2
    • Disconnect the small bundled cable connector on the side of the lens cover by pulling it straight out.

    Ask FixBot

    Add Comment

  13. Canon Vixia HF R62 Display Panel Replacement: step 13, image 1 of 2 Canon Vixia HF R62 Display Panel Replacement: step 13, image 2 of 2
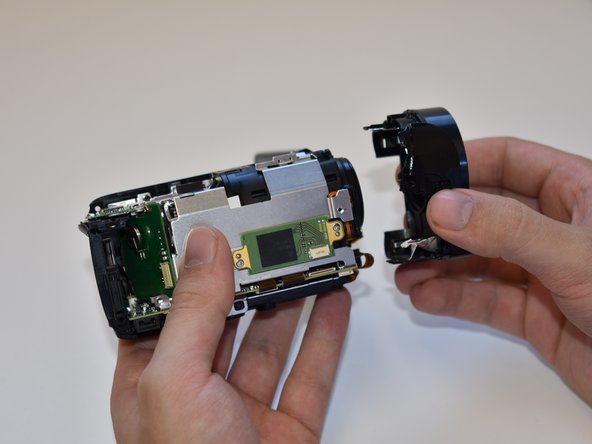
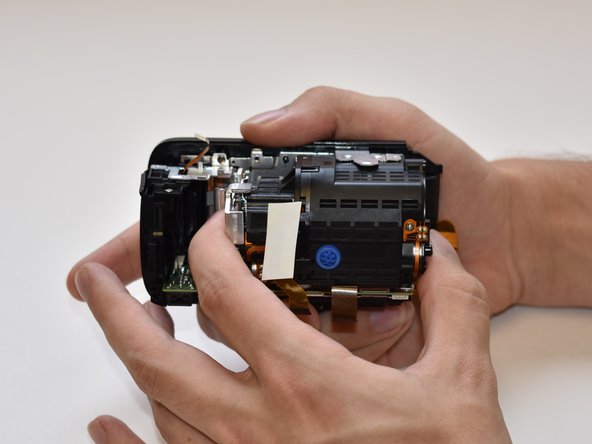
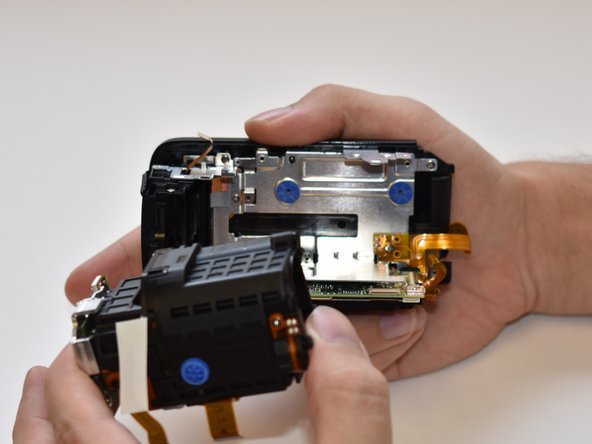
    • Remove the lens cover by pulling straight away from the body.

    Ask FixBot

    Add Comment

  14. Canon Vixia HF R62 Display Panel Replacement: step 14, image 1 of 2 Canon Vixia HF R62 Display Panel Replacement: step 14, image 2 of 2
    • Remove the three 6mm Phillips #000 screws shown.

    Ask FixBot

    Add Comment

  15. Canon Vixia HF R62 Display Panel Replacement: step 15, image 1 of 2 Canon Vixia HF R62 Display Panel Replacement: step 15, image 2 of 2
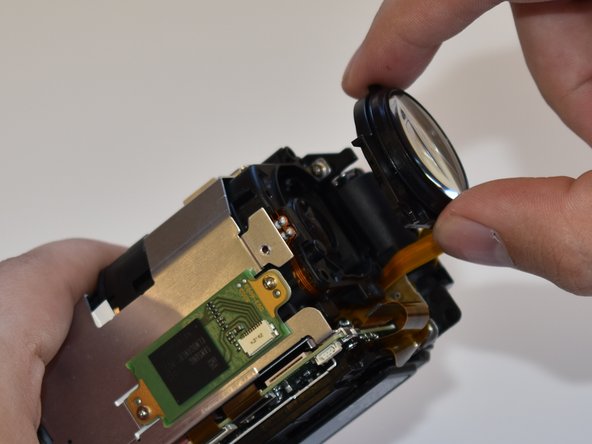
    • Remove the lens by pulling straight away from the main body.

    • Be aware of the small rubber gasket around the lens as it may come loose.

    Ask FixBot

    Add Comment

  16. Canon Vixia HF R62 Display Panel Replacement, Internal Battery and SD Card Reader: step 16, image 1 of 3 Canon Vixia HF R62 Display Panel Replacement, Internal Battery and SD Card Reader: step 16, image 2 of 3 Canon Vixia HF R62 Display Panel Replacement, Internal Battery and SD Card Reader: step 16, image 3 of 3
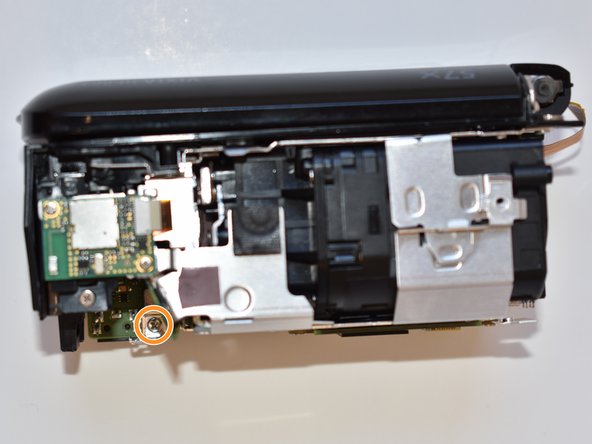
    • Remove the two 3mm Phillips #000 screws.

    • Remove the 4mm Phillips #000 screw.

    Ask FixBot

    Add Comment

  17. Canon Vixia HF R62 Display Panel Replacement: step 17, image 1 of 2 Canon Vixia HF R62 Display Panel Replacement: step 17, image 2 of 2
    • Disconnect the ribbon cable shown.

    Ask FixBot

    Add Comment

  18. Canon Vixia HF R62 Display Panel Replacement: step 18, image 1 of 1
    • Remove the 4mm Phillips #000 screw at the bottom of the camera.

    Ask FixBot

    Add Comment

  19. Canon Vixia HF R62 Display Panel Replacement: step 19, image 1 of 3 Canon Vixia HF R62 Display Panel Replacement: step 19, image 2 of 3 Canon Vixia HF R62 Display Panel Replacement: step 19, image 3 of 3
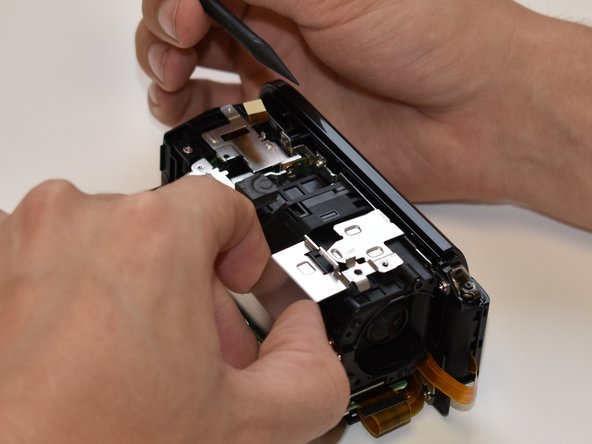
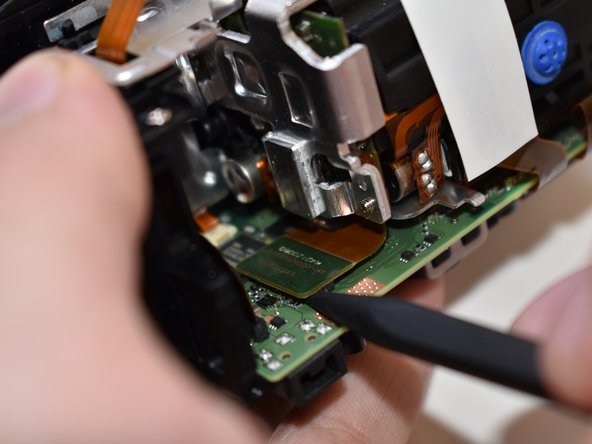
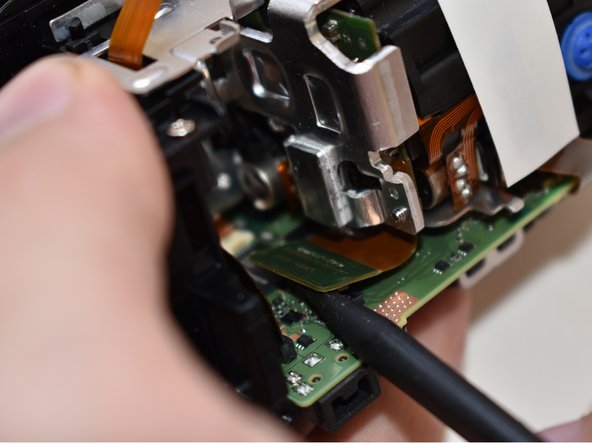
    • Place the spudger under the tab shown.

    • While prying the tab up with the spudger, pull the case away.

    Ask FixBot

    Add Comment

  20. Canon Vixia HF R62 Display Panel Replacement, Central Capturing Unit: step 20, image 1 of 3 Canon Vixia HF R62 Display Panel Replacement, Central Capturing Unit: step 20, image 2 of 3 Canon Vixia HF R62 Display Panel Replacement, Central Capturing Unit: step 20, image 3 of 3
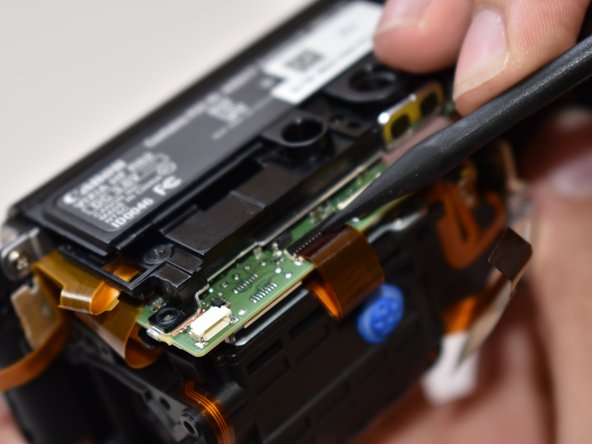
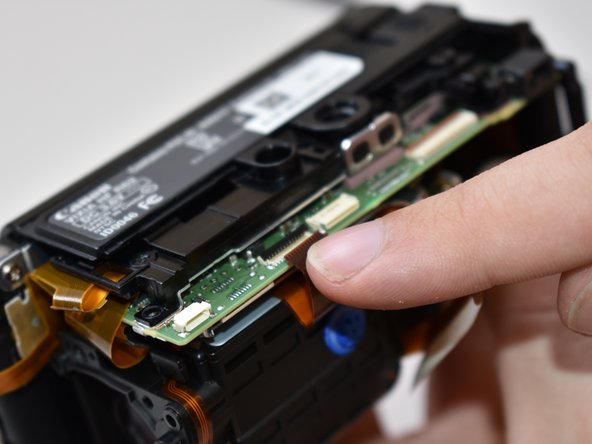
    • Using a spudger, disconnect the ribbon cable connector from the PC board shown in the picture.

    Ask FixBot

    Add Comment

  21. Canon Vixia HF R62 Display Panel Replacement: step 21, image 1 of 2 Canon Vixia HF R62 Display Panel Replacement: step 21, image 2 of 2
    Tool used on this step:
    Tweezers
    $4.99
    Buy
    • Using tweezers, disconnect the ribbon cable shown in the picture by pulling straight out.

    Ask FixBot

    Add Comment

  22. Canon Vixia HF R62 Display Panel Replacement: step 22, image 1 of 3 Canon Vixia HF R62 Display Panel Replacement: step 22, image 2 of 3 Canon Vixia HF R62 Display Panel Replacement: step 22, image 3 of 3
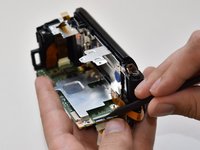
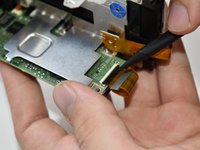
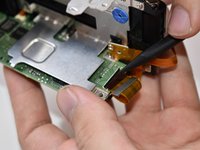
    • Using a spudger, gently pry up the top tab on the ZIF connector. The wire will now disconnect with no force needed.

    • When reassembling you will need to place the ribbon wire tightly against the tab in order to properly secure it.

    Ask FixBot

    Add Comment

  23. Canon Vixia HF R62 Display Panel Replacement: step 23, image 1 of 3 Canon Vixia HF R62 Display Panel Replacement: step 23, image 2 of 3 Canon Vixia HF R62 Display Panel Replacement: step 23, image 3 of 3
    • Using your fingers, firmly grasp both ends of the capturing device and gently pull the assembly straight out.

    Ask FixBot

    Add Comment

  24. Canon Vixia HF R62 Display Panel Replacement, Display Panel: step 24, image 1 of 1
    • Remove the 3mm Phillips #000 screw holding the display's ribbon wire to the casing.

    Ask FixBot

    Add Comment

  25. Canon Vixia HF R62 Display Panel Replacement: step 25, image 1 of 3 Canon Vixia HF R62 Display Panel Replacement: step 25, image 2 of 3 Canon Vixia HF R62 Display Panel Replacement: step 25, image 3 of 3
    • Undo the ZIF connector from the motherboard using a plastic spudger. Use the spudger to pry the small tab on top of the ZIF connector and the ribbon cable will fall free.

    • When reassembling, you will need to place the ribbon cable tightly against the tab in order to properly secure it.

    Ask FixBot

    Add Comment

  26. Canon Vixia HF R62 Display Panel Replacement: step 26, image 1 of 2 Canon Vixia HF R62 Display Panel Replacement: step 26, image 2 of 2
    Tool used on this step:
    Tweezers
    $4.99
    Buy
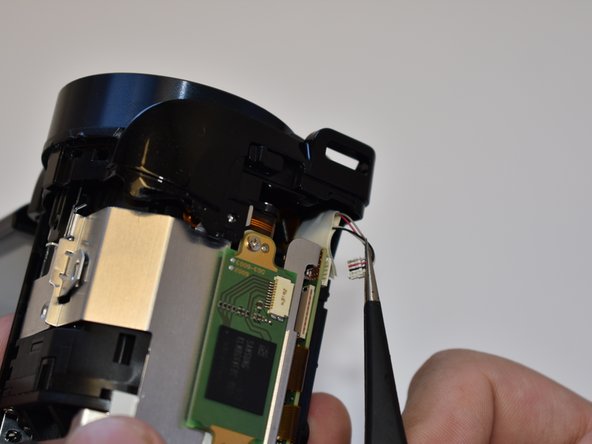
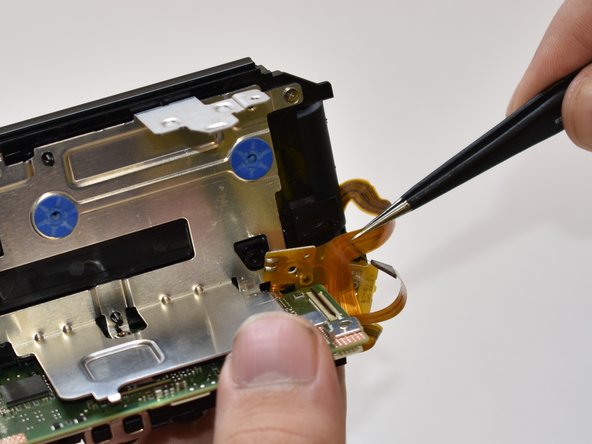
    • There is a small component of the ribbon cable clipped to the casing. Remove this by pulling it away from the casing with tweezers.

    • Some of the ribbon may become entangled in the clips that held the component. Ensure they are untangled before the display is removed to avoid damage.

    Ask FixBot

    Add Comment

  27. Canon Vixia HF R62 Display Panel Replacement: step 27, image 1 of 3 Canon Vixia HF R62 Display Panel Replacement: step 27, image 2 of 3 Canon Vixia HF R62 Display Panel Replacement: step 27, image 3 of 3
    • The ribbon cable is also looped around a piece of the casing under the motherboard. Unfasten this cable with tweezers by sliding down and then pulling out.

    Ask FixBot

    Add Comment

  28. Canon Vixia HF R62 Display Panel Replacement: step 28, image 1 of 2 Canon Vixia HF R62 Display Panel Replacement: step 28, image 2 of 2
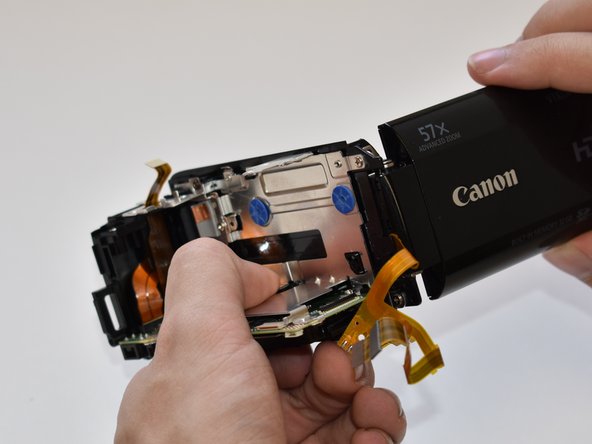
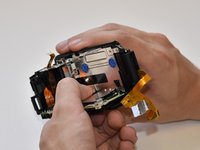
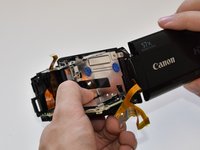
    • Open the display panel.

    • This will help during the reassembly as one of the hinges locks in place and is difficult to reassemble if in the closed position.

    Ask FixBot

    Add Comment

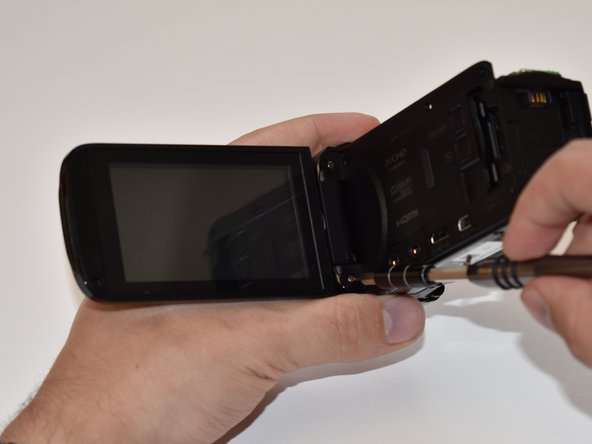
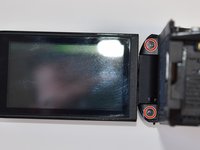
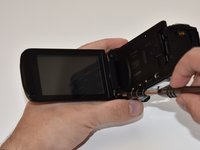
  29. Canon Vixia HF R62 Display Panel Replacement: step 29, image 1 of 2 Canon Vixia HF R62 Display Panel Replacement: step 29, image 2 of 2
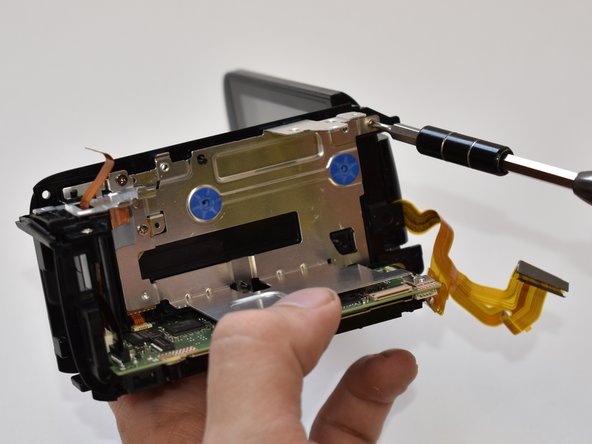
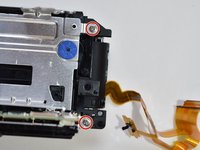
    • Remove the two 3mm Phillips #000 screws connecting to the display panel's hinges.

    Ask FixBot

    Add Comment

  30. Canon Vixia HF R62 Display Panel Replacement: step 30, image 1 of 2 Canon Vixia HF R62 Display Panel Replacement: step 30, image 2 of 2
    • Remove the display panel by pulling the display straight away from the body.

    Ask FixBot

    Add Comment

Conclusion

To reassemble your device, follow these instructions in reverse order.

Cancel: I did not complete this guide.

0 Guide Comments

Add Comment

View Statistics:

Past 24 Hours: 0

Past 7 Days: 5

Past 30 Days: 15

All Time: 494