
Canon Selphy CP720 Screen Replacement

Peter Ely and 3 other contributors
Last updated on Dec 17, 2018
Views: 918
View statistics:
- Past 24 Hours:
- 1
- Past 7 Days:
- 13
- Past 30 Days:
- 79
- All Time:
- 918
Comments: 0
No one has left comments on this guide. Will you be first?
Go to guide commentsCompleted: 0 1
No one has marked this guide "completed." Will you be the first?
1 person has marked this guide "completed." It's you — great job!
Favorites: 0 1
No one has favorited (and subscribed to) this guide. Will you be the first?
1 person has favorited (and subscribed to) this guide — and that's you!
Introduction
Go to step 1 ↓This guide will show you how to properly remove and replace the screen on the Canon Selphy CP720 in the event that it is damaged or does not work.
What you need
Tools


-
-
-
Remove the four 8mm Phillips #1 screws, located in each corner of the device.
-
-
-
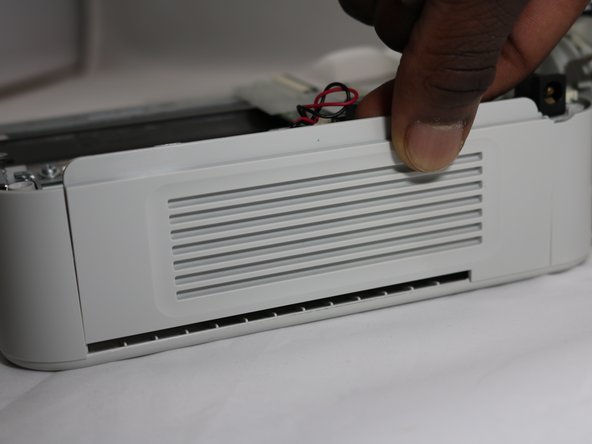
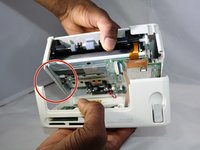
Grasp one half of the device's shell in each hand, and pull them apart. They are connected, so don't separate them completely.
-
-
-
Remove the four 8mm Phillips #00 screws that hold the upper circuit board to the shell.
-
-
-
-
Remove the two 8mm Phillips #00 screws from the screen.
-
Lift off the circuit board, yellow board, and screen.
-
-
-
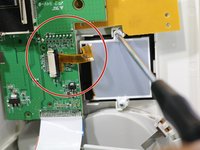
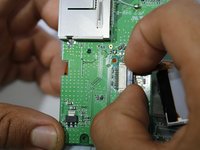
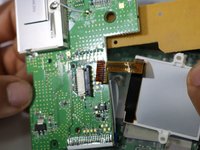
To separate the screen from the circuit board, grasp the data ribbon cable near the base of the black connector on the circuit board and pull parallel to the surface of the board, toward the screen.
-

 Ask FixBot




To reassemble your device, follow these instructions in reverse order.

Team

Eastern Washington University, Team S1-G1, Carnegie Fall 2018 Member of Eastern Washington University, Team S1-G1, Carnegie Fall 2018
EWU-CARNEGIE-F18S1G1
4 Members
60 Guides authored
