Free Shipping on Domestic Orders $75+

Canon Powershot SD550 LCD Screen Replacement

What you need

  1. Canon Powershot SD550 LCD Screen Replacement, Outer Case: step 1, image 1 of 1
    • Remove the battery and SD card from the camera.

    Ask FixBot
    Add Comment

  2. Canon Powershot SD550 LCD Screen Replacement: step 2, image 1 of 1
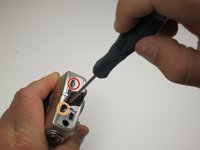
    • Remove the three 3.8 mm screws from the underside of the camera.

    • Each of the screws is slightly different, so it is important that you note the original location of each screw.

    Ask FixBot
    Add Comment

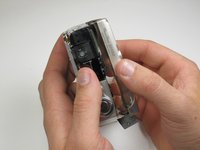
  3. Canon Powershot SD550 LCD Screen Replacement: step 3, image 1 of 3 Canon Powershot SD550 LCD Screen Replacement: step 3, image 2 of 3 Canon Powershot SD550 LCD Screen Replacement: step 3, image 3 of 3
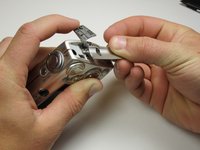
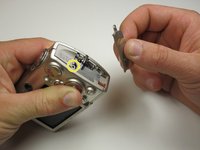
    • Remove the 3.2 mm screw from the right side of the camera.

    • Remove the 2.2 mm screw from the right side of the camera.

    • One of these screws is hidden under the USB port cover.

    • Lift the side panel off.

    • Remove the 1.8 mm screw from underneath the side panel.

    Ask FixBot
    Add Comment

  4. Canon Powershot SD550 LCD Screen Replacement: step 4, image 1 of 3 Canon Powershot SD550 LCD Screen Replacement: step 4, image 2 of 3 Canon Powershot SD550 LCD Screen Replacement: step 4, image 3 of 3
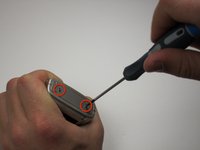
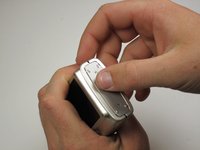
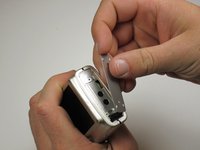
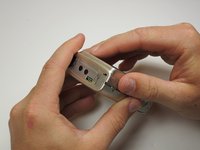
    • Remove the two 2.2 mm screws from the left side of the camera.

    • Lift the plate from the camera.

    Ask FixBot

    Add Comment

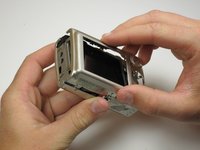
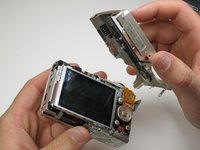
  5. Canon Powershot SD550 LCD Screen Replacement: step 5, image 1 of 3 Canon Powershot SD550 LCD Screen Replacement: step 5, image 2 of 3 Canon Powershot SD550 LCD Screen Replacement: step 5, image 3 of 3
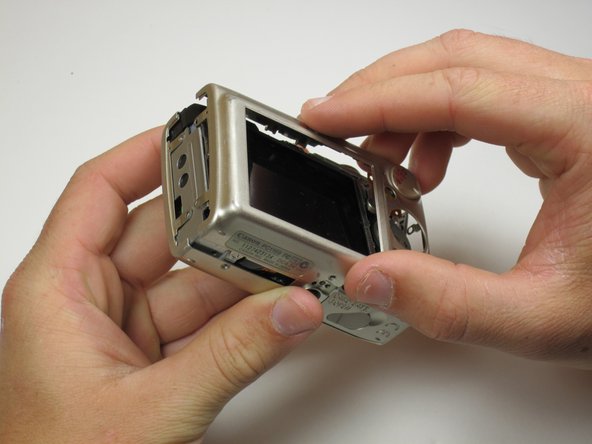
    • Gently lift the rear of the case to remove it from the camera.

    Ask FixBot

    Add Comment

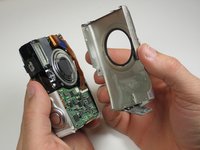
  6. Canon Powershot SD550 LCD Screen Replacement: step 6, image 1 of 3 Canon Powershot SD550 LCD Screen Replacement: step 6, image 2 of 3 Canon Powershot SD550 LCD Screen Replacement: step 6, image 3 of 3
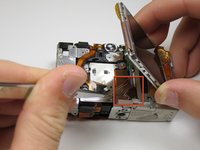
    • Remove the front of the camera body.

    • Be sure to keep track of the rubber ring.

    Ask FixBot
    Add Comment

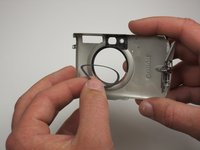
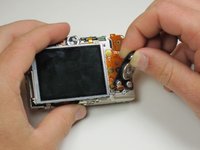
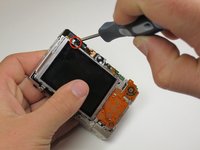
  7. Canon Powershot SD550 LCD Screen Replacement, LCD Screen: step 7, image 1 of 3 Canon Powershot SD550 LCD Screen Replacement, LCD Screen: step 7, image 2 of 3 Canon Powershot SD550 LCD Screen Replacement, LCD Screen: step 7, image 3 of 3
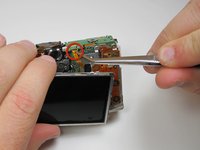
    • Peel the navigation buttons from the button panel and set them aside.

    • To free the LCD display, remove the 2.9 mm screw in the top left corner.

    • Rotate the screen clockwise until it lifts away from the camera.

    • There are two ribbon cables attached to the rear of the screen. Do not try to pull the screen off at this point.

    Ask FixBot
    Add Comment

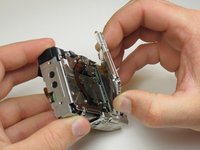
  8. Canon Powershot SD550 LCD Screen Replacement: step 8, image 1 of 2 Canon Powershot SD550 LCD Screen Replacement: step 8, image 2 of 2
    • To unplug the ribbon cables, pull them straight out of their plugs. Do this gently to avoid damaging the connections.

    • After disconnecting both cables, pull the screen away from the camera to remove it.

    Ask FixBot

    Add Comment

Conclusion

To reassemble your device, follow these instructions in reverse order.

Cancel: I did not complete this guide.

2 other people completed this guide.

Vivian Su

Member since: 04/17/11

31 Reputation

1 Guide authored

Team

Cal Poly, Team 18-23, Garner Spring 2011 Member of Cal Poly, Team 18-23, Garner Spring 2011

CPSU-GARNER-S11S18G23

5 Members

8 Guides authored

0 Guide Comments

Add Comment

View Statistics:

Past 24 Hours: 0

Past 7 Days: 11

Past 30 Days: 48

All Time: 3,940