Introduction
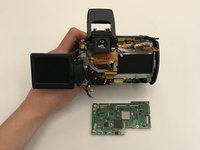
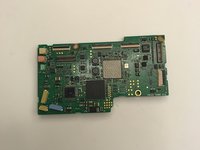
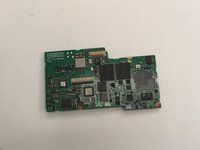
The motherboard of the Canon Powershot Pro1 contains a large percentage of the camera’s circuitry. Damage to the motherboard can result in a variety of issues. This guide can help you replace your damaged motherboard.
Use care when removing the ribbon cables and connectors, and ensure you place connectors into their designated position.
What you need
-
-
-
Locate the battery compartment cover on the right hand side of the camera. The cover features the text: “CF/BATT.OPEN”.
 Ask FixBot
-
-
-
There is an arrow beside the text. Using your hands, slide the cover in the direction of this arrow.
-
-
-
Pull the cover toward you. After doing so you will see the battery sitting inside the compartment.
-
-
-
-
-
-
Using the Phillips #000 screwdriver:
-
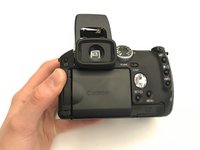
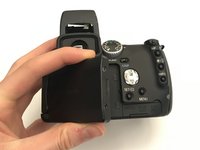
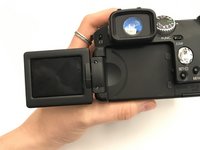
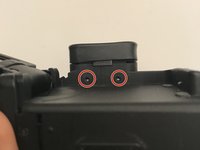
Remove two 1.00 mm screws under the viewfinder.
-
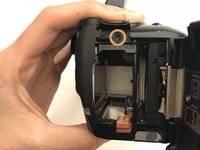
Remove one screw in the battery compartment.
-
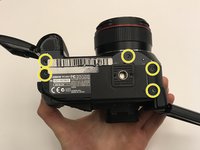
Remove five screws on the bottom of the camera.
-
Remove one screw on the left side of the camera (opposite the battery compartment).
-
-
-
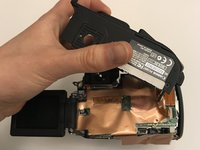
Completely detach the cover from the motherboard.
-
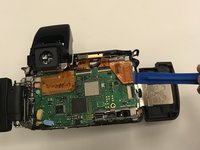
Lift the inside cover to reveal the motherboard.
-
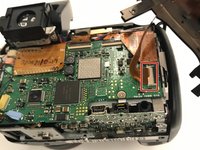
Detach the bottom right ribbon cable from the motherboard.
-
-
Tool used on this step:Tweezers$4.99
-
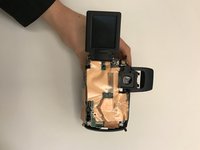
Lift up the gold insulation cover to reveal the motherboard.
-
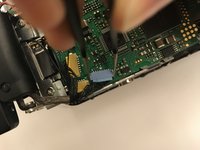
Use tweezers and an iFixit opening tool, detach any wire connectors and ribbon cables from the motherboard.
-










To reassemble your device, follow these instructions in reverse order.
Cancel: I did not complete this guide.
2 other people completed this guide.

Team

University of Alabama, Team S1-G1, Bedsole Fall 2019 Member of University of Alabama, Team S1-G1, Bedsole Fall 2019
UA-BEDSOLE-F19S1G1
3 Members
60 Guides authored
