Introduction
The camera lens is the main mechanism which allows the camera to capture images. The lens may need to be replaced if it has scratches or is cracked. These issues could lead to blurry photos or introduce unwanted lines in the photos. This guide walks you through the steps necessary to replace the lens. When following this guide, be sure to pay close attention to the order in which you remove the components. Also, be careful when removing the lens housing. The material is very delicate and is easily damaged.
What you need
-
-
-
Have the lens of the camera facing upwards.
-
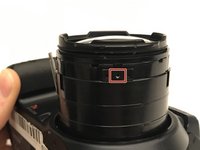
Find the red plastic ring.
-
Look for two small opening above the red plastic ring.
-
Reference to the left of the picture and you will see the orange square.
 Ask FixBot
-
-
-
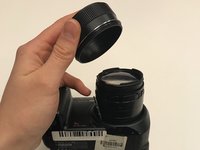
Remove the plastic ring that has a red strip.
-
Remove the 1.5 mm Phillips #1 screws which lie underneath the ring.
-
-
-
-
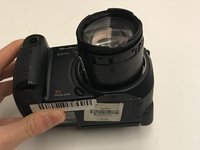
Place the camera on its back with the lens facing upwards as shown in the image
-
Remove the additional 1.5 mm Phillip #1 screw from underneath the lens cover
-
Remove the screw by turning the Philip driver counterclockwise.
-
By removing the screw, you will be able to remove the cover lens.
-
-
-
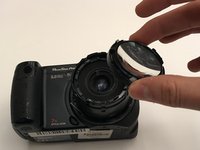
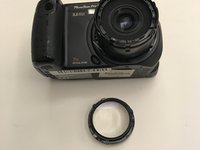
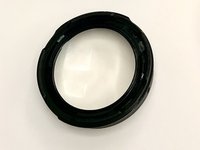
Use the nylon spudger to remove the ring holding the lens in place.
-
Pull gently until the lens ring snaps off.
-
-
-
Take out the lens once the plastic ring is removed
-
Hold the outer layer of the lens to not create smudges on it.
-
Replace the lens and follow the instruction in reversed order to reassemble the camera.
-
-




To reassemble your device, follow these instructions in reverse order.
Cancel: I did not complete this guide.
One other person completed this guide.

Team

University of Alabama, Team S1-G1, Bedsole Fall 2019 Member of University of Alabama, Team S1-G1, Bedsole Fall 2019
UA-BEDSOLE-F19S1G1
3 Members
60 Guides authored
