Free Shipping on Domestic Orders $75+

Canon Powershot A95 Flash Unit Replacement

What you need

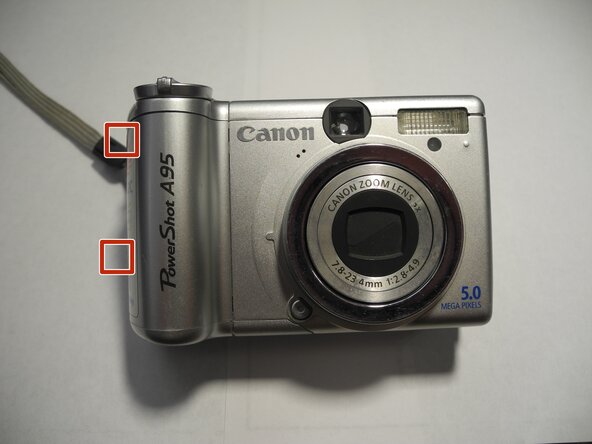
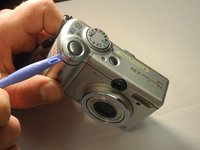
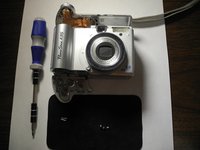
  1. Canon Powershot A95 Flash Unit Replacement, Flash Unit: step 1, image 1 of 3 Canon Powershot A95 Flash Unit Replacement, Flash Unit: step 1, image 2 of 3 Canon Powershot A95 Flash Unit Replacement, Flash Unit: step 1, image 3 of 3
    • Have a small Phillips-head screwdriver and extender, an opening tool, and a soldering iron to complete the following steps.

    • Keep the screws organized and separated as you remove them.

    Ask FixBot

    Add Comment

  2. Canon Powershot A95 Flash Unit Replacement: step 2, image 1 of 1
    • Locate the memory card slot on the far right with the screen facing toward you.

    • Remove the memory card.

    Ask FixBot

    Add Comment

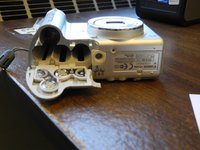
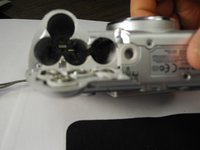
  3. Canon Powershot A95 Flash Unit Replacement: step 3, image 1 of 2 Canon Powershot A95 Flash Unit Replacement: step 3, image 2 of 2
    • With the screen facing toward you, the battery slot can be found under the right side of the camera.

    • Remove all batteries and leave the slot open.

    Ask FixBot

    Add Comment

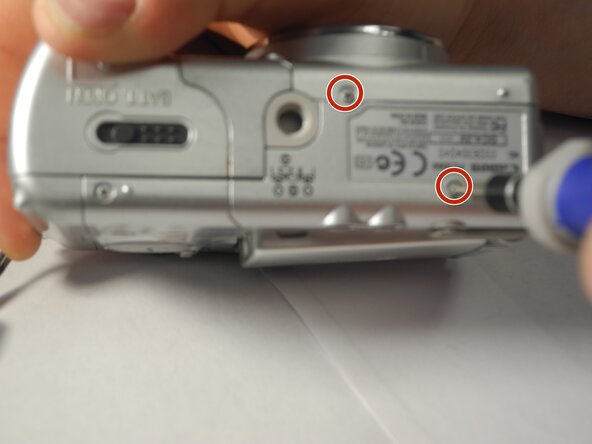
  4. Canon Powershot A95 Flash Unit Replacement: step 4, image 1 of 3 Canon Powershot A95 Flash Unit Replacement: step 4, image 2 of 3 Canon Powershot A95 Flash Unit Replacement: step 4, image 3 of 3
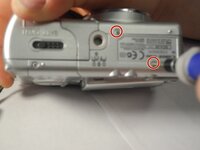
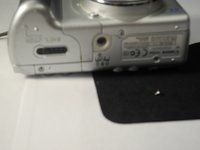
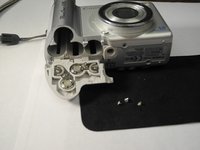
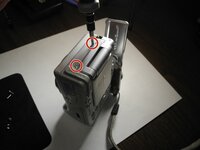
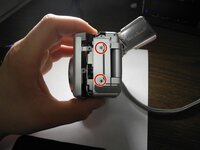
    • There are two screws to the right of the battery slot.

    • Take the #00 Phillips-head screwdriver and remove the two screws.

    Ask FixBot

    Add Comment

  5. Canon Powershot A95 Flash Unit Replacement: step 5, image 1 of 2 Canon Powershot A95 Flash Unit Replacement: step 5, image 2 of 2
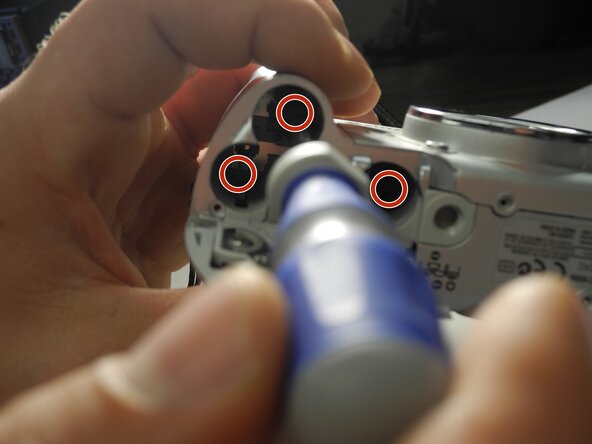
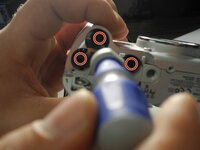
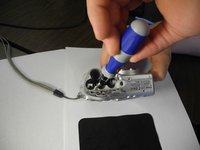
    • Inside the battery slot, there are another 3 screws located at the very bottom of each slot.

    • To reach these screws and remove them, attach the screwdriver extender to the #00 Phillips-head screwdriver.

    Ask FixBot

    Add Comment

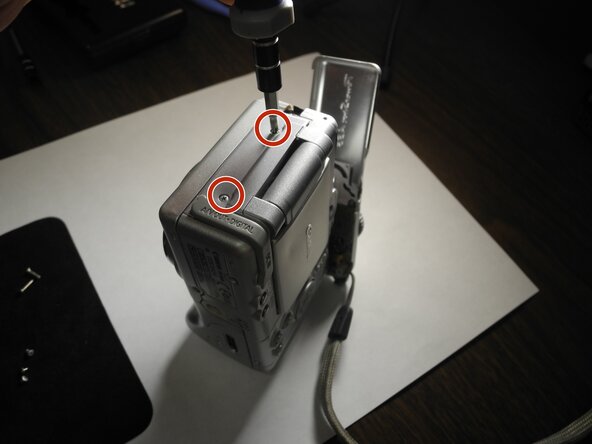
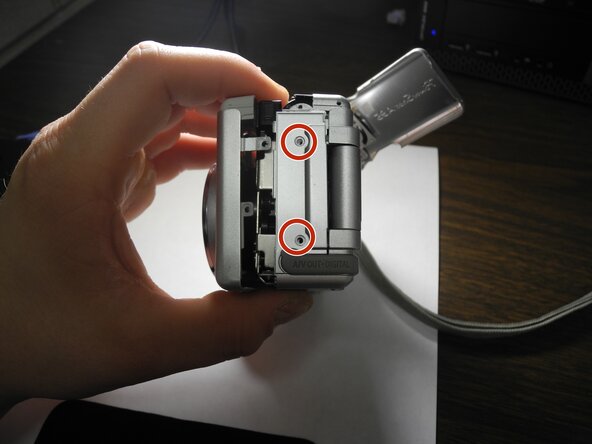
  6. Canon Powershot A95 Flash Unit Replacement: step 6, image 1 of 2 Canon Powershot A95 Flash Unit Replacement: step 6, image 2 of 2
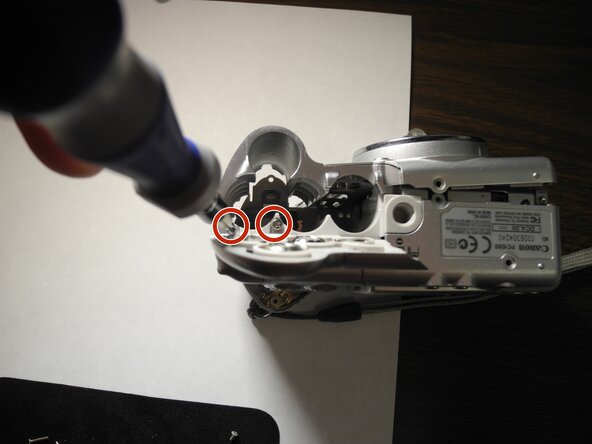
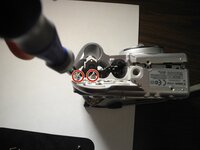
    • At the base of the battery flap, there are 2 screws located next to the hinges of the opening.

    • Remove both screws.

    Ask FixBot

    Add Comment

  7. Canon Powershot A95 Flash Unit Replacement: step 7, image 1 of 2 Canon Powershot A95 Flash Unit Replacement: step 7, image 2 of 2
    • Using the pry tool, pry the top of the camera open.

    • Be sure not to apply too much force and damage the wires under the lid.

    • The top should dangle loosely from the camera and not be fully detached.

    Ask FixBot

    Add Comment

  8. Canon Powershot A95 Flash Unit Replacement: step 8, image 1 of 2 Canon Powershot A95 Flash Unit Replacement: step 8, image 2 of 2
    • Once the top is loose, locate the 2 screws near the AV outlet.

    • Remove both screws.

    • The removal of the 2 screws will allow you to remove the plastic AV covering.

    • Once the AV cover is removed, there will be 1 more screw left to remove.

    Ask FixBot

    Add Comment

  9. Canon Powershot A95 Flash Unit Replacement: step 9, image 1 of 2 Canon Powershot A95 Flash Unit Replacement: step 9, image 2 of 2
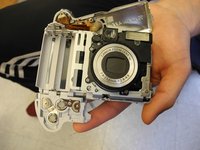
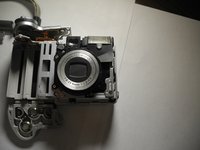
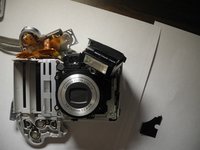
    • Using the pry tool, gently remove the front cover of the camera in order to expose the flash and the lens.

    Ask FixBot

    Add Comment

  10. Canon Powershot A95 Flash Unit Replacement: step 10, image 1 of 2 Canon Powershot A95 Flash Unit Replacement: step 10, image 2 of 2
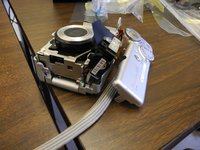
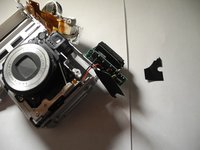
    • Locate the black film under the flash unit and remove the screw holding it in place.

    • Once the screw is removed, gently wiggle the flash out of place without damaging any internal parts.

    Ask FixBot

    Add Comment

  11. Canon Powershot A95 Flash Unit Replacement: step 11, image 1 of 2 Canon Powershot A95 Flash Unit Replacement: step 11, image 2 of 2
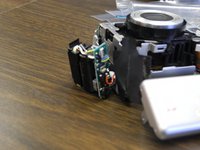
    • There will be a second black film which is covering the flash wires.

    • Remove the film to reveal the wires.

    Ask FixBot

    Add Comment

  12. Canon Powershot A95 Flash Unit Replacement: step 12, image 1 of 1
    • Once the second film is removed and has revealed the flash wires, proceed to unsolder the necessary wires in order to detach the flash.

    • Take the new flash and solder it where the old one was removed.

    Ask FixBot

    Add Comment

Conclusion

To reassemble, follow the disassemble steps in reverse order.

Cancel: I did not complete this guide.

Amber

Member since: 02/12/13

3 Reputation

1 Guide authored

Team

Ohio State, Team 1-4, Buehl Spring 2013 Member of Ohio State, Team 1-4, Buehl Spring 2013

OSU-BUEHL-S13S1G4

4 Members

2 Guides authored

0 Guide Comments

Add Comment

View Statistics:

Past 24 Hours: 0

Past 7 Days: 1

Past 30 Days: 23

All Time: 1,357