Free Shipping on Domestic Orders $75+

Canon Powershot A720 IS Battery Contacts Replacement

What you need

    1. Canon Powershot A720 IS Battery Contacts Replacement, Battery Contacts: step 1, image 1 of 2 Canon Powershot A720 IS Battery Contacts Replacement, Battery Contacts: step 1, image 2 of 2
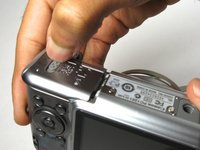
      • Turn to the bottom of the camera to access the battery department door.

      • Push the battery lock up to open.

      • Slide the batteries out of the camera.

      Ask FixBot

      Add Comment

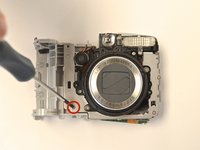
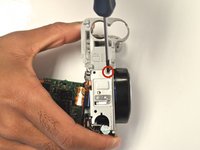
    2. Canon Powershot A720 IS Battery Contacts Replacement: step 2, image 1 of 3 Canon Powershot A720 IS Battery Contacts Replacement: step 2, image 2 of 3 Canon Powershot A720 IS Battery Contacts Replacement: step 2, image 3 of 3
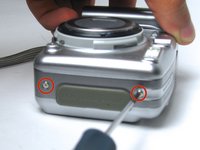
      • Place the camera on a flat surface so that the lens is facing up.

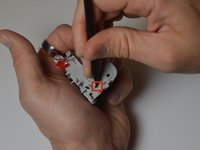
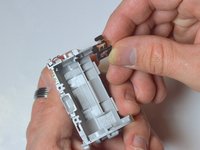
      • Use the Phillips #00 precision screwdriver to remove the innermost 4 mm Phillips head screw. Remove the door from the camera.

      • Place the door on a flat surface with the battery contact facing up. Remove the two 4 mm Phillips head screws.

      • Slide the battery contact from the door.

      Ask FixBot

      Add Comment

    3. Canon Powershot A720 IS Battery Contacts Replacement: step 3, image 1 of 3 Canon Powershot A720 IS Battery Contacts Replacement: step 3, image 2 of 3 Canon Powershot A720 IS Battery Contacts Replacement: step 3, image 3 of 3
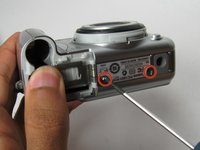
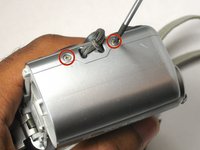
      • Remove the six 4 mm Phillips head screws on both the sides and bottom of the camera.

      Ask FixBot

      Add Comment

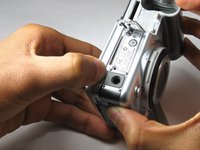
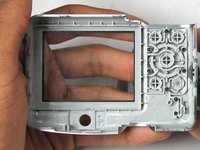
    4. Canon Powershot A720 IS Battery Contacts Replacement: step 4, image 1 of 3 Canon Powershot A720 IS Battery Contacts Replacement: step 4, image 2 of 3 Canon Powershot A720 IS Battery Contacts Replacement: step 4, image 3 of 3
      • Use your hands to separate the back case panel from the rest of the camera.

      • The gray rubber cover labeled DC IN DIGITAL A/V OUT may fall out.

      Ask FixBot

      Add Comment

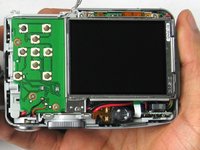
    5. Canon Powershot A720 IS Battery Contacts Replacement: step 5, image 1 of 1
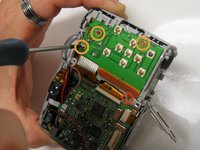
      • Unscrew the two 3 mm screws that are below the LCD screen mount.

      • Unscrew the top 4 mm screw.

      Ask FixBot

      Add Comment

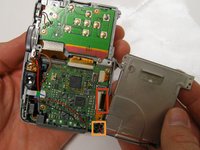
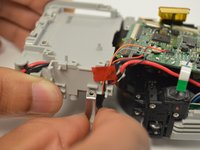
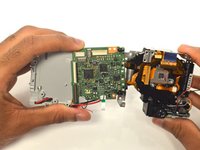
    6. Canon Powershot A720 IS Battery Contacts Replacement: step 6, image 1 of 3 Canon Powershot A720 IS Battery Contacts Replacement: step 6, image 2 of 3 Canon Powershot A720 IS Battery Contacts Replacement: step 6, image 3 of 3
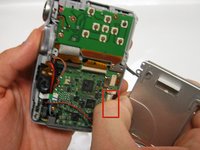
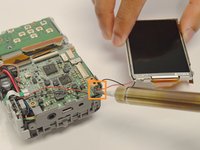
      • Carefully lift and turn over the LCD ccreen to see the motherboard.

      • Treat the motherboard with care. It is very sensitive to static discharge. Remain grounded by wearing a static bracelet to avoid the release of static discharge.

      • Carefully disconnect the LCD screen ribbon cable away from its ZIF connector with your thumb and index finger. Make sure to have your thumb and index finger cover as much of the ribbon's width and as close to the ZIF connector as possible without touching the motherboard while pulling the ribbon out.

      • Use caution not to rip the ribbon wire.

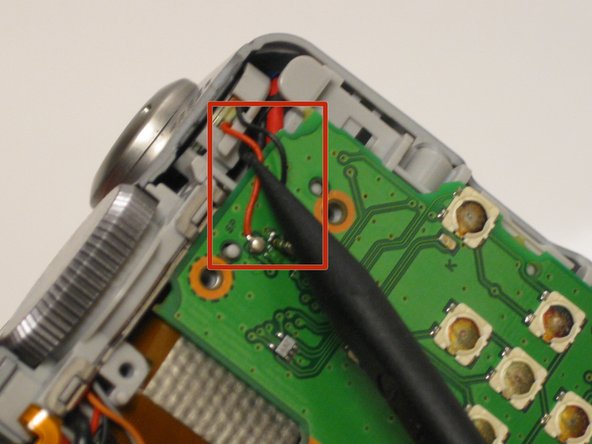
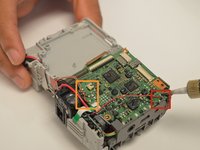
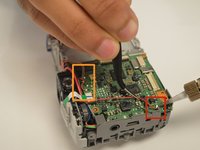
      • Use the soldering iron to separate the black and red power wires from the motherboard.

      • Make sure to note the location of where each wire was attached. The black wire is the negative power wire and the red wire is the positive power wire.

      • Incorrectly placed power wires can disrupt the power distribution and lead to power outages and damage to the motherboard.

      Ask FixBot

      Add Comment

    7. Canon Powershot A720 IS Battery Contacts Replacement: step 7, image 1 of 2 Canon Powershot A720 IS Battery Contacts Replacement: step 7, image 2 of 2
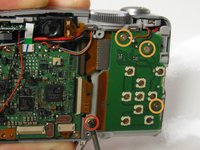
      • Remove the 3 mm Phillips head screw that is between the circuit boards.

      • The other screw was the 4 mm screw that is between the circuit boards was taken off during step five of this guide.

      • Remove the next three 3.5 mm Phillips head screws that are on the button circuit board.

      Ask FixBot

      Add Comment

    8. Canon Powershot A720 IS Battery Contacts Replacement: step 8, image 1 of 1
      • Use the spudger to unclip both wires from underneath the shutter button and settings dial housing unit.

      • Be careful not apply too much force on wires with spudger.

      Ask FixBot

      Add Comment

    9. Canon Powershot A720 IS Battery Contacts Replacement: step 9, image 1 of 2 Canon Powershot A720 IS Battery Contacts Replacement: step 9, image 2 of 2
      • Turn the camera over and unscrew 4.5 mm Phillips head screw to detach the shutter button and settings dial from the rest of the camera.

      • Unscrew the 3 mm Phillips screw head from the metal frame to begin detaching the battery housing unit.

      Ask FixBot

      Add Comment

    10. Canon Powershot A720 IS Battery Contacts Replacement: step 10, image 1 of 3 Canon Powershot A720 IS Battery Contacts Replacement: step 10, image 2 of 3 Canon Powershot A720 IS Battery Contacts Replacement: step 10, image 3 of 3
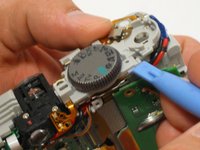
      • Use the plastic opening tool to separate the button circuit board from the shutter button and the settings dial housing unit.

      • Carefully disconnect the ribbon cable that is attached to the user buttons circuit board away from the ZIF connector that is attached to the motherboard.

      • Be careful not to rip the ribbon cable out of the ZIF connector when removing.

      • Remove the user button circuit board.

      Ask FixBot

      Add Comment

    11. Canon Powershot A720 IS Battery Contacts Replacement: step 11, image 1 of 2 Canon Powershot A720 IS Battery Contacts Replacement: step 11, image 2 of 2
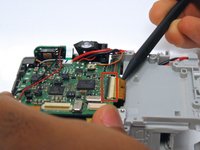
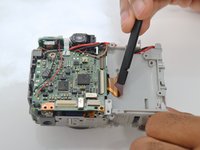
      • Use the spudger to remove the attached ribbon cable. Be sure to alternate the spudger on both sides of ribbon cable to remove evenly.

      • Be careful not to rip the ribbon cable attached to motherboard out of the ZIF connector.

      Ask FixBot

      Add Comment

    12. Canon Powershot A720 IS Battery Contacts Replacement: step 12, image 1 of 2 Canon Powershot A720 IS Battery Contacts Replacement: step 12, image 2 of 2
      • Use the spudger to remove the pictured ribbon from the ZIF connector.

      • Be careful not to rip the ribbon cable out of the ZIF connector while removing.

      Ask FixBot

      Add Comment

    13. Canon Powershot A720 IS Battery Contacts Replacement: step 13, image 1 of 1
      • Use the spudger to remove the green ribbon from the attached ZIF connector.

      Ask FixBot

      Add Comment

    14. Canon Powershot A720 IS Battery Contacts Replacement: step 14, image 1 of 3 Canon Powershot A720 IS Battery Contacts Replacement: step 14, image 2 of 3 Canon Powershot A720 IS Battery Contacts Replacement: step 14, image 3 of 3
      Tool used on this step:
      Tweezers
      $4.99
      Buy
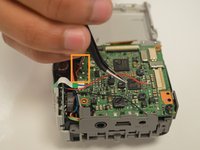
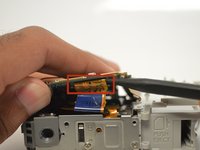
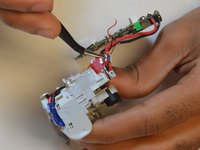
      • Desolder all of the wires attached to the motherboard and move them aside with the tweezers.

      • Be observant during soldering to avoid disrupting the power distribution.

      Ask FixBot

      Add Comment

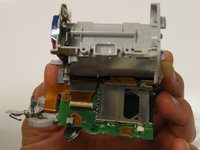
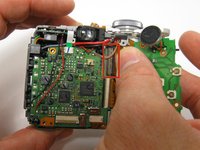
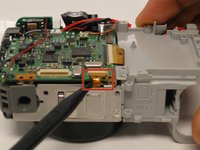
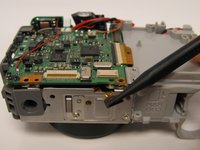
    15. Canon Powershot A720 IS Battery Contacts Replacement: step 15, image 1 of 3 Canon Powershot A720 IS Battery Contacts Replacement: step 15, image 2 of 3 Canon Powershot A720 IS Battery Contacts Replacement: step 15, image 3 of 3
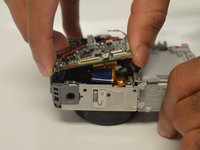
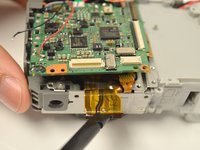
      • After disconnecting all ribbons, lift the motherboard to expose the ribbon cable connecting the motherboard to the lens.

      • Use the spudger to remove the the ribbon cable attached to the motherboard. Be sure to alternate both sides of ribbon cable to evenly remove.

      • Be careful not to rip the ribbon cable out from the ZIF connector the ribbon cable is attached to.

      Ask FixBot

      Add Comment

    16. Canon Powershot A720 IS Battery Contacts Replacement: step 16, image 1 of 2 Canon Powershot A720 IS Battery Contacts Replacement: step 16, image 2 of 2
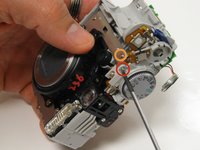
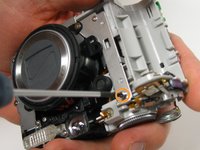
      • Turn the camera to the lens facing up. Remove the 3 mm Phillips head screw attached the bottom of the battery housing unit to the lens.

      • Turn the camera to expose the bottom. Remove the 30 mm Phillips head screw to disassemble the battery housing unit from the camera.

      Ask FixBot

      Add Comment

    17. Canon Powershot A720 IS Battery Contacts Replacement: step 17, image 1 of 2 Canon Powershot A720 IS Battery Contacts Replacement: step 17, image 2 of 2
      • Remove the metal frame from battery housing unit.

      • Separate the lens from the motherboard. Put the lens housing unit aside for later use.

      • Be careful not to apply too much force when pulling apart the metal frame in case of remaining attached cables.

      Ask FixBot

      Add Comment

    18. Canon Powershot A720 IS Battery Contacts Replacement: step 18, image 1 of 2 Canon Powershot A720 IS Battery Contacts Replacement: step 18, image 2 of 2
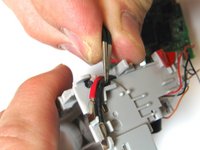
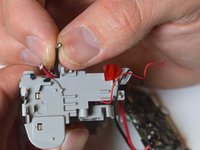
      • Use tweezers to remove the tape and rubber strap. Unravel the wires from the plastic hooks.

      Ask FixBot

      Add Comment

    19. Canon Powershot A720 IS Battery Contacts Replacement: step 19, image 1 of 3 Canon Powershot A720 IS Battery Contacts Replacement: step 19, image 2 of 3 Canon Powershot A720 IS Battery Contacts Replacement: step 19, image 3 of 3
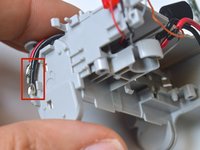
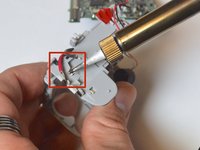
      • Use the soldering iron to remove the red and black wires from the battery contacts.

      • Be aware of the placement of the red and black power wires during reassembly.

      Ask FixBot

      Add Comment

    20. Canon Powershot A720 IS Battery Contacts Replacement: step 20, image 1 of 2 Canon Powershot A720 IS Battery Contacts Replacement: step 20, image 2 of 2
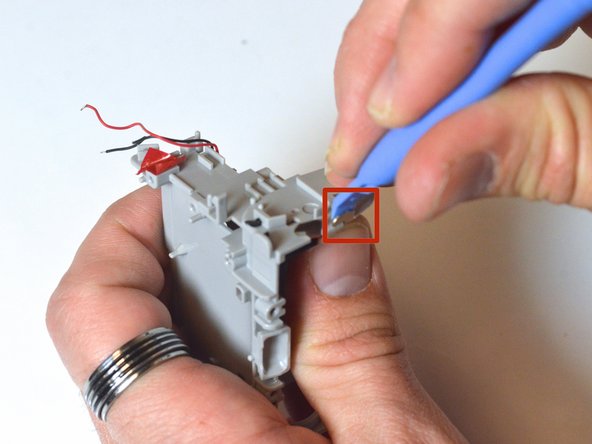
      • Use the plastic opening tool to unclip the metal tab.

      Ask FixBot

      Add Comment

    21. Canon Powershot A720 IS Battery Contacts Replacement: step 21, image 1 of 2 Canon Powershot A720 IS Battery Contacts Replacement: step 21, image 2 of 2
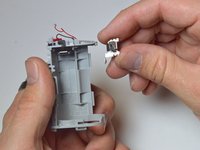
      • Apply pressure with the spudger to detach the clip.

      Ask FixBot

      Add Comment

Conclusion

To reassemble your device, follow these instructions in reverse order.

Cancel: I did not complete this guide.

One other person completed this guide.

Jamie

Member since: 01/22/15

428 Reputation

3 Guides authored

Team

USF Tampa, Team 17-4, Watkins Winter 2015 Member of USF Tampa, Team 17-4, Watkins Winter 2015

USFT-WATKINS-W15S17G4

3 Members

60 Guides authored

0 Guide Comments

Add Comment

View Statistics:

Past 24 Hours: 6

Past 7 Days: 25

Past 30 Days: 129

All Time: 5,890