Introduction
Replace the motherboard of the Canon PowerShot SX50 HS.
What you need
-
-
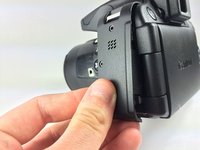
Locate the battery compartment on the bottom of the camera.
-
Push the latch on the outside of the battery door to the right to get to the battery pack inside.
 Ask FixBot
-
-
-
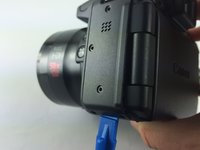
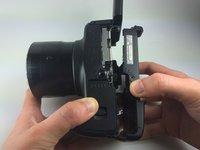
Pull the brown latch on the inside of the battery door towards your palm (to the left). The battery pack should pop out (battery not pictured).
-
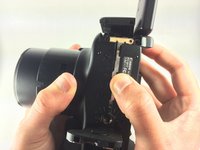
Now remove the battery pack from the camera with your fingers.
-
-
-
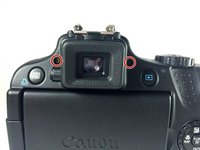
Remove the two Phillips #000 screws, length 5 mm, on either side of the viewfinder.
-
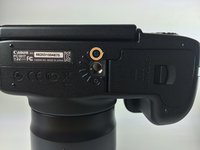
Remove the one Phillips #000 screw, length 4 mm, on the bottom, closer to the back side of the camera.
-
-
-
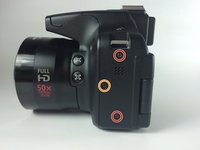
Remove the two Phillips #000 screws, length 3 mm, on the left side of camera.
-
Remove the Phillips #000 screw, length 4 mm, located between the two 3 mm screws.
-
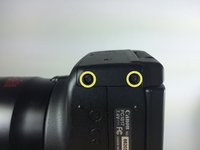
Remove the two Phillips #000 screws, length 4 mm, on the bottom left corner of the camera.
-
-
-
Find the "A/V Out Digital" charging station and lift up the flap.
-
Remove the two Phillips #000 screws, length 5 mm, that are under the "A/V Out Digital" flap.
-
Remove the one Phillips #000 screw, length 5 mm, that is outside the "A/V Out Digital" flap.
-
-
-
-
Use the plastic opening tool to carefully start lifting up the camera's left-side panel. Then use your fingers to pry off the rest.
-
-
-
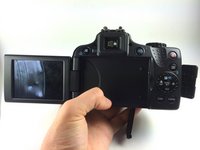
Make sure the LCD screen panel, the battery compartment door, and the 'A/V Out Digital" flap are all open.
-
Using your fingers, carefully pry off the back encasement (you may need to use a plastic opening tool to help you).
-
-
Tool used on this step:Tweezers$4.99
-
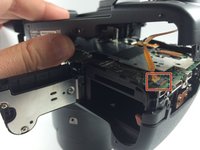
Find the orange wire ribbon attaching the back encasement to the I/O board in the lower right-hand corner of the camera (lens facing away).
-
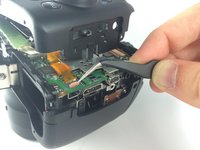
Carefully lift up the brown clip holding the wire ribbon in place and pull the ribbon out of the clasp with your fingers or tweezers.
-
-
-
Now you can completely separate the back encasement from the rest of the camera.
-
-
-
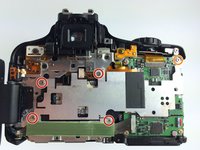
Remove the four #000 Phillips screws, 2 mm in length, from the metal plate.
-
Remove the one #000 Phillips screw, 5 mm in length, from the metal plate.
-
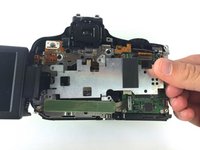
Lift the metal plate off with your fingers.
-
-
-
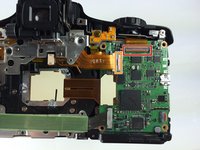
Remove the two Phillips #000 screws, 5 mm in length, from the I/O board.
-
Remove the one Phillips #000 screw, 3 mm in length, from the I/O board.
-
-
Tool used on this step:Tweezers$4.99
-
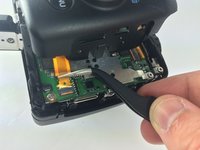
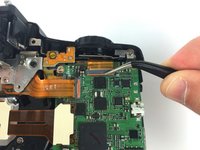
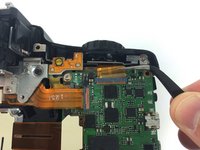
To remove the topmost wire ribbon on the I/O board, lift up the brown latch, and then carefully pull out the ribbon. You can use your fingers or the tweezers.
-
Remove the wire ribbon on the top left corner of the I/O board with the same process as the previous step.
-
-
-
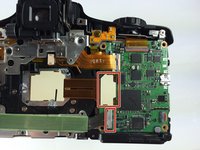
Remove the two wire ribbons on the bottom left corner of the I/O board by unclipping them with your fingers.
-
-
-
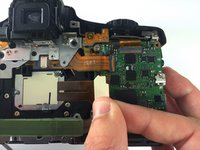
Lift up the wire ribbon that was attached at the top left corner of the I/O board; there is another wire ribbon underneath it.
-
Detach this ribbon by lifting up the black latch and pulling it out with your fingers or the tweezers as you did with the ribbon on top of it.
-
-
-
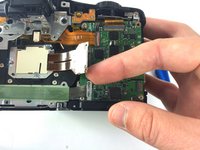
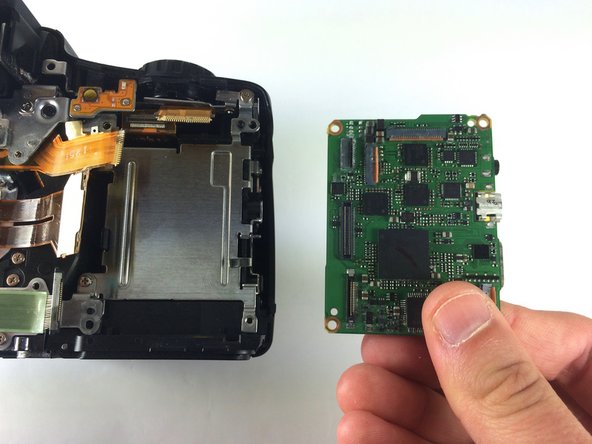
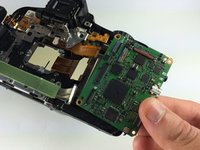
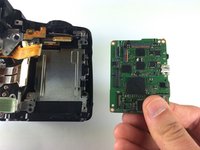
Carefully remove the I/O board from the the camera. There is a wire ribbon attached underneath it that will detach as you pull the I/O board out.
-
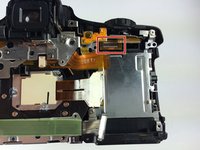
This is the detached wire ribbon. You will need to reattach this when reassembling the camera.
-



















To reassemble your device, follow these instructions in reverse order.
Cancel: I did not complete this guide.
4 other people completed this guide.

Team

Cal Poly, Team 12-7, Lancaster Spring 2015 Member of Cal Poly, Team 12-7, Lancaster Spring 2015
CPSU-LANCASTER-S15S12G7
5 Members
10 Guides authored
2 Guide Comments
Huge thanks to Remington Goodwin for his EXCELLENT guide! I followed it -- successfully -- to swap out a defective board (the battery compartment microswitch had disintegrated), using a board from another "parts only" SX50 HS from Ebay. Couldn't have done the repair without his guidance.
HOWEVER -- two suggestions that will save a lot of frustration:
1. The "detached wire ribbon" (step 15) that plugs into the back of the I/O board is many (many) times easier to reattach it if you remove the front case (two small screws) and top shutter button panel (1 screw) to gain access to that ribbon cable from the front.
2. Be SUPER CAREFUL when reinserting the I/O board -- watch the almost microscopic plastic plunger on the microswitch. Have the battery door open when reinserting the I/O board; otherwise, you can easily knock that plunger out of the switch. It is so small it is almost impossible to see it -- so go slow and be careful.
Excellent DIY tutorial! Kudo's to the technician!
