Introduction
Replace the func. set turn dial of the Canon PowerShot SX50 HS.
What you need
-
-
-
Locate the battery compartment on the bottom of the camera.
-
Push the latch on the outside of the battery door to the right to get to the battery pack inside.
 Ask FixBot
-
-
-
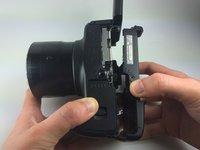
Pull the brown latch on the inside of the battery door towards your palm (to the left). The battery pack should pop out (battery not pictured).
-
Now remove the battery pack from the camera with your fingers.
-
-
-
-
-
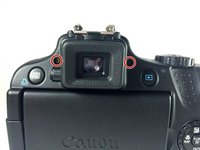
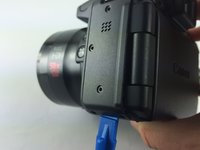
Remove the two Phillips #000 screws, length 5 mm, on either side of the viewfinder.
-
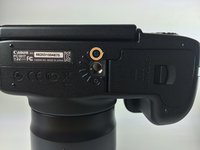
Remove the one Phillips #000 screw, length 4 mm, on the bottom, closer to the back side of the camera.
-
-
-
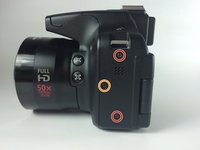
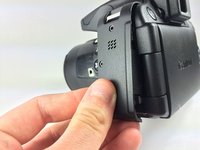
Remove the two Phillips #000 screws, length 3 mm, on the left side of camera.
-
Remove the Phillips #000 screw, length 4 mm, located between the two 3 mm screws.
-
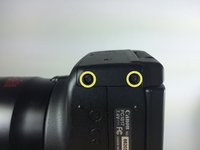
Remove the two Phillips #000 screws, length 4 mm, on the bottom left corner of the camera.
-
-
-
-
Find the "A/V Out Digital" charging station and lift up the flap.
-
Remove the two Phillips #000 screws, length 5 mm, that are under the "A/V Out Digital" flap.
-
Remove the one Phillips #000 screw, length 5 mm, that is outside the "A/V Out Digital" flap.
-
-
-
Use the plastic opening tool to carefully start lifting up the camera's left-side panel. Then use your fingers to pry off the rest.
-
-
-
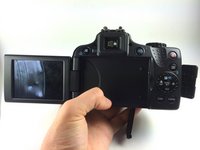
Make sure the LCD screen panel, the battery compartment door, and the 'A/V Out Digital" flap are all open.
-
Using your fingers, carefully pry off the back encasement (you may need to use a plastic opening tool to help you).
-
-
Tool used on this step:Tweezers$4.99
-
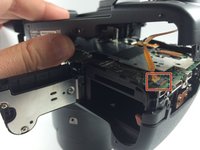
Find the orange wire ribbon attaching the back encasement to the I/O board in the lower right-hand corner of the camera (lens facing away).
-
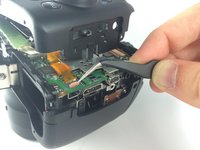
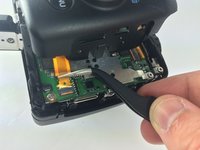
Carefully lift up the brown clip holding the wire ribbon in place and pull the ribbon out of the clasp with your fingers or tweezers.
-
-
-
Now you can completely separate the back encasement from the rest of the camera.
-
-
-
-
-
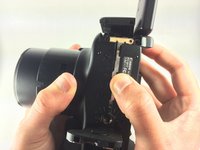
Remove the four Phillips #000 screws, length 3 mm, attaching the metal panel to the inside of the back encasement.
-
-












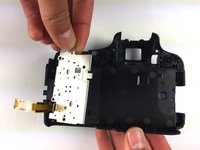
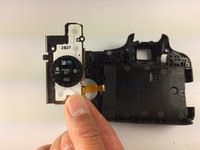
To reassemble your device, follow these instructions in reverse order.
Cancel: I did not complete this guide.
3 other people completed this guide.

Team

Cal Poly, Team 12-7, Lancaster Spring 2015 Member of Cal Poly, Team 12-7, Lancaster Spring 2015
CPSU-LANCASTER-S15S12G7
5 Members
84 Guides authored
2 Guide Comments
Interested to know where I can buy the switch/ribbon assembly for that function dial?
I appreciated the clear instructions and photos. Couldn’t be any better. Now I would like to know where to purchase the dial assembly.
