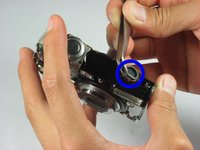
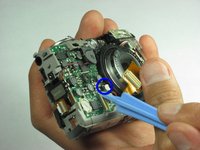
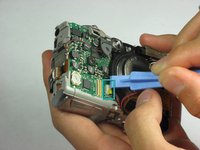
Free Shipping on Domestic Orders $75+

Canon PowerShot SD850 IS Camera Lens Replacement

What you need

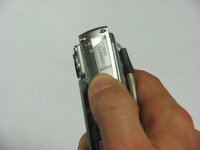
  1. Canon PowerShot SD850 IS Camera Lens Replacement, Case: step 1, image 1 of 2 Canon PowerShot SD850 IS Camera Lens Replacement, Case: step 1, image 2 of 2
    • Remove the following 4 screws:

    • Two 2.8 mm Phillips #00 at the bottom of the camera.

    • Two 2.75 mm Phillips #00 on the opposite side of the wrist strap.

    Ask FixBot

    Add Comment

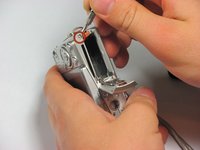
  2. Canon PowerShot SD850 IS Camera Lens Replacement: step 2, image 1 of 3 Canon PowerShot SD850 IS Camera Lens Replacement: step 2, image 2 of 3 Canon PowerShot SD850 IS Camera Lens Replacement: step 2, image 3 of 3
    • Open the A/V OUT DIGITAL flap on the side of the wrist strap.

    • Remove the 2.75 mm Phillips #00 under the A/V OUT DIGITAL flap on the side of the wrist strap.

    Ask FixBot

    Add Comment

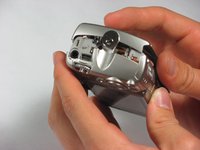
  3. Canon PowerShot SD850 IS Camera Lens Replacement: step 3, image 1 of 2 Canon PowerShot SD850 IS Camera Lens Replacement: step 3, image 2 of 2
    • On the bottom of the camera, use your fingernail to slide the light gray tab towards the edge of the camera.

    • Slide light gray door and pull up to open the door.

    • Remove the 8.35 mm Phillips #00 next to the brown tab that holds the battery.

    Ask FixBot

    Add Comment

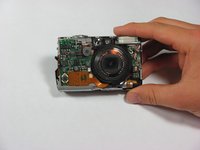
  4. Canon PowerShot SD850 IS Camera Lens Replacement: step 4, image 1 of 2 Canon PowerShot SD850 IS Camera Lens Replacement: step 4, image 2 of 2
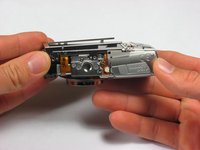
    • Gently pull the front cover straight out from the camera. This will expose the wiring on the front of the camera.

    Ask FixBot

    Add Comment

  5. Canon PowerShot SD850 IS Camera Lens Replacement: step 5, image 1 of 1
    • Remove the 2.75 mm Phillips #00 next to A/V OUT DIGITAL.

    Ask FixBot

    Add Comment

  6. Canon PowerShot SD850 IS Camera Lens Replacement: step 6, image 1 of 1
    • Slide the back casing (with the screen protector) off to reveal the LCD and back wiring.

    Ask FixBot

    Add Comment

  7. Canon PowerShot SD850 IS Camera Lens Replacement, LCD Screen: step 7, image 1 of 1
    • Remove the 1.75 mm Phillips #00 located at the top left of the LCD screen.

    Ask FixBot

    Add Comment

  8. Canon PowerShot SD850 IS Camera Lens Replacement: step 8, image 1 of 1
    • Remove the two 3.4 mm Phillips #00 located at the bottom of the camera.

    Ask FixBot

    Add Comment

  9. Canon PowerShot SD850 IS Camera Lens Replacement: step 9, image 1 of 2 Canon PowerShot SD850 IS Camera Lens Replacement: step 9, image 2 of 2
    • Remove the two metal frames that hold the LCD panel in place.

    Ask FixBot

    Add Comment

  10. Canon PowerShot SD850 IS Camera Lens Replacement: step 10, image 1 of 1
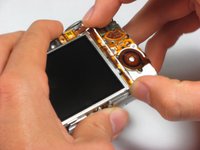
    • The LCD screen should now only be attached by two LCD data cables.

    • Lift the screen from the left side and use a spudger or a small flat head screwdriver to flip the black portion of the connector upward to unlock it.

    • Carefully slide the data cable out of the connector.

    Ask FixBot

    Add Comment

  11. Canon PowerShot SD850 IS Camera Lens Replacement: step 11, image 1 of 1
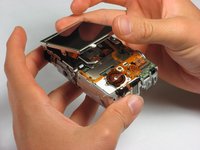
    • The LCD should still be connected by the backlight cable.

    • To remove the backlight cable, use a spudger or a small flat head screwdriver to unlock the backlight cable.

    • Carefully slide out the backlight cable.

    • The LCD screen can now be fully detached from the camera body.

    Ask FixBot

    Add Comment

  12. Canon PowerShot SD850 IS Camera Lens Replacement: step 12, image 1 of 2 Canon PowerShot SD850 IS Camera Lens Replacement: step 12, image 2 of 2
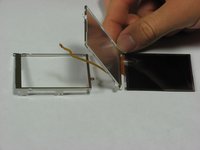
    • The LCD screen and housing are now in three pieces:

    • LCD screen

    • LCD screen frame

    • LCD back housing

    • The LCD screen itself can now be removed and fixed/replaced.

    Ask FixBot

    Add Comment

  13. Canon PowerShot SD850 IS Camera Lens Replacement, Flash Unit: step 13, image 1 of 1
    • Remove the 1.85 mm #00 Phillips located on the left side of the camera.

    Ask FixBot

    Add Comment

  14. Canon PowerShot SD850 IS Camera Lens Replacement: step 14, image 1 of 2 Canon PowerShot SD850 IS Camera Lens Replacement: step 14, image 2 of 2
    Tool used on this step:
    Tweezers
    $4.99
    Buy
    • Use a set of tweezers to remove the speaker located at the top of the camera on the flash unit.

    • Next use the tweezers to carefully remove the speaker cable off its respective holders.

    Ask FixBot

    Add Comment

  15. Canon PowerShot SD850 IS Camera Lens Replacement: step 15, image 1 of 1
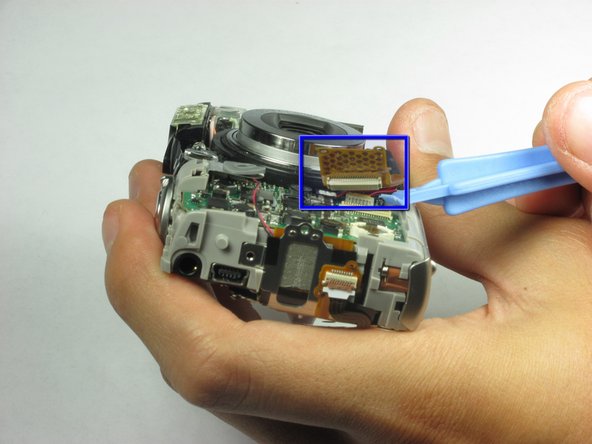
    • Use a spudger or a flathead screwdriver to remove the camera lens cable located in the front of the camera.

    Ask FixBot

    Add Comment

  16. Canon PowerShot SD850 IS Camera Lens Replacement: step 16, image 1 of 2 Canon PowerShot SD850 IS Camera Lens Replacement: step 16, image 2 of 2
    • Use a spudger or a flathead screwdriver and carefully pry out the first flash cable from the bottom of the cable. The white 2 prong power cable pops UP (use spudger below red/black insertion and put upward pressure). For the yellow one, apply pressure horizontally.

    • Next use a spudger or a flathead screwdriver and carefully pry out the second flash cable.

    Ask FixBot

    Add Comment

  17. Canon PowerShot SD850 IS Camera Lens Replacement: step 17, image 1 of 1
    • Gently remove the flash component from the rest of the camera.

    • Use a spudger or a flathead screwdriver and carefully pry off the plastic piece on top of the flash unit.

    • The flash unit can now be removed and replaced.

    • Be careful not to touch the capacitor attached to the flash unit as it may still be holding a charge!

    Ask FixBot

    Add Comment

  18. Canon PowerShot SD850 IS Camera Lens Replacement, Camera Lens: step 18, image 1 of 1
    • Remove four screws located on the back of the camera:

    • 6.15 mm #00 Phillips

    • 2.75 mm #00 Phillips

    • 2.15 mm #00 Phillips

    • 2.7 mm #00 Phillips

    Ask FixBot

    Add Comment

  19. Canon PowerShot SD850 IS Camera Lens Replacement: step 19, image 1 of 1
    • Use a spudger or a flathead screwdriver and carefully pry out the bulb located in the front of the camera on top of the camera lens.

    Ask FixBot

    Add Comment

  20. Canon PowerShot SD850 IS Camera Lens Replacement: step 20, image 1 of 1
    • Gently remove the camera lens from the rest of the camera.

    Ask FixBot

    Add Comment

Conclusion

To reassemble your device, follow these instructions in reverse order.

Cancel: I did not complete this guide.

3 other people completed this guide.

Peter Tran

Member since: 10/06/10

252 Reputation

6 Guides authored

Team

Cal Poly, Team 20-7, Maness Fall 2010 Member of Cal Poly, Team 20-7, Maness Fall 2010

CPSU-MANESS-F10S20G7

6 Members

7 Guides authored

2 Guide Comments

If you have a problem on your camera then it is better if you go nearest technician to fix your camera.

Get a good action camera at http://actionshotcam.com

Jerome Tenedero - Reply Share
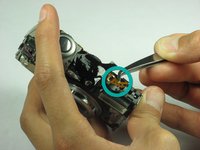
step 10 was very unclear, the dark brown part of the cable connector is what is supposed to be lifted. i tried to lift the black part, as the guide stated, and broke off the data cable connector rendering my camera nearly useless

Felix - Reply Share
Add Comment

View Statistics:

Past 24 Hours: 9

Past 7 Days: 23

Past 30 Days: 90

All Time: 15,280