
Canon PowerShot SD700 Motherboard Replacement

Kenneth Lim and 8 other contributors
Last updated on Jan 10, 2025
Views: 1.9K
View statistics:
- Past 24 Hours:
- 3
- Past 7 Days:
- 17
- Past 30 Days:
- 92
- All Time:
- 1,948
Comments: 4
4 comments on steps.
Completed: 0 1
No one has marked this guide "completed." Will you be the first?
1 person has marked this guide "completed." It's you — great job!
Favorites: 0 1
No one has favorited (and subscribed to) this guide. Will you be the first?
1 person has favorited (and subscribed to) this guide — and that's you!
Needs Better Images
Better photos will improve this guide. Help out by taking, editing, or uploading new ones!
Introduction
Go to step 1 ↓Follow this step by step installation guide for replacing the motherboard on your Canon Powershot SD700 IS camera.
In order to make the process easier please view our more indepth guide on taking off the camera's casing in the LCD replacement guide.
What you need
Tools
-
Spudger4.9


-
-
-
Turn off the camera by pressing the power button above the LCD screen.
 Ask FixBot
-
-
-
Remove the two small screws on the bottom of the camera using a Phillips #00 screwdriver.
-
-
-
Use a Phillips #00 screwdriver to remove the two small screws on the right side of the camera.
-
-
-
Use a Phillips #00 screwdriver to remove the screw on the left of the camera under the A/V out digital label.
-
-
-
Use a Phillips #00 screwdriver to remove the screw on the bottom of the camera near the battery and memory card slots.
-
-
-
Remove the front, back, and side casings from the camera and set to the side.
-
-
-
-
-
Detach the LCD and backlight.
-
Remove the larger screw.
-
Remove the two smaller sized screws.
-
Remove the small screw.
-
Remove the small screw.
-
-
-
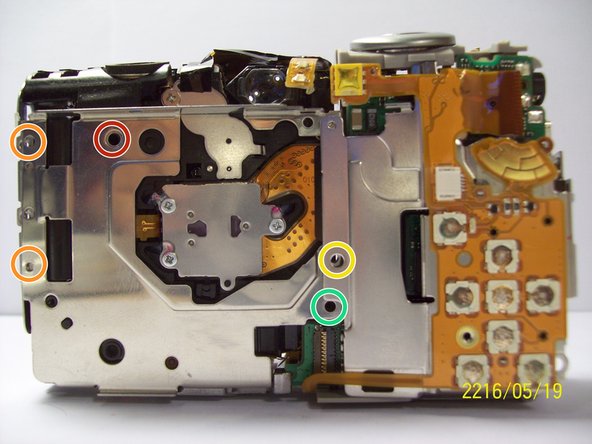
Remove the two screws near the the tripod mount using a Phillips #00 screwdriver.
-
-
-
Remove the screw next to the shutter on the top of the camera with a Phillips screwdriver.
-
-
-
Remove the orange ribbon cable by lifting the ZIF connector attached to the ribbon with a spudger.
-
-
-
Carefully lift the shutter along with the ribbon connected to it. This will remove the casing around the motherboard.
-
-
-
With the motherboard casing detached, remove the short orange ribbon by lifting the ZIF connector with a spudger or other plastic opening tools and slide the ribbon out. Detaching this ribbon will disconnect the side of the camera containing the motherboard from the rest of the camera.
-
-
-
-
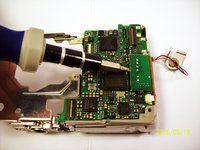
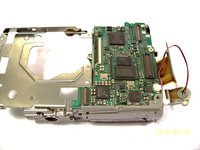
Disconnect the wires that are attached to the motherboard.
-
Remove the film by lifting it gently from the motherboard.
-
-
-
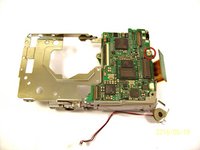
Remove the last wires connected to the motherboard by gently lifting upwards.
-
-
-
Remove the screw using a Phillips #00 screwdriver.
-
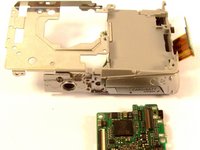
Gently lift the motherboard away from the case.
-
-






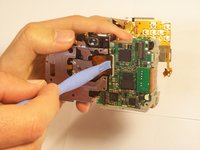
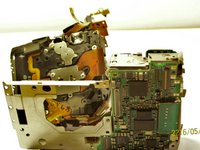


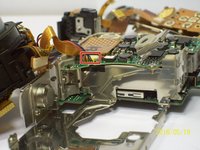
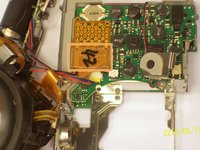






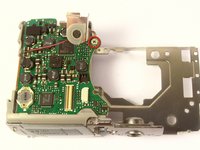
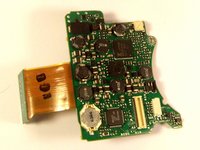
To reassemble your device, follow these instructions in reverse order.

Team

Cal Poly, Team 9-71, Walters Spring 2011 Member of Cal Poly, Team 9-71, Walters Spring 2011
CPSU-WALTERS-S11S9G71
4 Members
96 Guides authored
