Free Shipping on Domestic Orders $75+

Canon PowerShot SD1400 IS Motherboard Replacement

What you need

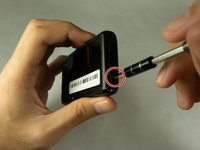
  1. Canon PowerShot SD1400 IS Motherboard Replacement, Motherboard: step 1, image 1 of 3 Canon PowerShot SD1400 IS Motherboard Replacement, Motherboard: step 1, image 2 of 3 Canon PowerShot SD1400 IS Motherboard Replacement, Motherboard: step 1, image 3 of 3
    • Remove two 2mm Phillips #00 screws on both sides of the camera.

    Ask FixBot
  2. Canon PowerShot SD1400 IS Motherboard Replacement: step 2, image 1 of 1
    • Remove the 4mm Phillips #000 screw from the bottom.

    Ask FixBot
  3. Canon PowerShot SD1400 IS Motherboard Replacement: step 3, image 1 of 1
    • Remove the front face panel of the camera.

    Ask FixBot
  4. Canon PowerShot SD1400 IS Motherboard Replacement: step 4, image 1 of 1
    • Remove the rear panel of the camera by using hand with firm pressure.

    • The user interface panel, side and bottom panel of the camera may fall down by itself while you are taking the rear panel of the camera.

    Ask FixBot
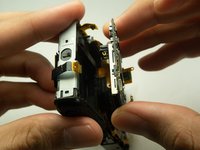
  5. Canon PowerShot SD1400 IS Motherboard Replacement: step 5, image 1 of 1
    • Remove the 3mm Phillips #000 screw from the top of the camera.

    Ask FixBot
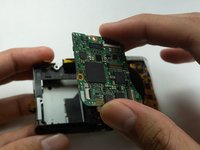
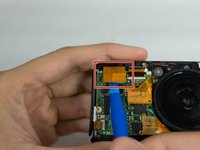
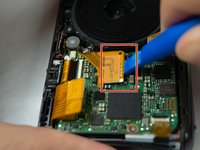
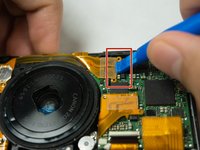
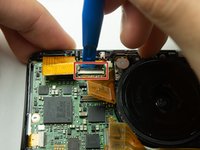
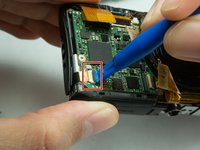
  6. Canon PowerShot SD1400 IS Motherboard Replacement: step 6, image 1 of 3 Canon PowerShot SD1400 IS Motherboard Replacement: step 6, image 2 of 3 Canon PowerShot SD1400 IS Motherboard Replacement: step 6, image 3 of 3
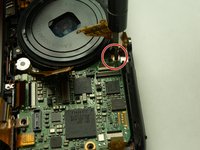
    • Pry the three golden ribbons off the motherboard using a plastic opening tool.

    Ask FixBot
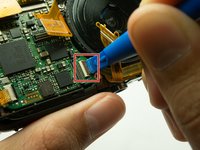
  7. Canon PowerShot SD1400 IS Motherboard Replacement: step 7, image 1 of 3 Canon PowerShot SD1400 IS Motherboard Replacement: step 7, image 2 of 3 Canon PowerShot SD1400 IS Motherboard Replacement: step 7, image 3 of 3
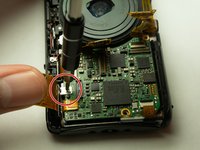
    • Use a plastic opening tool to flip up the retaining flap on the ribbon cable ZIF socket.

    • Once released, the small black tab will point straight away from the front face of the camera and the golden film will no longer be attached to the motherboard.

    Ask FixBot
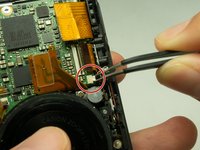
  8. Canon PowerShot SD1400 IS Motherboard Replacement: step 8, image 1 of 2 Canon PowerShot SD1400 IS Motherboard Replacement: step 8, image 2 of 2
    Tool used on this step:
    Tweezers
    $4.99
    Buy
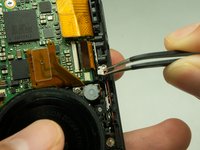
    • Unplug the small chip from the face of the camera using a pair of tweezers.

    Ask FixBot
  9. Canon PowerShot SD1400 IS Motherboard Replacement: step 9, image 1 of 3 Canon PowerShot SD1400 IS Motherboard Replacement: step 9, image 2 of 3 Canon PowerShot SD1400 IS Motherboard Replacement: step 9, image 3 of 3
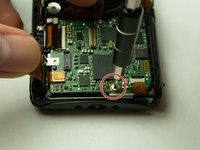
    • Remove the three 3mm Phillips #000 screws from the motherboard.

    Ask FixBot
  10. Canon PowerShot SD1400 IS Motherboard Replacement: step 10, image 1 of 1
    • Remove the 3mm Phillips #000 screw from the rear face of the camera.

    Ask FixBot
  11. Canon PowerShot SD1400 IS Motherboard Replacement: step 11, image 1 of 1
    • Remove the top panel from the camera.

    Ask FixBot
  12. Canon PowerShot SD1400 IS Motherboard Replacement: step 12, image 1 of 2 Canon PowerShot SD1400 IS Motherboard Replacement: step 12, image 2 of 2
    • Remove the motherboard.

    Ask FixBot
Conclusion

To reassemble your device, follow these instructions in reverse order.

Faris Rezwan

Member since: 05/21/18

457 Reputation

2 Guides authored

Team

IUPUI, Team S1-G2, Harley Spring 2018 Member of IUPUI, Team S1-G2, Harley Spring 2018

IUPUI-HARLEY-S18S1G2

7 Members

4 Guides authored

0 Guide Comments

Add Comment

View Statistics:

Past 24 Hours: 2

Past 7 Days: 8

Past 30 Days: 43

All Time: 778