Free Shipping on Domestic Orders $75+

Canon PowerShot SD1000 LCD Screen Replacement

What you need

    1. Canon PowerShot SD1000 LCD Screen Replacement, Back Panel: step 1, image 1 of 2 Canon PowerShot SD1000 LCD Screen Replacement, Back Panel: step 1, image 2 of 2
      • Remove the two 2.9 mm screws from the side panel closest to the camera lens.

      Ask FixBot

      Add Comment

    2. Canon PowerShot SD1000 LCD Screen Replacement: step 2, image 1 of 1
      • Remove the two 2.9 mm screws from the camera bottom panel.

      Ask FixBot

      Add Comment

    3. Canon PowerShot SD1000 LCD Screen Replacement: step 3, image 1 of 1
      • Remove the two 2.9 mm screws from the side panel farthest from the lens.

      Ask FixBot

      Add Comment

    4. Canon PowerShot SD1000 LCD Screen Replacement: step 4, image 1 of 1
      • Pull the back panel away from the camera body, starting at the end with the function buttons.

      Ask FixBot

      Add Comment

    5. Canon PowerShot SD1000 LCD Screen Replacement: step 5, image 1 of 1
      • Remove the small cover panel and the attached wrist strap mount.

      Ask FixBot

      Add Comment

    1. Canon PowerShot SD1000 LCD Screen Replacement, Front Case: step 6, image 1 of 1
      • Remove the front cover by gently pulling it away from the camera body.

      Ask FixBot

      Add Comment

    2. Canon PowerShot SD1000 LCD Screen Replacement: step 7, image 1 of 1
      • Place the front cover, back cover, and wrist strap mount in a safe place until you are ready for reassembly.

      Ask FixBot

      Add Comment

    1. Canon PowerShot SD1000 LCD Screen Replacement, LCD Screen: step 8, image 1 of 1
      • Remove the two 2.4 mm screws located at the top of the LCD panel.

      Ask FixBot

      Add Comment

    2. Canon PowerShot SD1000 LCD Screen Replacement: step 9, image 1 of 2 Canon PowerShot SD1000 LCD Screen Replacement: step 9, image 2 of 2
      • Pull up the metal frame surrounding the LCD screen starting at the side of the camera.

      Ask FixBot

      Add Comment

    3. Canon PowerShot SD1000 LCD Screen Replacement: step 10, image 1 of 1
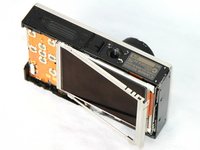
      • Push the metal frame away from the metal tab using the spudger to detach the frame.

      • Rotate the metal frame upwards.

      • The metal framing should be attached by a metal tab towards the bottom of the camera, near the function buttons.

      Ask FixBot

      Add Comment

    4. Canon PowerShot SD1000 LCD Screen Replacement: step 11, image 1 of 2 Canon PowerShot SD1000 LCD Screen Replacement: step 11, image 2 of 2
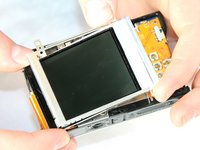
      • Carefully lift the metal frame from the camera.

      • Remove the black LCD screen, leaving the thin lens pieces in place.

      • BE CAREFUL; both components are attached by an orange connector ribbon and cannot be removed yet.

      Ask FixBot

      Add Comment

    5. Canon PowerShot SD1000 LCD Screen Replacement: step 12, image 1 of 3 Canon PowerShot SD1000 LCD Screen Replacement: step 12, image 2 of 3 Canon PowerShot SD1000 LCD Screen Replacement: step 12, image 3 of 3
      Tool used on this step:
      Tweezers
      $4.99
      Buy
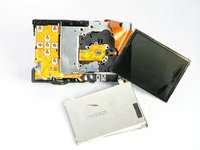
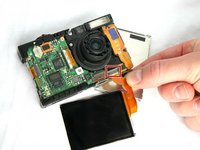
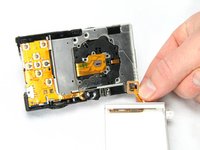
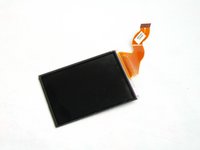
      • Carefully pull on the orange connector ribbon to disconnect the LCD screen.

      • The LCD screen can be pulled out of the frame before disconnecting its connector ribbon.

      • Tweezers are helpful to disconnect the ribbon.

      Ask FixBot

      Add Comment

Conclusion

To reassemble your device, follow these instructions in reverse order.

Cancel: I did not complete this guide.

2 other people completed this guide.

Phillip Phung

Member since: 01/19/12

666 Reputation

9 Guides authored

Team

Cal Poly, Team 8-18, Maness Winter 2012 Member of Cal Poly, Team 8-18, Maness Winter 2012

CPSU-MANESS-W12S8G18

4 Members

120 Guides authored

1 Guide Comment

Very helpful. These units still sell for a lot more than the cost of the replacement LCD

George Francis - Reply Share

Add Comment

View Statistics:

Past 24 Hours: 3

Past 7 Days: 11

Past 30 Days: 72

All Time: 5,186