Free Shipping on Domestic Orders $75+

Canon PowerShot ELPH 310 HS LCD Screen Replacement

What you need

  1. Canon PowerShot ELPH 310 HS LCD Screen Replacement, External Panels: step 1, image 1 of 1
    • Use the Phillips #000 screwdriver from the iFixit tool kit to unscrew the two image stabilizer panel’s 2 mm Phillips head screws.

    • Using your hands, remove the image stabilizer panel.

    Ask FixBot
  2. Canon PowerShot ELPH 310 HS LCD Screen Replacement: step 2, image 1 of 2 Canon PowerShot ELPH 310 HS LCD Screen Replacement: step 2, image 2 of 2
    • Unscrew the two 4 mm Phillips head screws from the bottom side of the camera.

    Ask FixBot
  3. Canon PowerShot ELPH 310 HS LCD Screen Replacement: step 3, image 1 of 2 Canon PowerShot ELPH 310 HS LCD Screen Replacement: step 3, image 2 of 2
    • Using your hand, open the battery portal located on the bottom left of the camera. The screw is in the bottom left of the battery portal.

    • Unscrew the hidden 4mm Phillips head screw inside the battery portal.

    Ask FixBot
  4. Canon PowerShot ELPH 310 HS LCD Screen Replacement: step 4, image 1 of 2 Canon PowerShot ELPH 310 HS LCD Screen Replacement: step 4, image 2 of 2
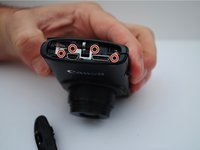
    • Remove the HDMI side panel with your hands.

    • Unscrew the four 4 mm Phillips head screws from the inside of the camera.

    Ask FixBot
  5. Canon PowerShot ELPH 310 HS LCD Screen Replacement: step 5, image 1 of 1
    • The back side of the camera should pop off or be removed by hand.

    Ask FixBot
  6. Canon PowerShot ELPH 310 HS LCD Screen Replacement: step 6, image 1 of 2 Canon PowerShot ELPH 310 HS LCD Screen Replacement: step 6, image 2 of 2
    • Unscrew the one 3 mm Phillips head screw on the top of the camera.

    Ask FixBot
  7. Canon PowerShot ELPH 310 HS LCD Screen Replacement: step 7, image 1 of 1
    • Manually remove the front panel from the camera.

    Ask FixBot
  8. Canon PowerShot ELPH 310 HS LCD Screen Replacement, LCD Screen: step 8, image 1 of 2 Canon PowerShot ELPH 310 HS LCD Screen Replacement, LCD Screen: step 8, image 2 of 2
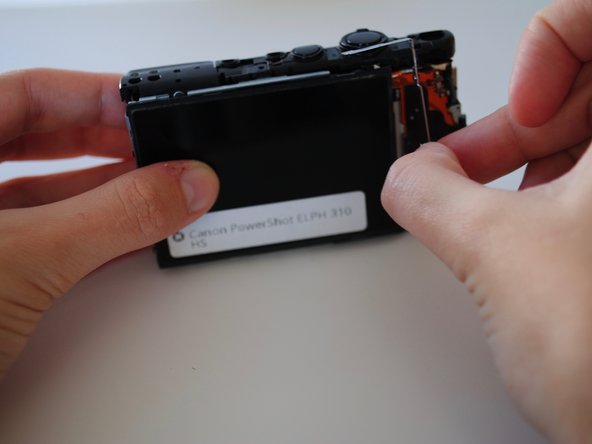
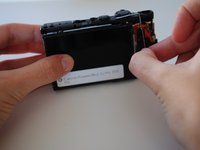
    • Using your hands, remove the metal piece (surrounding the right side of the screen) from the right side of the camera.

    Ask FixBot
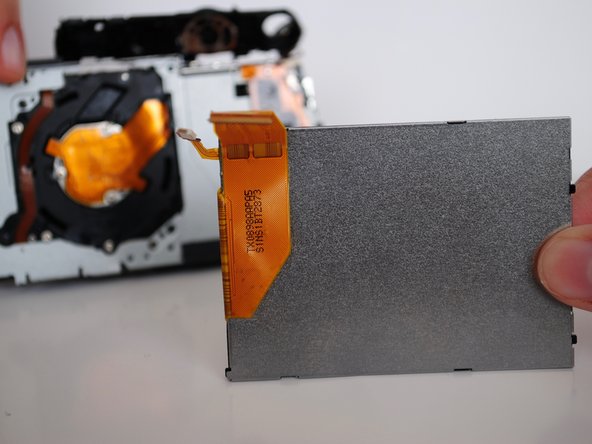
  9. Canon PowerShot ELPH 310 HS LCD Screen Replacement: step 9, image 1 of 1
    • Using your hands, lift up the screen.

    • The screen is fragile!

    Ask FixBot
  10. Canon PowerShot ELPH 310 HS LCD Screen Replacement: step 10, image 1 of 3 Canon PowerShot ELPH 310 HS LCD Screen Replacement: step 10, image 2 of 3 Canon PowerShot ELPH 310 HS LCD Screen Replacement: step 10, image 3 of 3
    • The strip tears easily!

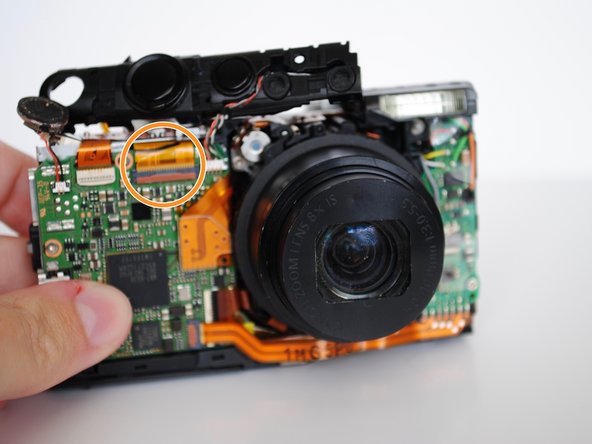
    • Manually lift the shutter button plate and remove the white ZIF connector, which is the white clasp underneath.

    • On the front of the camera, using your fingers, undo the orange ribbon from the gray clasp and pull the ribbon through the shutter deck.

    Ask FixBot
Conclusion

To reassemble your device, follow these instructions in reverse order.

1 Guide Comment

Part number for the screen replacement

Jeff Herider - Reply Share

Add Comment

View Statistics:

Past 24 Hours: 2

Past 7 Days: 7

Past 30 Days: 76

All Time: 1,463