Free Shipping on Domestic Orders $75+

Canon PowerShot A75 Flash Unit Replacement

What you need

  1. Canon PowerShot A75 Flash Unit Replacement, Batteries: step 1, image 1 of 1
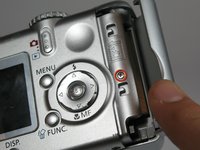
    • Turn the camera over and locate the "BATT OPEN" sliding switch.

    Ask FixBot

    Add Comment

  2. Canon PowerShot A75 Flash Unit Replacement: step 2, image 1 of 3 Canon PowerShot A75 Flash Unit Replacement: step 2, image 2 of 3 Canon PowerShot A75 Flash Unit Replacement: step 2, image 3 of 3
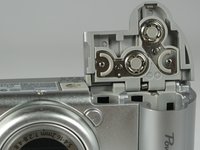
    • Slide the switch to the right.

    • The battery cover should slide down and spring open.

    Ask FixBot

    Add Comment

  3. Canon PowerShot A75 Flash Unit Replacement: step 3, image 1 of 3 Canon PowerShot A75 Flash Unit Replacement: step 3, image 2 of 3 Canon PowerShot A75 Flash Unit Replacement: step 3, image 3 of 3
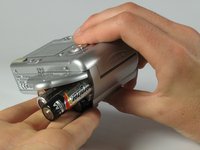
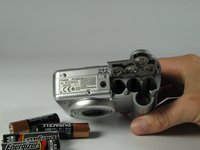
    • Remove the 4 AA batteries.

    • Watch for the orientation of the batteries as they slide out.

    • The battery orientation is shown under the battery flap itself and on a sticker next to the battery flap.

    Ask FixBot
    Add Comment

  4. Canon PowerShot A75 Flash Unit Replacement, Casing: step 4, image 1 of 1
    • Remove the three 2.5mm screws on the bottom of the camera.

    Ask FixBot
    Add Comment

  5. Canon PowerShot A75 Flash Unit Replacement: step 5, image 1 of 1
    • Remove the 3.8mm screw underneath the flap that covers the A/V port.

    Ask FixBot
    Add Comment

  6. Canon PowerShot A75 Flash Unit Replacement: step 6, image 1 of 2 Canon PowerShot A75 Flash Unit Replacement: step 6, image 2 of 2
    • Remove the 2.4mm screw located underneath the cover of the memory card slot.

    Ask FixBot

    Add Comment

  7. Canon PowerShot A75 Flash Unit Replacement: step 7, image 1 of 2 Canon PowerShot A75 Flash Unit Replacement: step 7, image 2 of 2
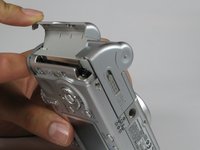
    • Open the memory card slot by sliding it laterally until you hear a click.

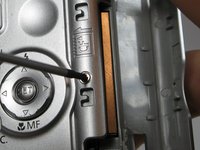
    • Remove the 5.9mm screw in the upper corner of the memory card slot.

    Ask FixBot

    Add Comment

  8. Canon PowerShot A75 Flash Unit Replacement: step 8, image 1 of 1
    • Remove the two 4.1mm screws at the bottom of the battery flap.

    Ask FixBot

    Add Comment

  9. Canon PowerShot A75 Flash Unit Replacement: step 9, image 1 of 2 Canon PowerShot A75 Flash Unit Replacement: step 9, image 2 of 2
    • Lift the shutter button and speaker part from the top of the camera.

    • DO NOT pull the part too hard because there is a plug connecting the speaker to the camera.

    Ask FixBot

    Add Comment

  10. Canon PowerShot A75 Flash Unit Replacement: step 10, image 1 of 3 Canon PowerShot A75 Flash Unit Replacement: step 10, image 2 of 3 Canon PowerShot A75 Flash Unit Replacement: step 10, image 3 of 3
    Tool used on this step:
    Tweezers
    $4.99
    Buy
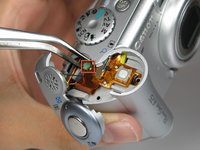
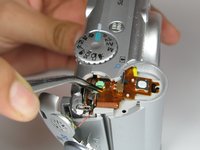
    • Using a pair of tweezers, grab the plug that connects the speaker to the camera and gently pull it out.

    Ask FixBot

    Add Comment

  11. Canon PowerShot A75 Flash Unit Replacement: step 11, image 1 of 1
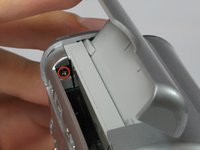
    • Remove the rightmost 4.2mm screw underneath the battery cover, not the center screw.

    Ask FixBot

    Add Comment

  12. Canon PowerShot A75 Flash Unit Replacement: step 12, image 1 of 3 Canon PowerShot A75 Flash Unit Replacement: step 12, image 2 of 3 Canon PowerShot A75 Flash Unit Replacement: step 12, image 3 of 3
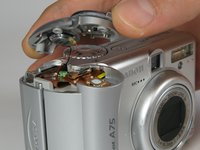
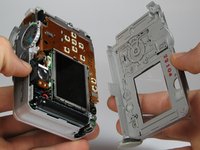
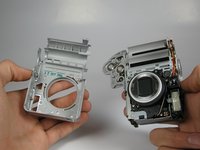
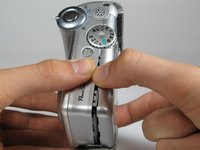
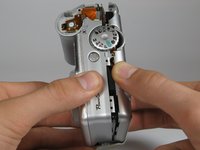
    • Separate the back casing and front casing of the camera using your hands.

    • Pulling the two halves apart can be difficult, especially at the top. Use a moderate amount of force.

    Ask FixBot

    Add Comment

  13. Canon PowerShot A75 Flash Unit Replacement: step 13, image 1 of 3 Canon PowerShot A75 Flash Unit Replacement: step 13, image 2 of 3 Canon PowerShot A75 Flash Unit Replacement: step 13, image 3 of 3
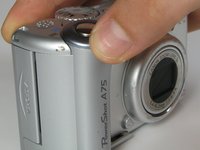
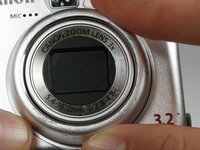
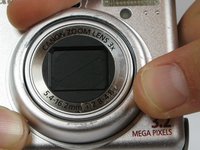
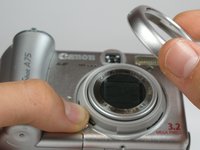
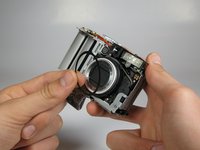
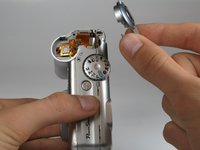
    • On the front of the camera, press the button on the lower left of the lens.

    • Twist the outer lens casing counter-clockwise and slide it out.

    Ask FixBot

    Add Comment

  14. Canon PowerShot A75 Flash Unit Replacement: step 14, image 1 of 3 Canon PowerShot A75 Flash Unit Replacement: step 14, image 2 of 3 Canon PowerShot A75 Flash Unit Replacement: step 14, image 3 of 3
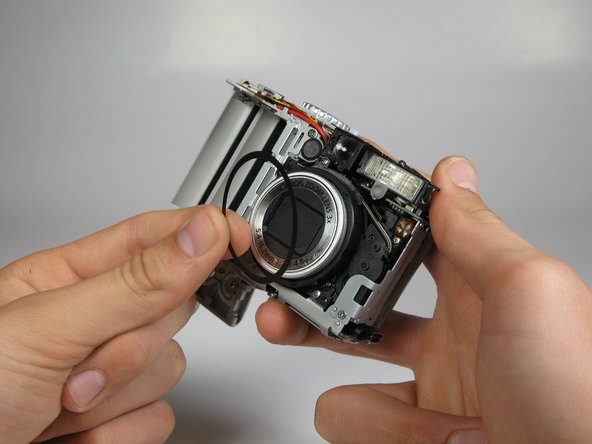
    • Take off the front casing.

    • There is a black rubber washer around the lens that comes out after you take the casing off. Make sure to replace it when putting the camera back together.

    Ask FixBot

    Add Comment

  15. Canon PowerShot A75 Flash Unit Replacement, Flash Unit: step 15, image 1 of 3 Canon PowerShot A75 Flash Unit Replacement, Flash Unit: step 15, image 2 of 3 Canon PowerShot A75 Flash Unit Replacement, Flash Unit: step 15, image 3 of 3
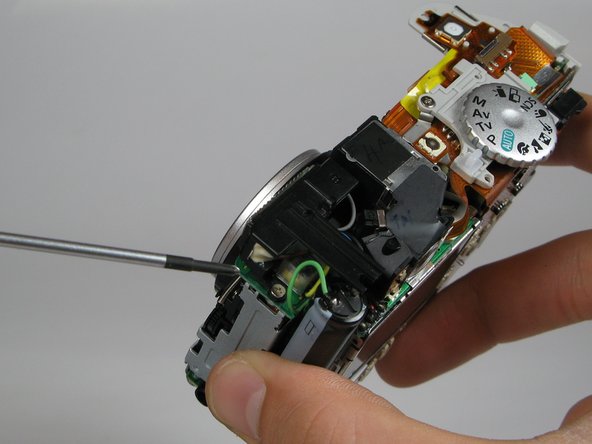
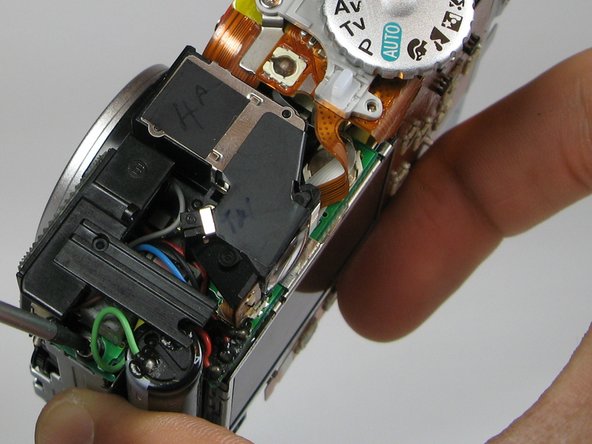
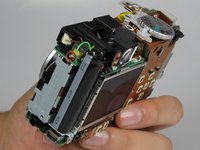
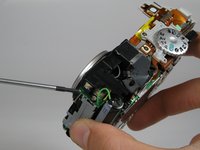
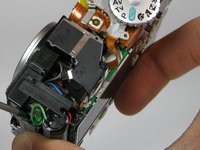
    • Rotate the camera such that the flash unit and capacitor are facing you.

    • DO NOT touch the capacitor because it may shock you.

    • Remove the 3.5mm screw located between the flash unit and the capacitor.

    Ask FixBot

    Add Comment

  16. Canon PowerShot A75 Flash Unit Replacement: step 16, image 1 of 2 Canon PowerShot A75 Flash Unit Replacement: step 16, image 2 of 2
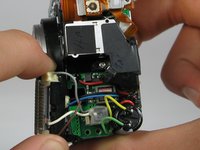
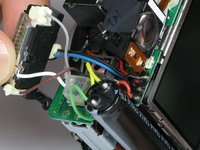
    • Snap flash unit out of place with your fingers.

    • Do not proceed to the next step unless you have previous soldering experience because you can damage the flash unit if you are not careful.

    • Unsolder the five wires connected to the flash unit in order to remove it.

    Ask FixBot

    Add Comment

Conclusion

To reassemble your device, follow these instructions in reverse order.

Cancel: I did not complete this guide.

Chris Miyahira

Member since: 04/12/12

38 Reputation

1 Guide authored

Team

Cal Poly, Team 17-30, Amido Spring 2012 Member of Cal Poly, Team 17-30, Amido Spring 2012

CPSU-AMIDO-S12S17G30

5 Members

12 Guides authored

0 Guide Comments

Add Comment

View Statistics:

Past 24 Hours: 0

Past 7 Days: 5

Past 30 Days: 22

All Time: 1,205